Welcome

Welcome to my digital home! There are lots of articles you might find helpful buried in this site on topics such as modifying an Alfa Romeo 159, rebuilding a Lotus 7 (Robin Hood 2B), not to mention a ton of stuff on technology in general. It’s all here somewhere, so use the search function or navigate using the menu structure. if you want to talk, reach out via the contact function, I usually do answer!

Random Post Selection
InfoSecI was recently asked to comment on the new Chip & Pin attack created by Prof Ross Anderson from Cambridge University. In my original comment released to the press I make an assertion in relation to a change in process that “breaks the circuit” of this attack – see below: Jay Abbott, director in charge of Threat & Vulnerability Management, PricewaterhouseCoopers LLP (PwC), said:“Essentially, what the scientists have come up with is a very effective and simple way of exploiting weaknesses in the system. However, it is important to bear in mind that the fraud requires a very specific scenario to become effective. “A simple process change by the retailer of asking for the card holder to hand over the card would break the circuit, although this isn’t always possible as sometimes the card reader is fixed to a point on the other side of the counter. “At present, the customer is accountable for the fraud as banks argue that PIN verified transactions are secure. Given this attack demonstrates a clear method of bypassing the PIN system, this assertion by the banks stands on shakier ground.” With the original comment came a caveat, which as you would normally expect, was not quoted by the media, this caveat was that the process change suggested brought with it the opportunity for cards to be skimmed, which was in fact one of the original reasons behind the Chip & Pin changes. In fact, the change works in the favour of the retailer rather than the consumer, however, before you hang me, allow me to demonstrate the rationale behind this. Consider first that Chip & Pin is in fact “two factor” authentication, which anyone in the security business will explain is more secure than “one factor” authentication. The first factor is the card itself or the “chip” in this instance, the second factor is the “Pin” which in this context operates as a pass code. Given both elements are authenticators in their own right, both are required, and as such any attack must include them both. The attack designed by Prof Ross Anderson targets the Pin aspect of the authentication, and relies on the original card accessed through a series of technology components that have to be connected together in some way. The method shown in this attack makes use of concealment to hide these components on the person of the attacker, and relies on a custom built “attack” card with wires hidden up the sleeve of the attacker, back to the other components involved. The obvious way to therefore detect and prevent this attack at the retailer is by separating the card from the attacker, thus showing the wires and revealing the ruse. The cloning of cards must be treated separately as the current methods of cloning (that I am aware of at this point in time) only create “yes cards” which would not work in this attack scenario as they are not true copies and would be detected by the PoS equipment as fraudulent. As I understand it, there is no economically viable way of cloning Chip & PIN Cards effectively at this time. Any cloning would still focus on the magnetic stripe data, which can be easily cloned, but is not accepted by the retailers (usually) when a Chip & PIN card is presented. This of course is at the discretion of the retailer and out of the control of the consumer or the banks. This brings us to the counter argument, specifically in relation to the increased risk of your card getting skimmed/cloned by the retailer when you hand it over. Een if it were viable to clone the chip cards, given that a card skimmed by a retailer would typically not get the pin as well (this of course is not always the case), using the now cloned card would have to make use of Prof Ross Anderson’s attack method, which if the aforementioned process change was implemented, would not work, so in effect increasing the risk of cloning, but decreasing the risk of a successful attack using the cloned card and “breaking the circuit”. This of course relies on the premise that the use of the cards magnetic strip is in fact not viable, and therefore if anything, reinforces the use of Chip & PIN ironically. Of course in real life the Magstrip is regularly used, but that, again is outside the scope of this discussion and considered irrelevant in the face of the specific discussion around Prof Andersons attack. There is always of course the argument for using a small form factor wireless transmission device to remove the need for wires, but given the form factor of a credit card and the inability to alter this form factor without raising suspicion, I am personally unsure that significant enough range for a TX/RX comms loop could be achieved given the power that could be implemented into a credit card sized device. Again, in my original comments to the press I clearly stated that the system needed to be fixed, and that the attack was effective, so this is not me suggesting that we should brush this under the carpet, in fact it is simply looking at what we can potentially do NOW to protect the system, while its eventual upgrade is debated and planned. Don’t forget, in this context I am just as much of a concerned consumer as you.Related Images: [...]
InfoSecThis is a debate I regularly get into with my team. Personally, I think that yes, credentials can bring credibility with an audience, or with a prospective employer. Lets look at how this works: C|EH (Certified Ethical Hacker). Anyone who has been in that area of work for a number of years will state that the C|EH is rubbish, and, of course, they are right. Having done the qualification, I can vouch for the fact that it is a tools based approach to hacking, with a heavy slant towards using windows as your attacking platform (which is wrong for so many reasons). It does however, give you the basics, and teaches you about basic methodologies etc. …..So, you might ask, why do I say I am a C|EH, if I know its pointless? Simple. To a purist hacker, its a waste of time, but commercially it has value as it is recognised by clients and companies alike as the de facto standard for hacking. This difference in perception is a prime example of how a qualification can bring credibility with the audience you want. All of my team are C|EH, because, when I write a proposal for a client, I can say, all my team are “Certified Ethical Hackers”. They of course understand this and as a bonus, the first two words add a level of “comfort” to what sounds like a venture into the dark side! Now, let’s look at another qualification (CISSP) “Certified Information Systems Security Professional”. This is about the best baseline security qualification in play today. It is very broad in it’s syllabus and well maintained through its CPE “Continual Professional Education” requirement. This qualification really does work on both sides of the fence. Clients like it and so do the professionals What it doesn’t do is guarantee that the holder of the qualification is a deep specialist in a given area, but what it does very well, is mandate a baseline of knowledge with real width in the subject of security. Here are my views on how they pin together: Some example credentials that mean something to your peers: GIAC’s (Any of them!) CITP OSCP Some example credentials That mean something to your clients or employers: ITiL PRINCE2 C|EH CCNA Some example credentials that mean something to everyone: CISSP CCNP This is not the most exhaustive list, but is a start. The underlying piece of advice here is, when your picking a credential to study for and invest in, think how it will add value to you and your situation, and see if there is a better option available. Knowledge can be learned for free, credentials have to be bought! Related Images: [...]
LiveMixesIts been a long time coming, but here it is… a fresh mix on a totally new rig, so excuse the flaky mixing 🙂 https://jabawoki.com/wp-content/mp3/Jabawoki_Rolling_House_Beats_15082009.mp3 Podcast: Play in new window | Download Related Images: [...]
RH2B Build DiaryIn the dash of the hoody was a previously installed large cubby holder. This had been damaged at some point and one of the previous owners had used a stick on faux leather pocket to hide the damage. As you can guess, this was not going to do for me and I thought I would put my 3d printer to good use and make something a little more useful! Aside from the damaged cubby, I had a few cables dangling in the passenger foot well that I needed to do something with. Firstly I had the CTEK charge cable that I added for ease of keeping the battery tip top, then I had the ECU programming cable that I also needed to be able to easily access. Both of these needed a new home and they needed to be out of the way of a passengers feet! CTEK Charge Point The combination of broken plastic part + need to tidy cables & access to a 3D printer led me straight to Fusion 360 where I set about designing a new solution. The first design was an “all in one” unit that had to be printed with lots of supports and with the rear face on the bed. This left a less than desirable finish and was simply not going to do. This led me to my first “multi-part” design and print. Utilizing Fusions component feature I was able to design the face and all parts that connect to it as separate objects that could then be printed individually. In total the final design had 4 parts. A face, a cubby, a light box and a lens. Yes, that’s right, I added LED’s 🙂 The idea was to have the Lotus Super 7 logo as well as the letters GBS (Great British Sportscars) cut through the face and an LED behind them so that it illuminated when the ignition was on. Printed Parts for the final cubby The face I decided to paint, which is a first for me, but I thought given it was on display and a large flat area, it could benefit from some paint. I used Plasti-Kote primer and black satin paint after some light sanding and the finish was truly impressive. Once all the components were ready for assembly, I installed a small strip of 12v LED’s into the light box and painted the clear PLA diffuser lens in the same body paint that the car is painted in. This actually turned out better than I hoped for and was a very easy thing to do. Light box and LEDs The final product looks pretty cool and holds the parts I needed it to perfectly. Everything is neat and there is a more functional, better looking solution to a problem that was part my own doing and part legacy 🙂 Final Part Assembled Related Images: [...]
Alfa 159The final stage was putting all the wiring in place. I opted for 4 gauge cable from the battery up front and a 4 gauge earth in the rear, both connected back to brass 4 way distribution blocks so I could pull 8 gauge runs to amps and the line converter. This also left me the easy upgrade route for adding additional amps to run upgraded mids & tweeters in the cabin, but that’s another project!! ” order_by=”sortorder” order_direction=”ASC” returns=”included” maximum_entity_count=”500″]   Related Images: [...]
GeneralWell, after the change of room size the RP6G2’s lack of low frequencies eventually pushed me to go the extra mile and get the KRK10s. Initial feedback on it? Its got so much bass! I know that’s the whole point of it, but wow, I like bass and even I struggle with this sometimes. So much so that I actually bought the Boss FS-5L latched foot switch so that I could bypass the sub from time to time and allow the full range of frequencies back to the RP6G2’s!!!! So….. what does all this mean? Well, first off the KRK10s is one hell of a good sub, well built, sounds great and can really pump out some power, so much so, it rattles all of the radiators in every room of the house when its wound up! that said, it more than matches the RP6G2’s and compliments them well. The unit itself acts as the hub of your system, so you route your main outs to the unit from your source, then plug each of the other 2 speakers into the sub. My preference for this was to use TRS Balanced Jacks from my mixer to the Sub, then XLRs from the Sub to each speaker. A good, cheap cable provider I use regularly is: Vision Sounds on eBay, they are quick to process, cheap to buy and decent quality, so that works for me! The KRK10s comes with a built in Crossover, with a knob on the back to set the Crossover frequency. I have played with this for a while now, and for me, I find that the best option is to keep some of the bass going to the RP6G2’s and let the sub handle the low stuff. To that end, I tend to have my crossover point at around 50Hz, which lets the RP6G2’s handle the punch in a beat while the KRK10’s handles the roll. I find this approach keeps the imaging better in my opinion. The built in amp comes with the same +-6db of gain through a control knob on the rear. Mine is set to -4db and that still, on some tracks and sources, overpowers the RP6G2’s at 0db gain! For this reason, I find that it is very useful to have an EQ of sorts in the mix so you can compensate for different sources. I make use of an Alesis MultiMix8:Firewire to bring each of my audio sources together, which gives me a low/med/high EQ on each channel (except the Firewire output, but that’ a whole different article!). The final, but very useful feature that comes with this unit is a bypass ability. You can plug in any latch-able foot pedal, but the Rokit site recommends the Boss FS-5L. I have the FS-5L and agree with them, its well built, but not so hard a switch that you can’t use it by hand if you want it on your desk. The reason for the bypass is actually quite a good one. Sometimes, you need to remove the bass effect of the sub and revert back to just the bass of the RP6G2’s. To do this without a bypass and making use of an EQ, you would taint the bass feed to the RP6G2’s and actually not give an accurate image, however, the bypass, when engaged, simply kills the Sub, bypasses the EQ and outputs a full range signal to the RP6G2’s leaving you with a nifty way of getting an accurate frequency reproduction for those absolute moments of audio clarity! If your seriously thinking of adding a KRK10s to your setup, here are some tit bits of advice for you: Buy the Boss FS-5L Latched Foot switch at the same time to give you the ability to bypass the sub easily when needed If possible put at least a basic 3 band EQ between your source and the entire setup, as the ability to gently retard the bass is very handy Make sure you have no neighbours attached, above, below or to the side of you, or you will quickly make some new enemies! All in all, I am genuinely blown away with my overall investment into the Rokit camp, and will happily pick up an ERGO when funds can justify the £500 price-tag! KRK10s Specs: 225 Watt (peak) Powered Sub woofer for Studio Use SPL: 110dB Music and 113dB Peak 10” High-Excursion Glass Aramid Composite Woofer Frequency Response: 34Hz – 50Hz to 130Hz Variable (+/- 1.5 db) Variable and Sweepable Low Pass Filter 80Hz High Pass Filter Radically Curved Front Baffle Design for Amazing Performance Front-firing port provides low frequency extension without boundary coupling Bypass Control using Standard Foot switch Related Images: [...]
InfoSecFirst of all, legislation doesn’t die, it just becomes BAU. PCI is still a pain for most, but as a race, us Humans are fickle creatures who like our topics and news to be current, so the latest and greatest will always be at the top of the agenda. PCI on the other hand has a few cards left to play, first we see the move from 1.1 to 1.2, and although the content is still uncertain, it is likley to include calrifications of “what they actually meant” and additions. Aside from the revisions now and future to the PCI-DSS, PA-DSS, and other relevant standards are likeley to appear to help ensure that those organisations we entrust with our data, do the minimum to keep hold of it. of course, we have seen some clarifications and “movement” on the existing standard, as well as finally, some teeth being displayed by the PCI through fines. In my view, PCI is by no means dead, or even old news, its just part of the legislative landscape that is a part of business today, not to be ignored. Related Images: [...]
Alfa 159Before I even started this project, I spent quite a lot of time figuring out potential box sizes and planning the acoustics of the project. The overall goal was maximum SQ & Power balance with the least boot space loss possible! No mean feet to achieve. I opted to retain the stock OEM head unit rather than go for an after-market double-din one as I wanted the overall look and feel of the car to remain normal, while improving the audio characteristics and overall frequency response. In order to achieve this I made use of an Audio control LC2i active, line level converter. A unit from the USA that is very special and literally takes speaker level outputs up to 400W RMS and then runs them through a series of electronic clean-up routines to get a perfect line level out for the sub-woofer, than can also be controlled by a remote gain control, and a perfect 2 channel full range output for a mid amp (to be utilised in a further project). This unit combined with an Infinity KAPPA Perfect 12 VQ (M3D) sub-woofer and an Alpine MRV-420 amplifier I already had was all I needed to put a little boom back into the boot! ” order_by=”sortorder” order_direction=”ASC” returns=”included” maximum_entity_count=”500″] Related Images: [...]
GeneralWell, despite wanting to spend thousands of pounds on the perfect setup, I decided I had to transition away from Vinyl completely first and get used to the fully digital interfaces. So, in my usual, straight out of left field way, I bought myself an M-Audio Xponent and some new speakers 🙂 The Xponent is an awesome tool, it is the perfect transition medium for anyone thinking of moving into digital and is very well featured. Its a little on the plastic side, and the faders feel like they are fisher price, but it works like a dream and is portable enough to follow me around the country! I now have two primary setups, home & away. Home is the Xponent, married to my main desktop feeding a pair of KRK RP6G2 Active Studio Monitors, and it sounds awesome! Away is the Xponent. married to my X200s Laptop & feeding a pair of M-Audio AV20 portable studio monitors, although it lacks base, it has punch, power and clarity and lets face it, we don’t want to piss off the neighbours in the hotel now do we 🙂 I still suffer from the age old problem of not actually having time to use this lot, but the away kit helps with that problem a fair bit, so once I get fully transitioned, expect a flurry of new mixes on the way! Related Images: [...]
RH2B Build Diary
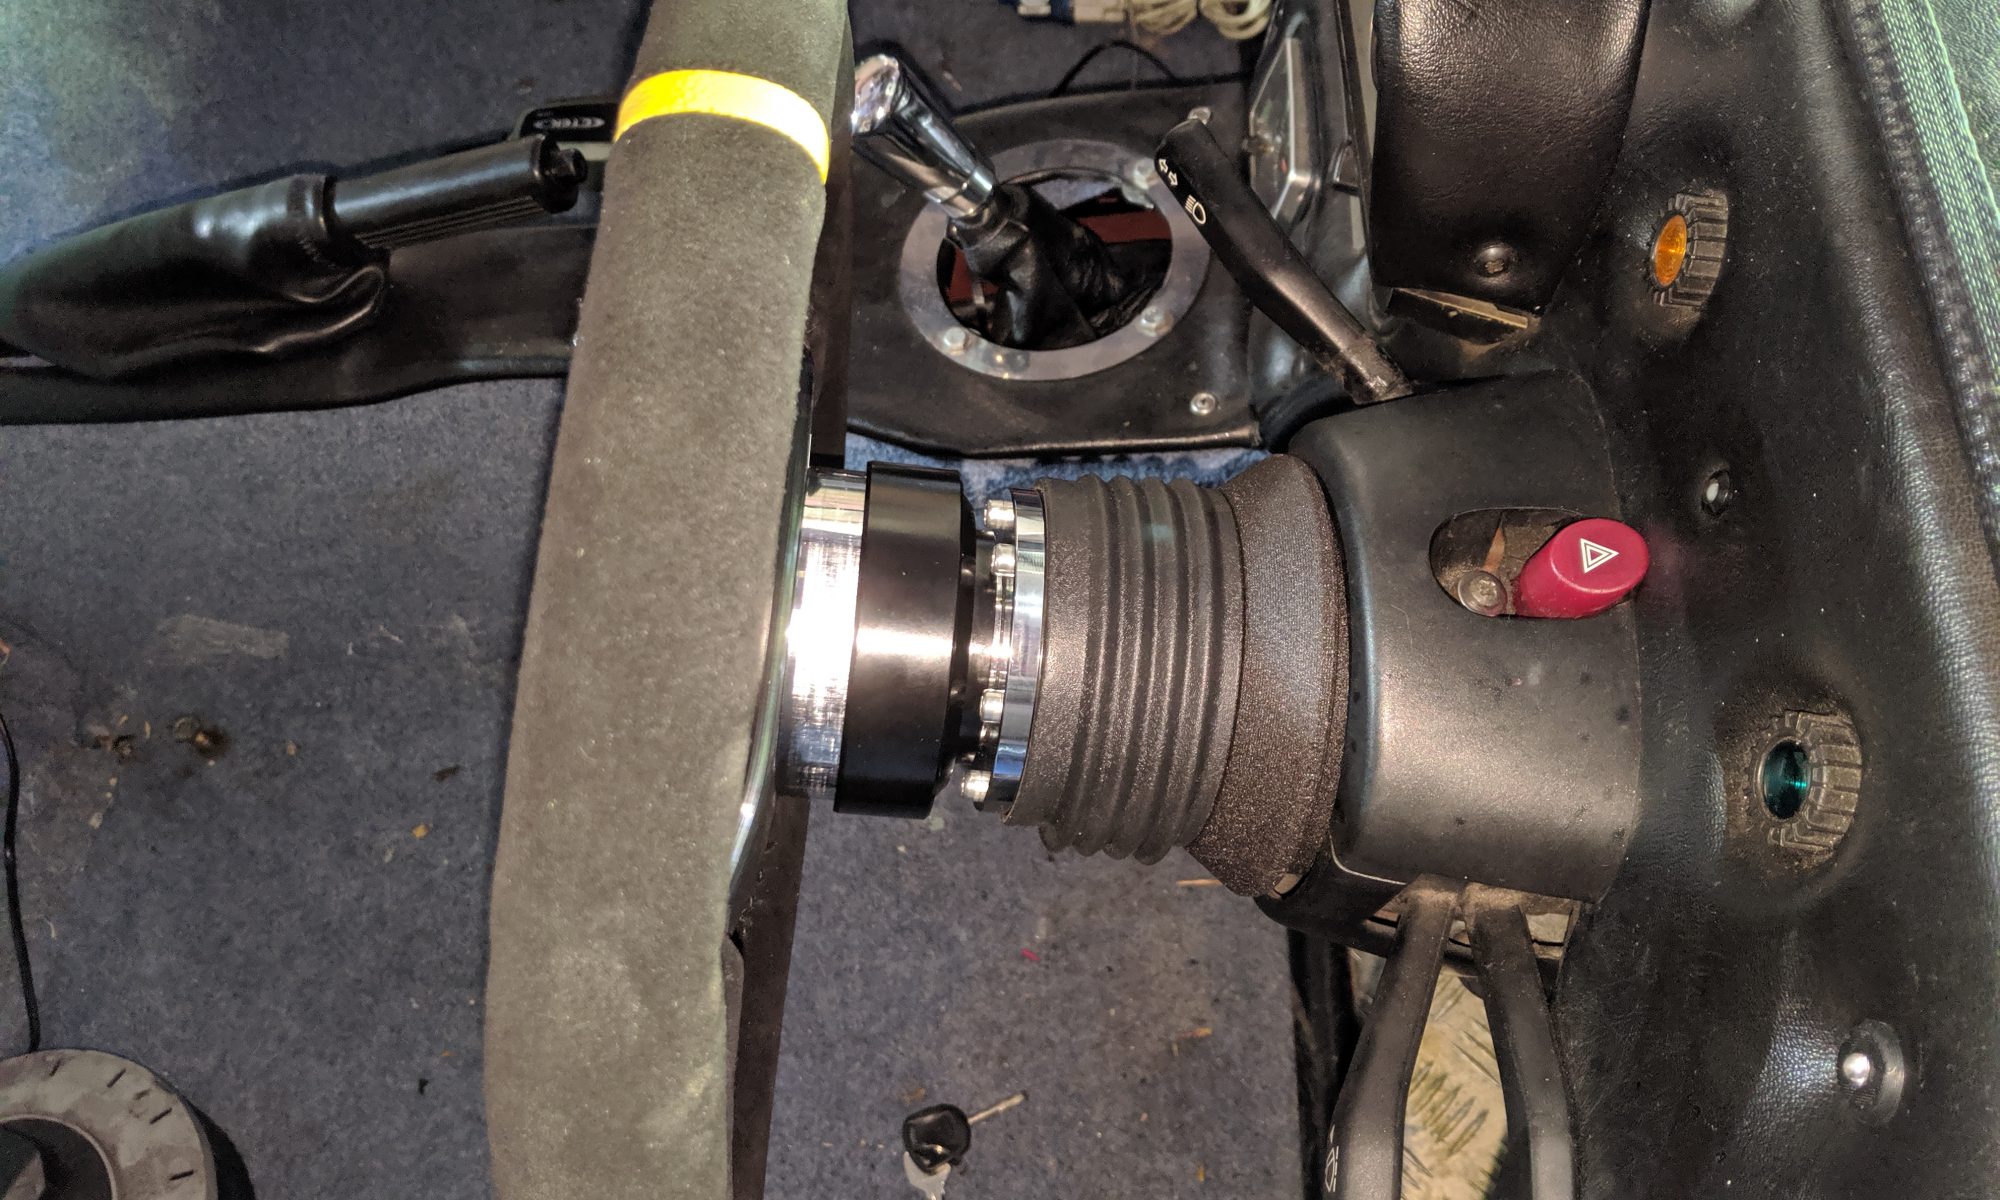
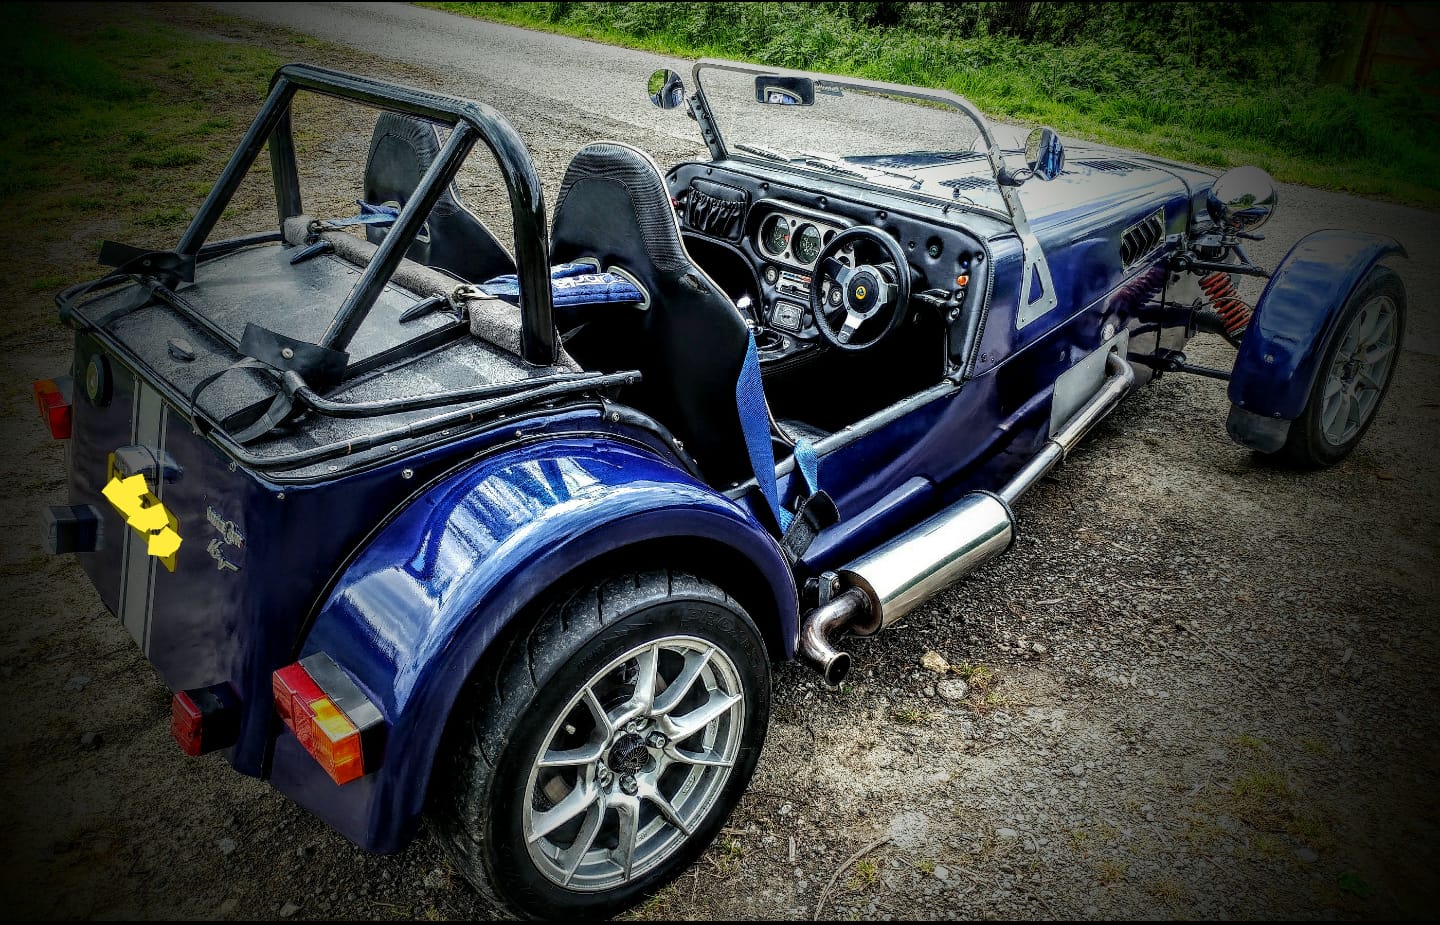
I had wanted a flat bottomed race wheel from the day I bought the car but other more pressing issues were ahead of the modification! The original wheel was a 280mm (small) 10″ old style wheel that was just difficult to use. It was also so far forward that your legs were right on it so it needed to be modified! That said, I bought myself a very reasonably priced 320mm flat bottomed suede OMP Racing wheel, a universal quick release boss, and a Momo steering wheel hub to fit the Sierra base. Once I had the parts, it was far more of a mamouth task than I originally thought! OMP Wheel on quick release boss. The first problem I had was getting the old hub off. I had to make a bar with a bolt in the center and bolt that to the hub then use the center bolt to push the wheel off the spline. Getting to that point took me the best part of 4 hours! Once it was off, the new Momo boss went on like butter, and then the back half of the universal boss mated straight to it. Up came the next problem though as the centre horm push was slightly too big to go into the universal boss so I had to modify it and sold the wires on the back of the horn push in order to get it all fitted. Ready to race! Once the wheel was installed I had to readjust the toe on the front end to line up the wheel and the wheels, but its going in for an MOT and a full alignment once its back on the road so I am not too worried! Related Images: [...]

Related Images:

Related Images: