

Why this Kit?
This kit is well built and well packaged which combined with the relative cost is absolute value for money for the print size. It does suffer a number of issues though and the “community guide” is an invaluable asset in the build of these printers.
The community around this printer is great and has many people both skilled and novice, all of whom seem happy to help. The community is mostly in the Facebook Group, or at least that is where I found them! There is an extremely detailed and maintained “Community Guide” that contains a wealth of information about the printer, its issues, its features and how to get the most out of it. This can be found linked from the Facebook Group or can be downloaded from this link.
One of the best features for a first time builder like me was the very extensive video build guides from:
ruiraptor. His 15 video series on the full build process took all the pain out of this for me. That said, It would have taken more pain out of it if I had watched all 15 videos before starting to build the printer as sometimes he will show you how to do something the “TEVO Way” and then his own way, which is often much better!
The community guide also holds some key information not covered in detail or at all in the videos such as the BL Touch installation.
TEVO Black Widow 3D printer – All assembly videos
Aside from the support. Guides and quality of this printer, the main reasoning behind the choice was the build area. A whopping 370mm x 250mm x 300mm build area was exactly what I needed to support some of the planned projects that I will use this for.
Where to buy it?
Do not buy this kit off ebay! Buy it direct from the manufacturer shop via AliExpress. This will ensure you get the latest version direct from the manufacturer stock rather than an old one that has been sat in someone’s stock room for a while. At the time of writing this, V3 was the latest.
A key reason for this is that early versions of this printer had some serious faults such as an earthing issue on the power switch that could electrocute you!
Additional Mandatory Parts:
- 12 x 28mm Cast Aluminium Corner Brackets
- 24 x 8mm M5 High Tensile Butten Flange Allen Bolts
- 24 x CNBTR M5 Thread T Spring Nut 20 Series EU
- 1 x Red Button 4 Pin DPST ON/OFF Illuminated Rocker Switch AC 250V 15A
- 1 x 2 metres of 10mm Expandable Braided Sleeving
- 1 x 1 roll of 9mm cloth wiring tape
- 1 x Standard Floated Glass 400mm x 250mm x 3mm with Polished edge (from local glazier)
- 1 x Right-Angle USB2.0 B Male to USB B Female Socket Panel Extension Cable Cord
Optional Parts:
- 7 x Solid V Xtreme Wheel
- 8 x Mini V Xtreme Wheel
- 1 x 24v 40mm Layer Fan
- 1 x 3m of 28 AWG red & black silicon wire for layer fan
- 2 x pair of 2 PIN JST SM Plug Socket Connectors – Soldered / Crimp
- 1 x 400mm x 250mm PrintBite+
Optional Tools
- 1 x 15 or 30cm metal ruler
- 1 x 8mm flexible head ratchet spanner
- 1 x 60 in 1 S2 Tool Steel Precision Screwdriver Nutdriver Bit Repair Tools Kit hv2n
Tools & Assembly
Although the kit comes with all the tools you need to build it, it does make it quite hard work if you only use them. The additional tools suggested make light work of the job and if you don’t have them, come in handy in many other places! The general assembly is straight forward, although if you are following the build videos, make sure you have watched them all first. I found that in certain videos, Rui would build something and take it apart then show you a better way to build it! If your following the video for the first time this can mean you build somethings twice or more.
Modifications
Let me fist answer the question of why modify? These kits are “Open Build” based which essentially means that they are based on 100% open sourced common components that have been pulled together to make this kit. TEVO have a number of custom parts size / length and manufactured their own versions to suit this kit perfectly which makes this kit very good.
That said, a number of parts in this kit such as wheels or angle brackets are not the absolute best that are available, and as with anything built to a market price point, some compromises exist. It is these compromises I am not willing to accept and that I wanted to tackle as part of the build process.
Joints
I was unhappy with the quality of the L brackets given the need for a true and non-flexing chassis and as such decided to opt for the 28mm cast aluminium brackets instead. These make a much stronger connection that is less likely to flex during use. For me this was key as a chassis of this size will likely have a lot of pressure put on the joints and any flex in a joint will lead to an inaccuracy in the layer.
Wheels
I was not initially going to replace the wheels despite hearing about the issue of some users reporting flat spots. Unfortunately, this turned out to be a bad decision and in fact I needed to replace the stock wheels straight away. Essentially, the stock wheels will deform if they are left in the same position for a period of time due to the malleable nature of the material used. What I was not expecting in my build was for the heat bed carriage wheels to do this within the first 24 hours! Some people suggested that this is simply because they were too tight, but personally I don’t think that they are as you need to have them tight enough to stop all lateral movement or “wobble” as this will effect print quality. For me, the wheels deformed very quickly so it was better to change them for a much harder polycarbonate compound that is less prone to deformation.
Rocker Switch
Although supposedly fixed in V3 with a new style toggle switch, the possibility of getting electrocuted didn’t appeal. Looking at the toggle switch that comes with the kit, its metal and rated at 12v /20a which just doesn’t sit right with me given its switching the mains live wire directly :/. Instead I opted for a much better quality 250VAC / 15A plastic illuminated switch to ensure that I am insulated from any potential shorts in the switch that could give me a nasty jolt.
Drag Chains
Each of the drag chains can cause the wires to rub and eventually fail unless they are put into nylon sleeving. This sleeving helps to prevent the rubbing and allows the chains to keep everything neat. It is also useful for hiding the mess of cables that connects the control box to the printer and keeping everything untangled.
Layer Fan
A Layer fan is option but seems to be quite a common modification. Even if you are not installing a layer fan on day 1, I do recommend running the cable for the fan through all of the sleeves and drag chains while you build it to save having to take it all apart at a later date when you decide you want one. Its worth running the wire (30 gauge red & black) from the control box to the print head and putting a 2 pin JST connector on it ready for the addition of a fan at a later date. You can also add a break where all of the other cables join from the control box to the printer and using a JST connector (male & female) to match the stock wiring setup
Wiring / Controller Box.
The way in which TEVO suggest to organise the controller box is flawed and Rui does a great job in showing you a much better way. Essentially you need to transpose the holes for the motherboard and mosfet from one side panel to the other, and then mark and drill holes on the original side where the motherboard and mosfet were to be located, in order to mount the PSU on its side. The result is much more space, much less cable mess, better airflow and room to work!
The other major change to the controller box is the power switch. If you use the power switch I suggested you are going to have to cut a square hole around the existing round one. A Dremil some painters tape and patients is all you need. And just remember if you make a total hash of it, you can always print a new one once your printer is up and running!
Firmware Upgrade
I’m a subscriber to “the latest version is best” way of life and as such, job one, even before an actual print, is to upgrade the firmware to the latest version. The printer I bought came with 1.1.0 RC7, while at the time of writing this, 1.1.8 (RC8 V4) was available. The best guide on how to perform the upgrade is here from Rui:
How to easily configure and flash firmware to a TEVO BlackWidow 3D printer
Calibration
This stage is key. Take your time on Video’s 13 & 14 and make sure your eSteps and extrusion is perfect. If you have opted for the BL Touch (recommended) then you do need to follow the community guide on how to calibrate it, but once done its ability to self level the bed before a print is so time saving.
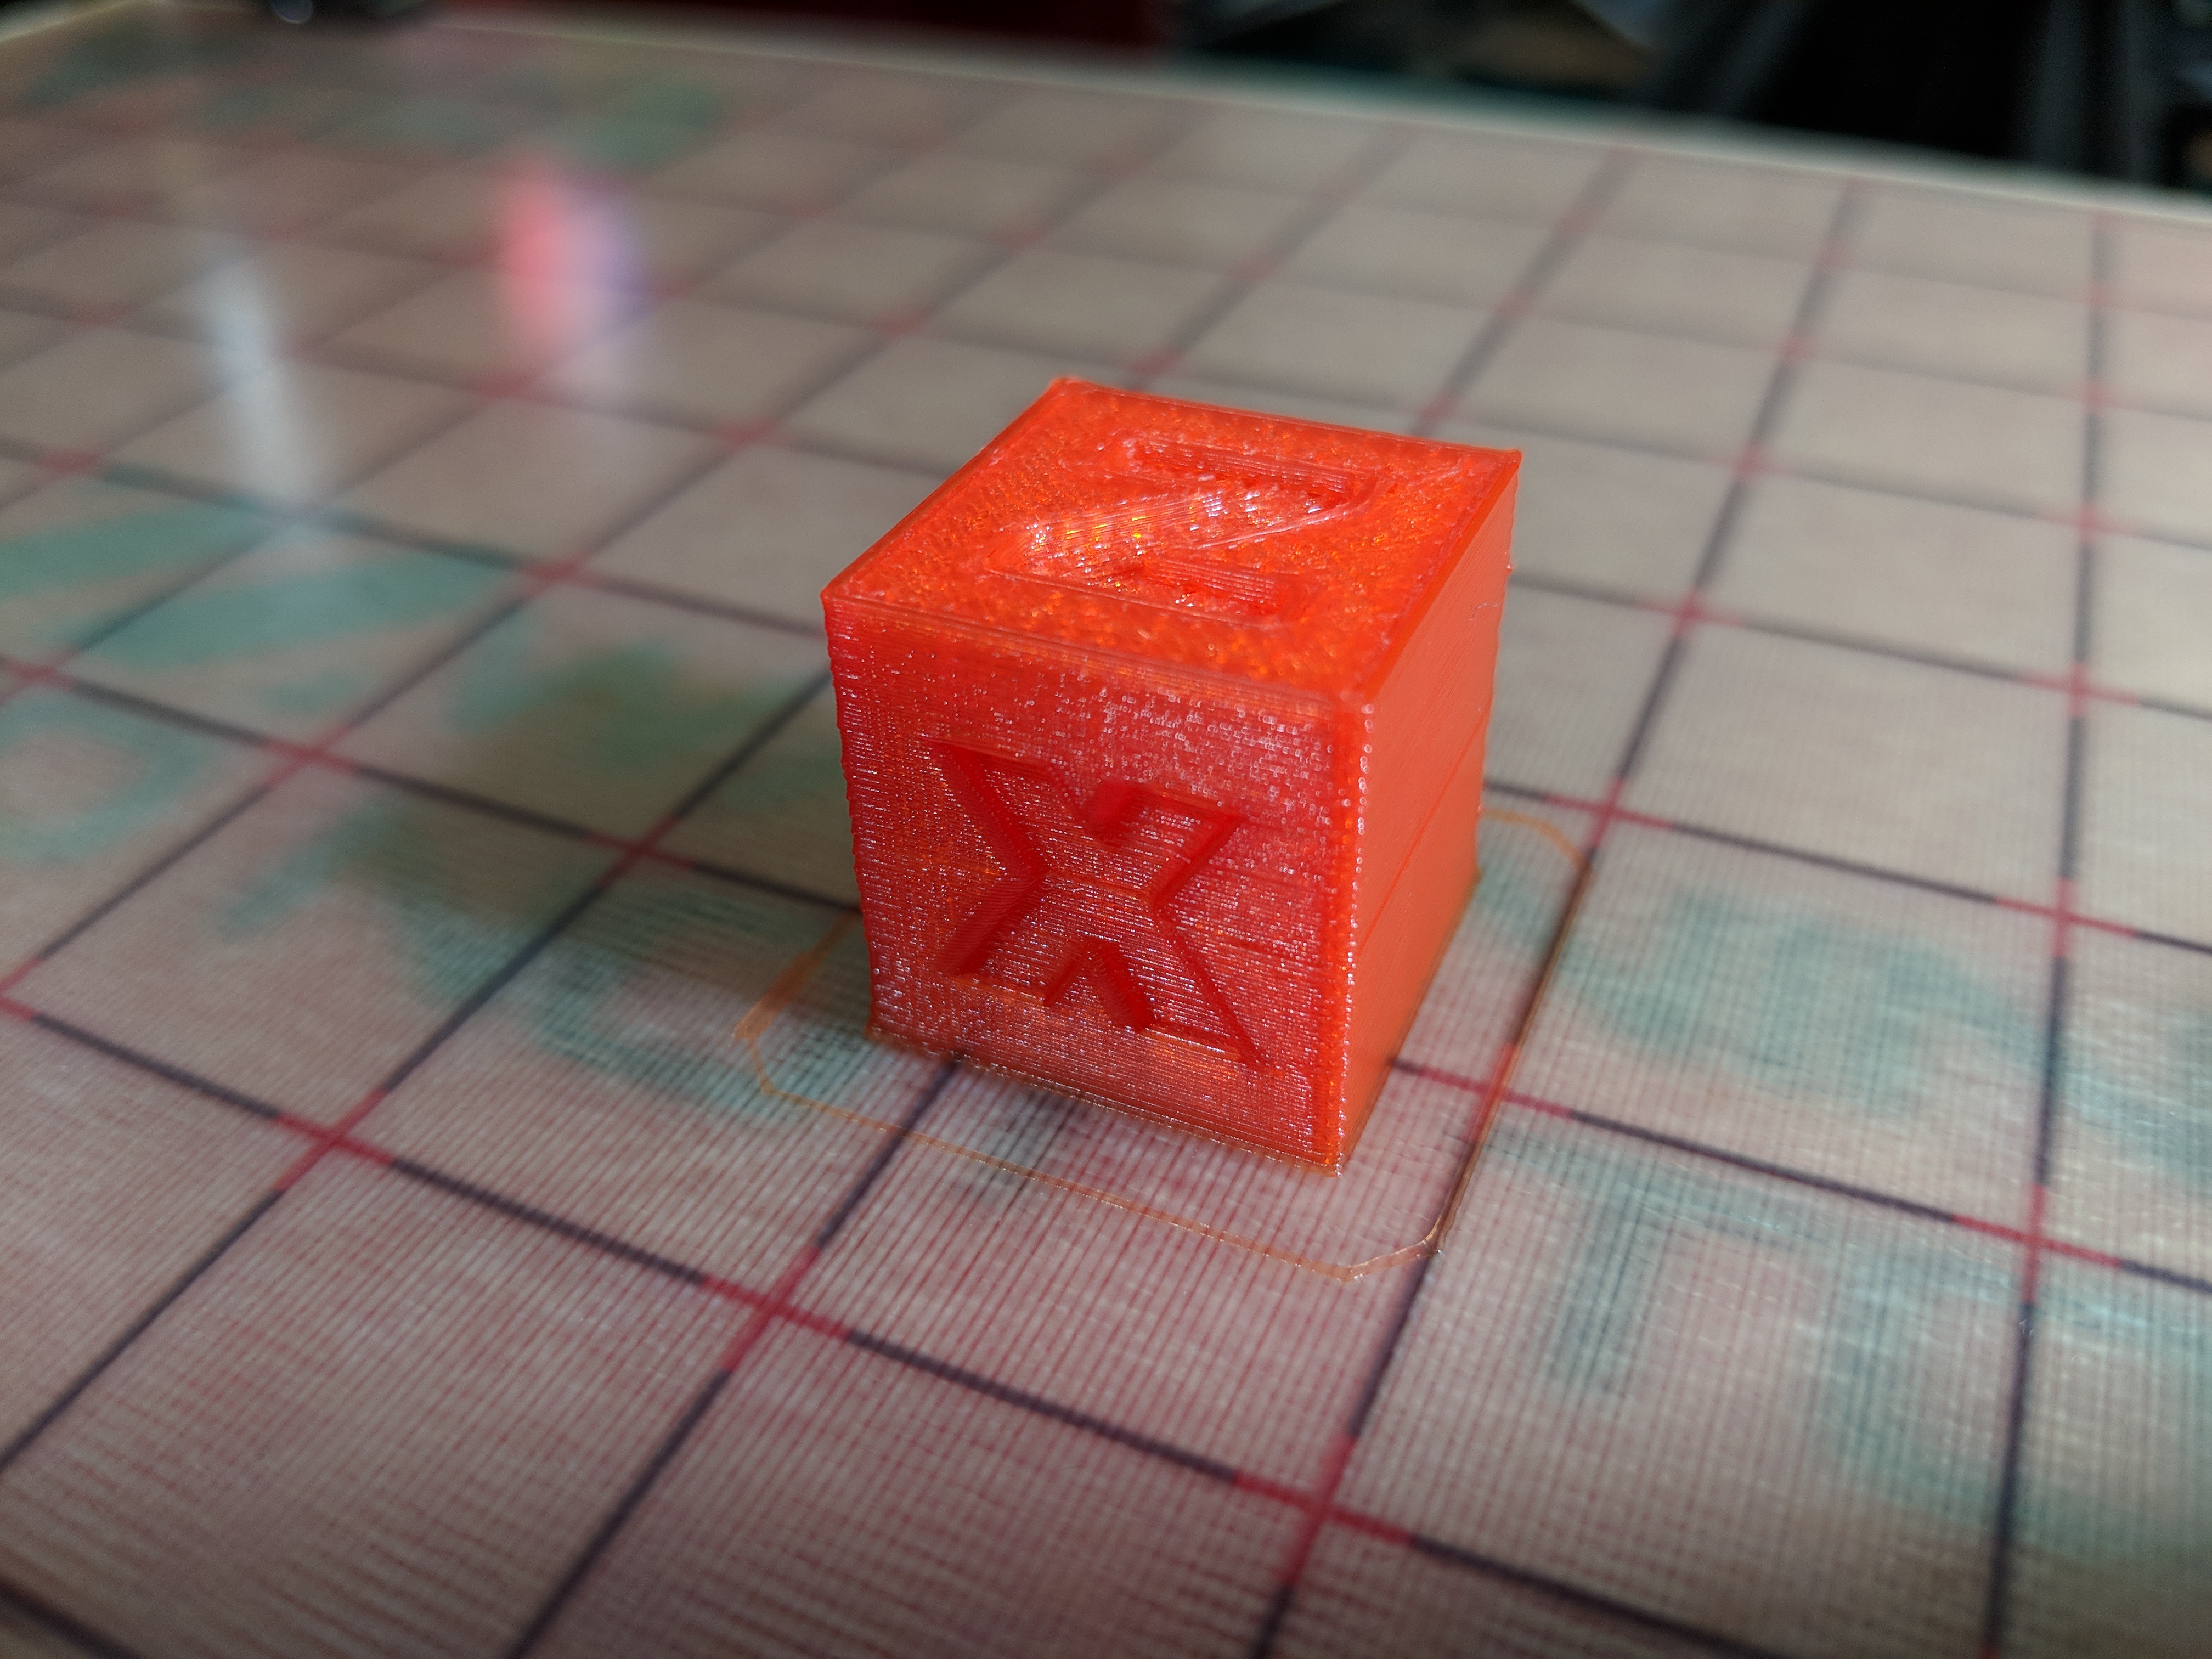
First Print
The first print is always going to be nerve wracking but as long as you have taken your time with everything during the build process and especially the calibration, then it will come out just fine. Here we have my first print, a 20mm XZY Calibration cube printed at 0.2mm layer height:
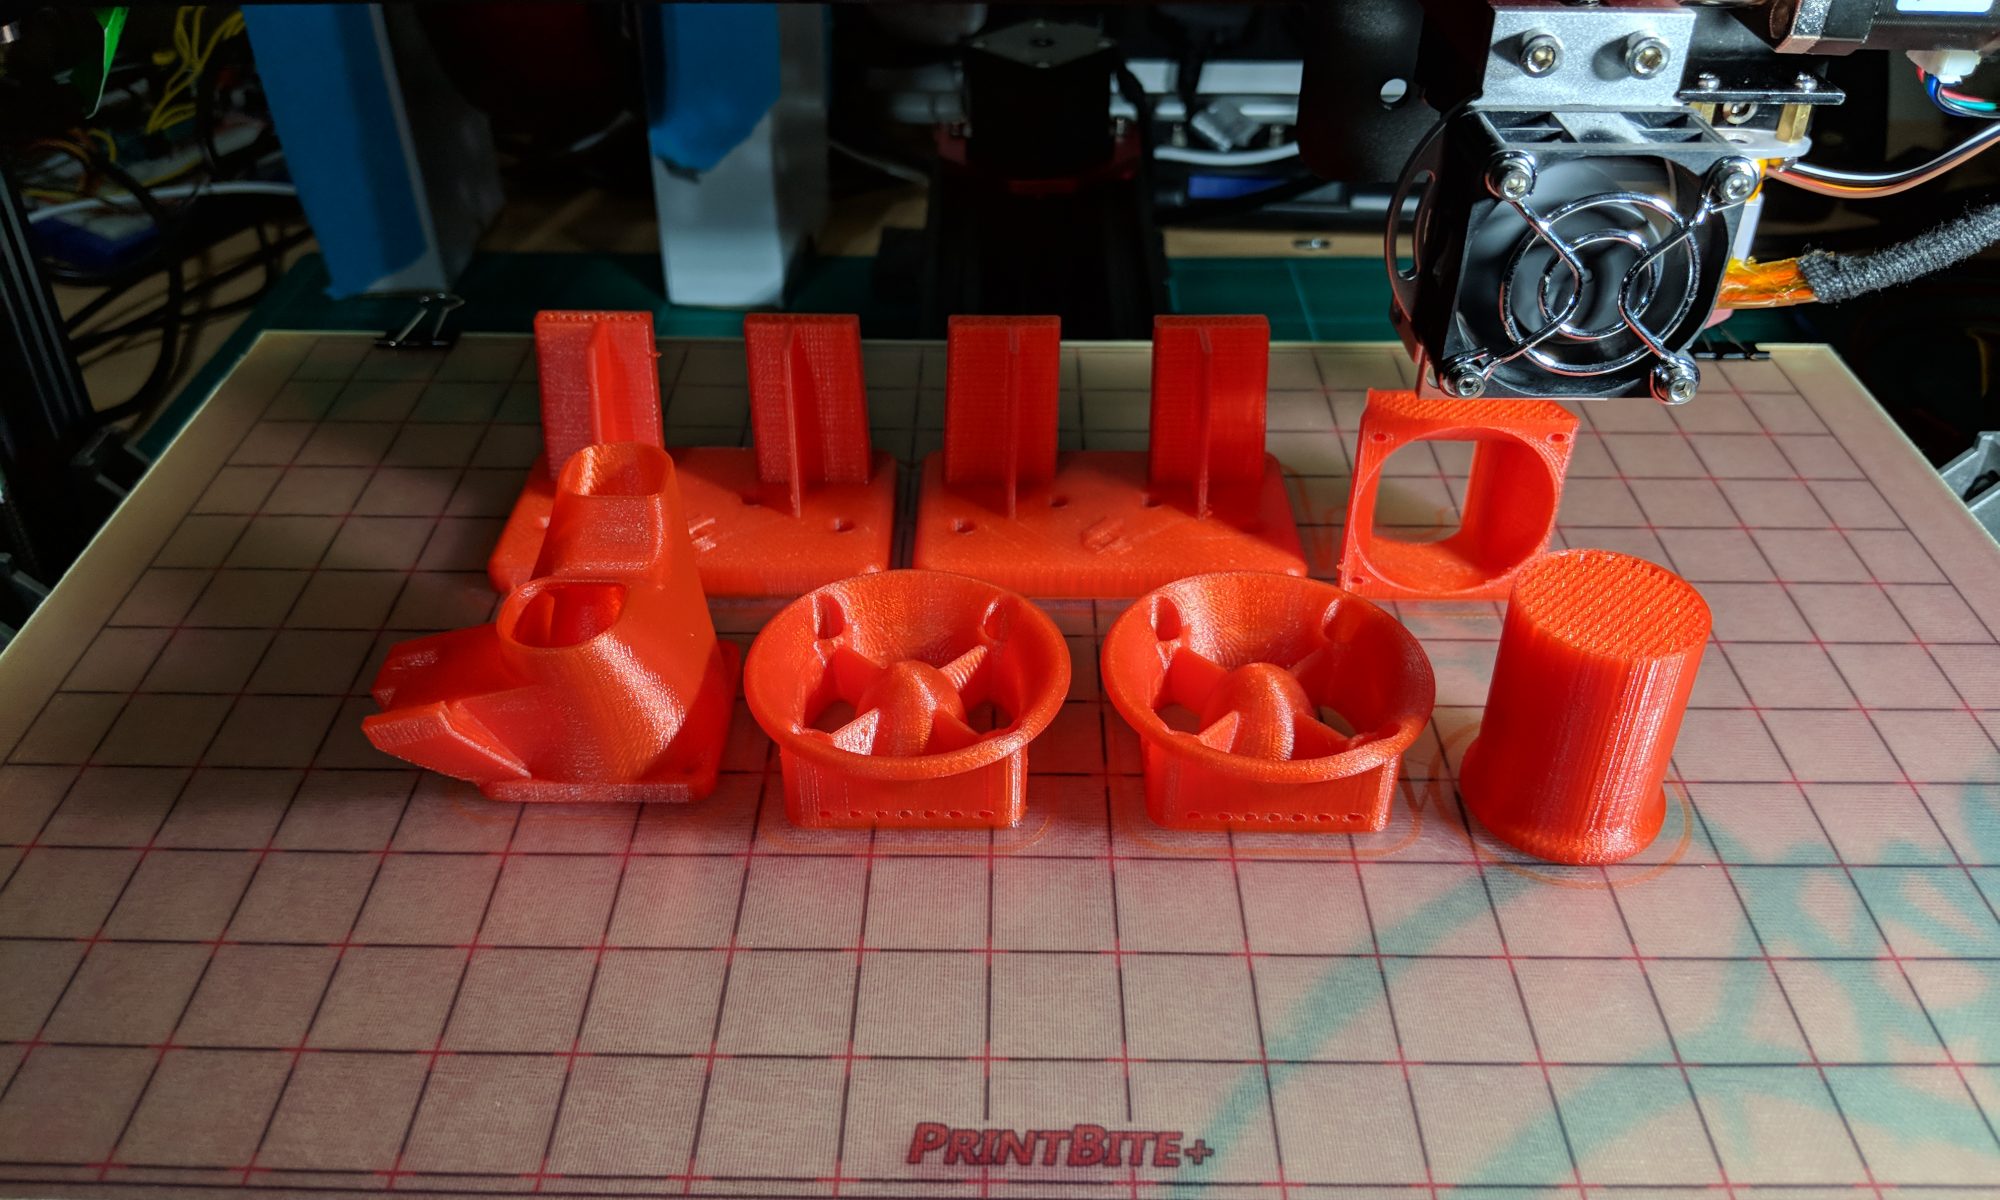
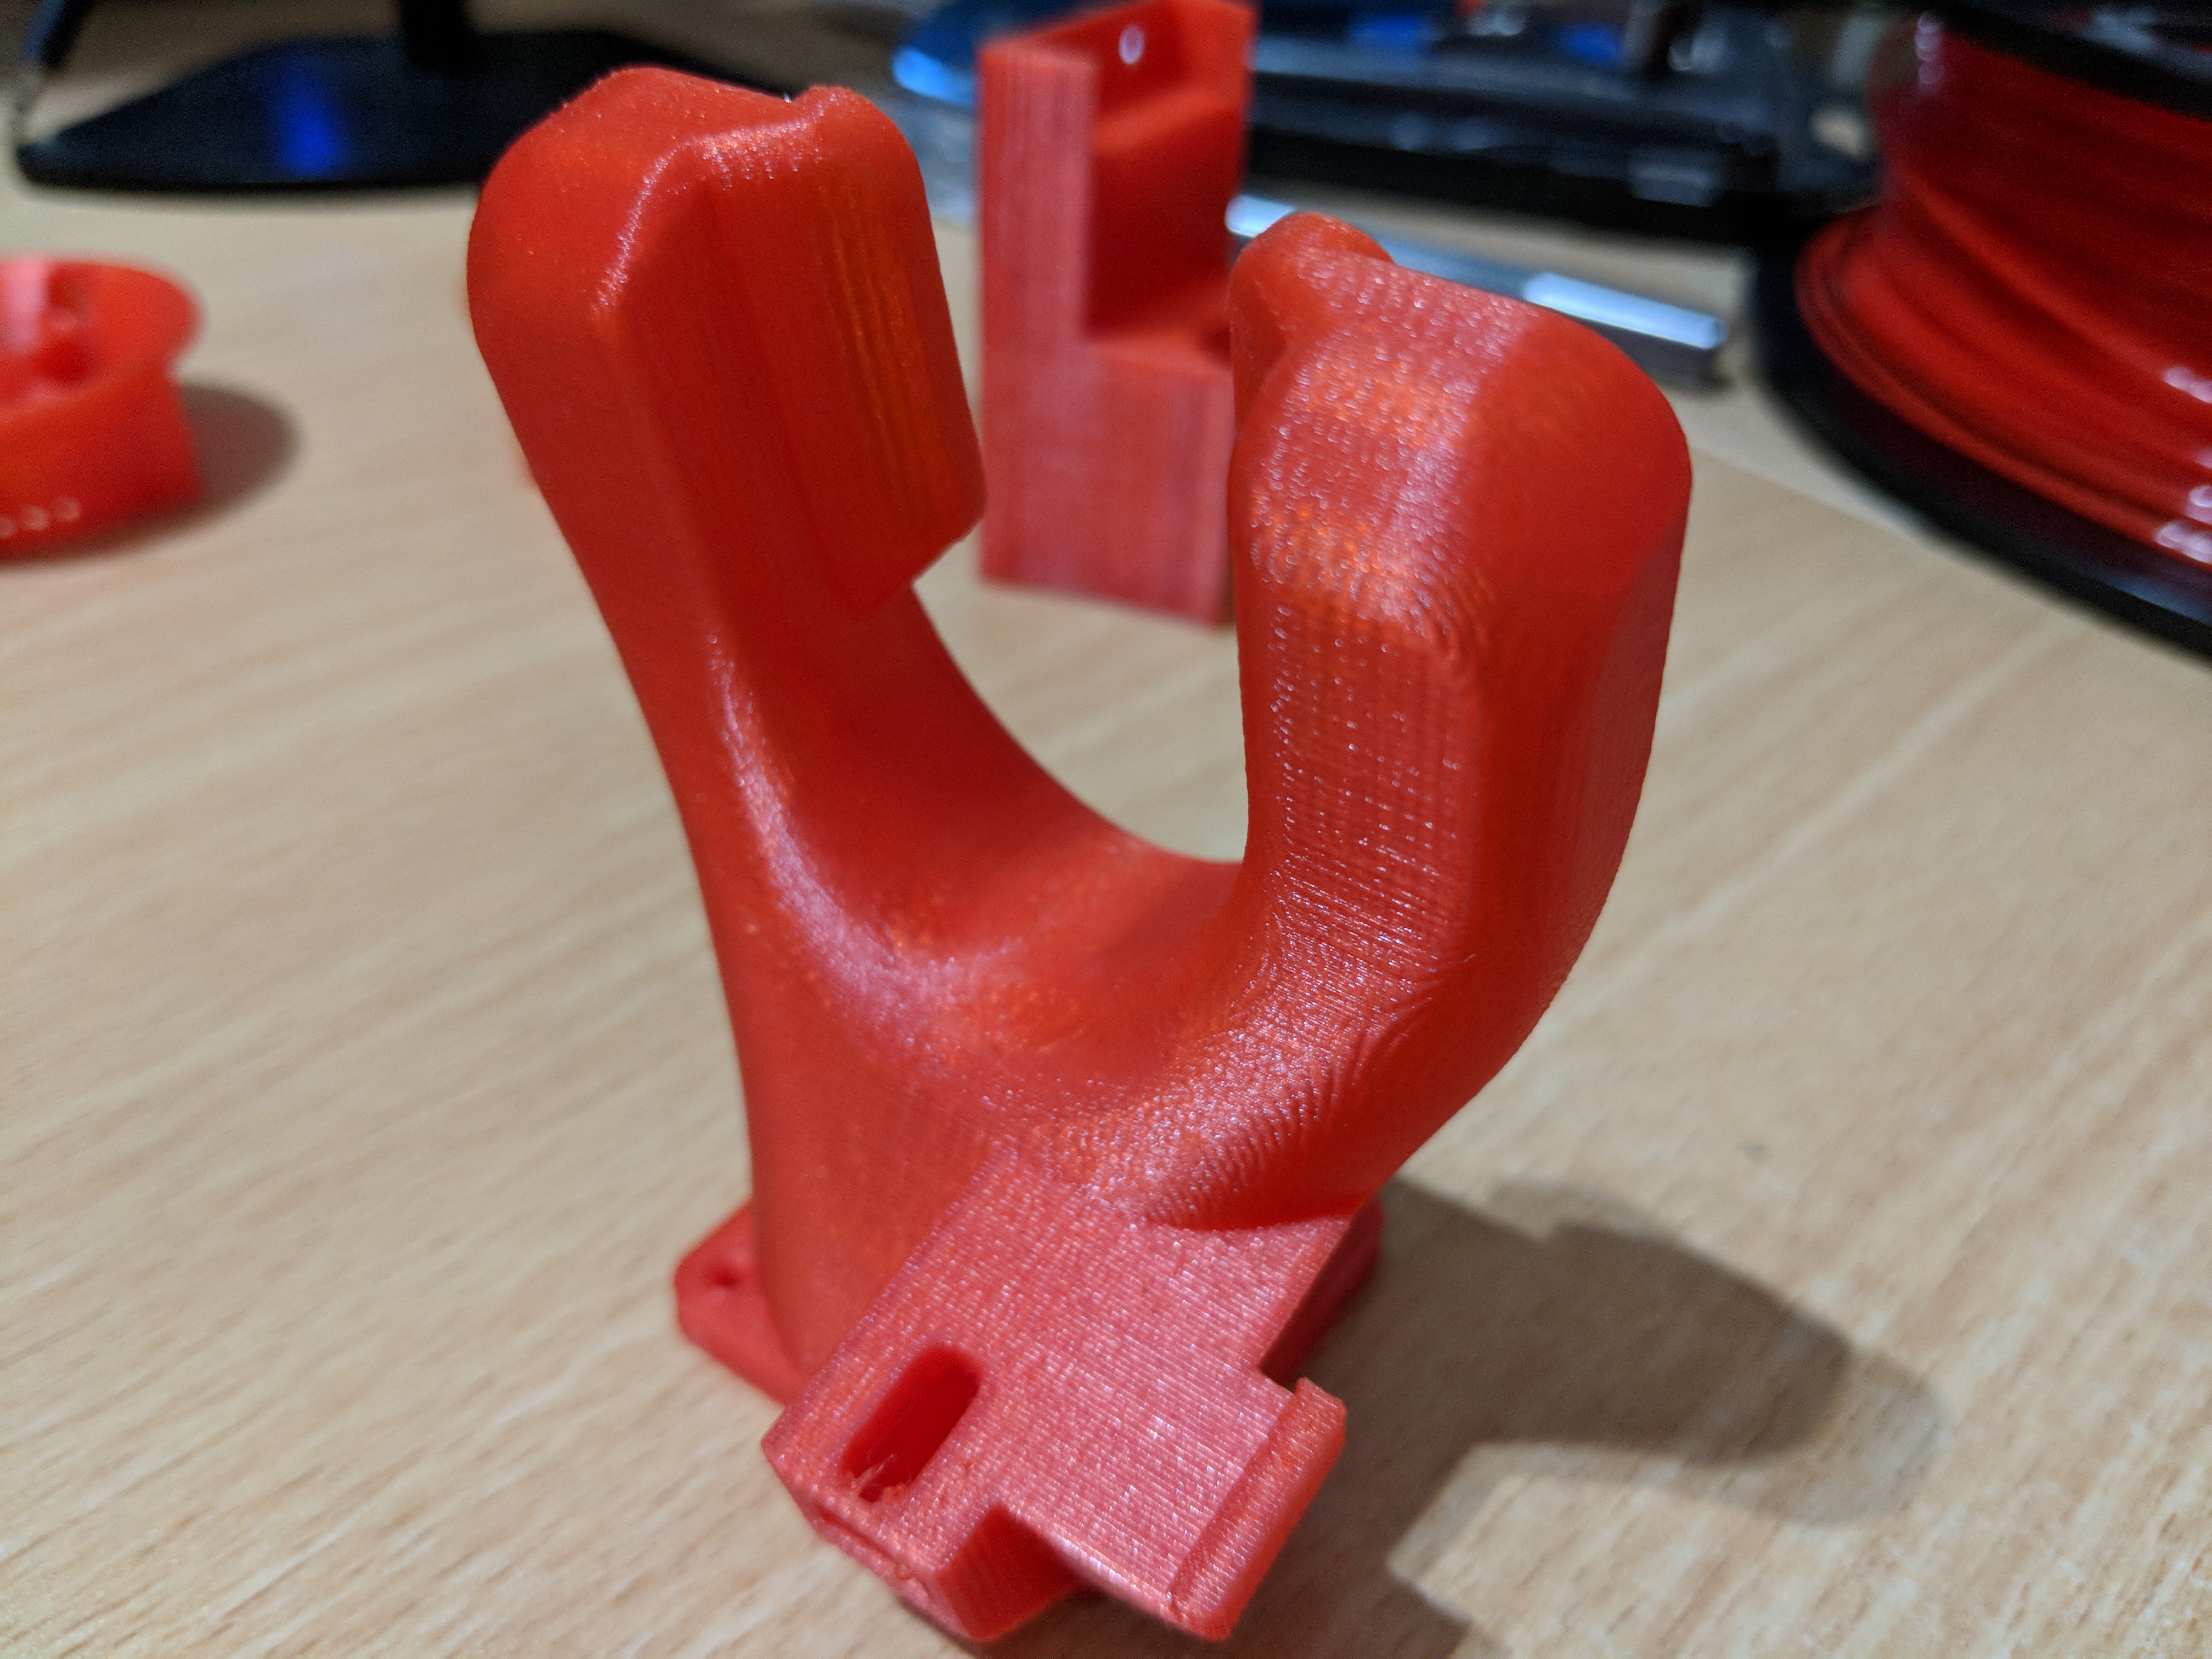
Key Builds
Its best if you print the part cooler and one of the velocity stacks first. Then assemble that and fit it before printing the rest.
Overall the quality is very good though:
Build Gallery


