

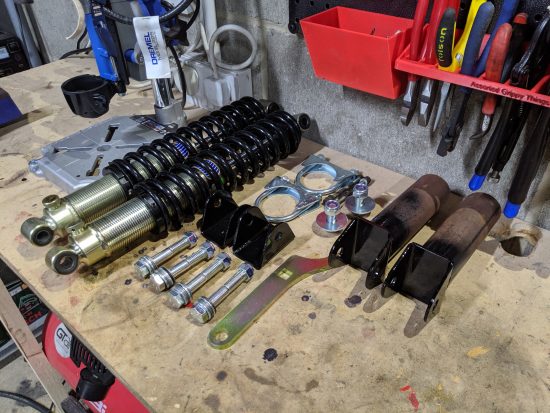
By far the biggest fix that needed to be handled was the suspension. The ride was crashy, wooden and showing its age. I knew this when I bought it, and it was always on the cards to be sorted before summer, so I got stuck straight into it in the spring. After ordering a ton of parts (bushes, ball joints, bolts and not least a shiny new set of GAZ adjustable Coilovers) it was time to get dirty!
This was no small task. Starting at the back of the car, the original sierra setup was in use. separate shock and spring, with a few spring spacers in to stop it hitting the frame! That needed to go and be converted to coilovers so I spoke to KitSpares, the company that originally made the RH2b (Great British Sports Cars) and got some advice. Fortunately they made a conversion kit for this which was essentially a couple of metal brackets so i bought the parts and set to work.
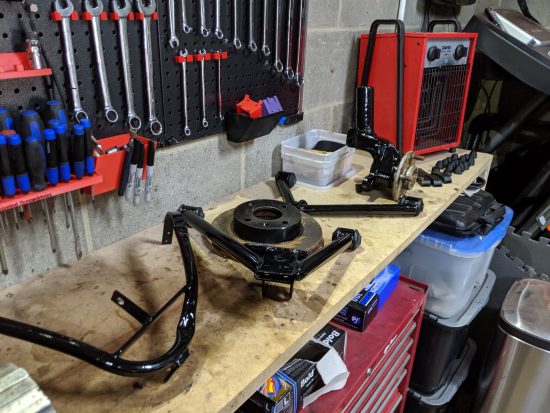
It was remarkably easy to do and took no time once I had everything stripped down and prepped. For the most part, the longest time was spent prepping materials with paint and rust proofing everything that was looking worse for wear. All exposed metal was either painted, or treated with BitHamber Hydrate 80, my favorite rust proofing agent!
Once everything was prepped, cleaned, hydrated, painted and ready, it was a simple assembly to get it looking like new!
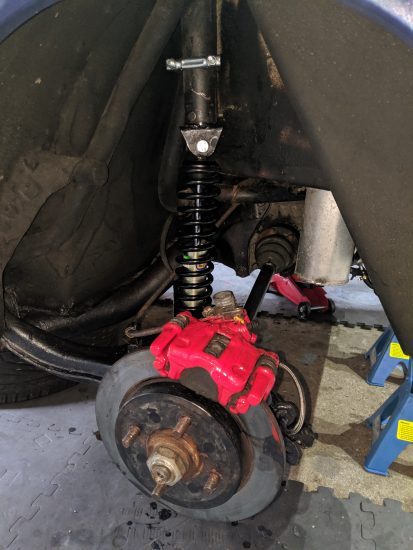
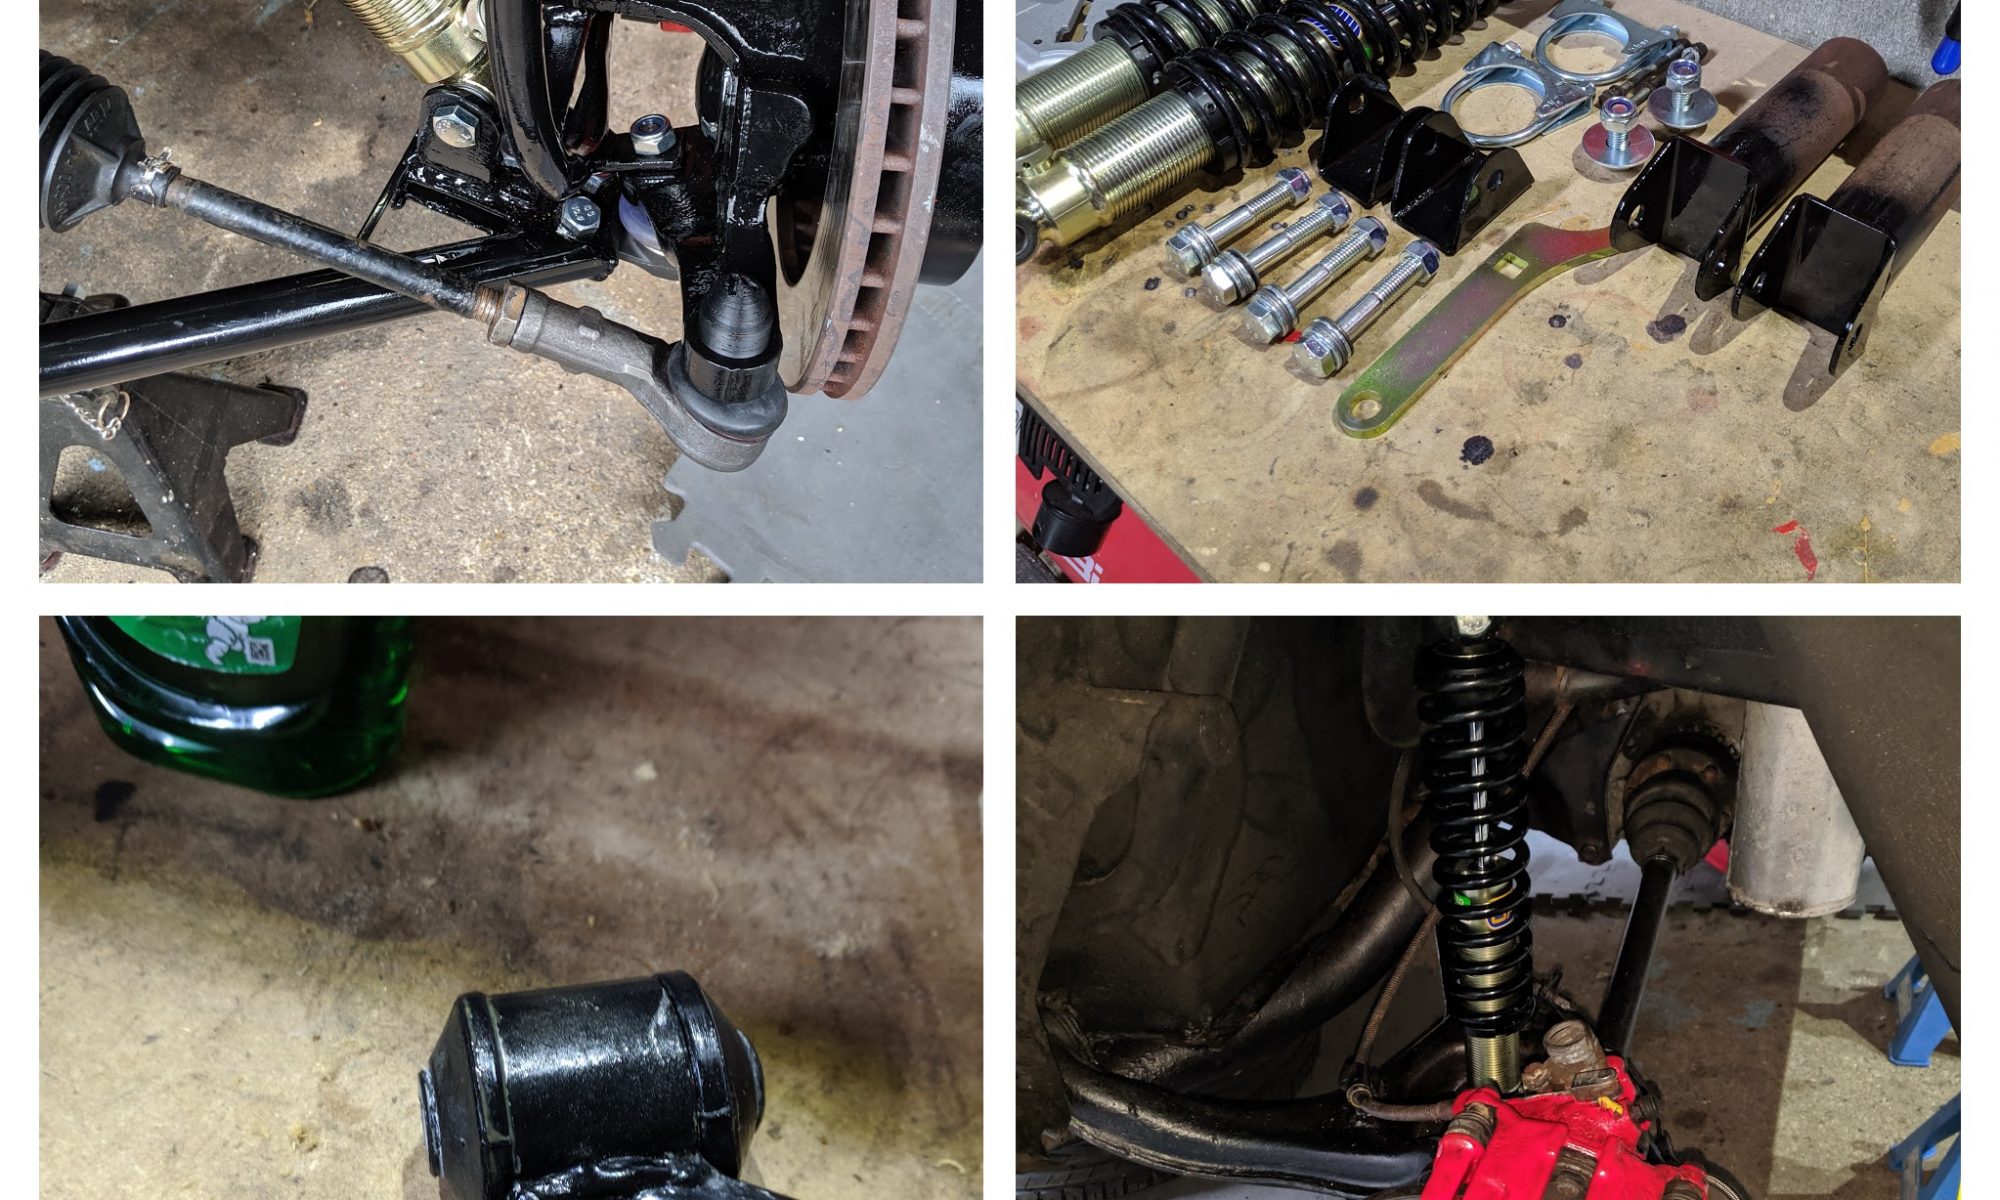
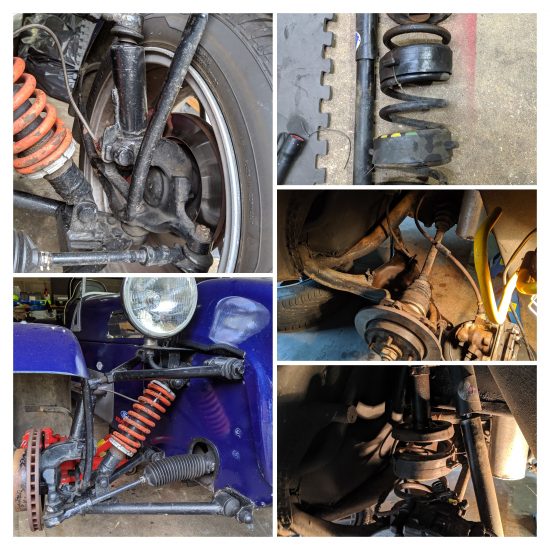
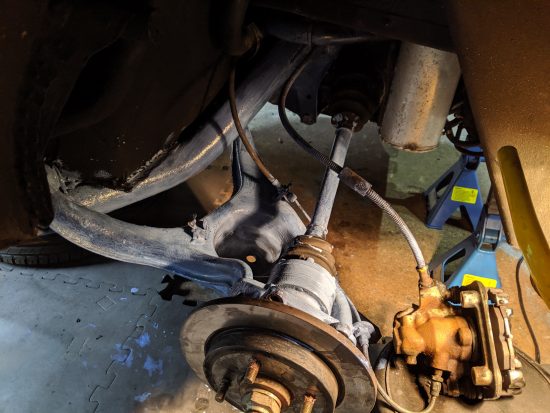
Once the rear end was all sorted out it was onto the front end. This was the real mess. Old Spax coilovers with paint chipping off while everything else was hand painted in what looked like textured hammerite! and I do mean everything, bolts, bushes, the lot!
Along with some interesting choices in paint came an interesting choice in bush modification. The suspension used circa 1990 Vauxhall Astra bushes, but the builder had litterally hack-sawed them shorter to get some caster adjustment. The result was a messy mix of jagged bush, spacers, washers and well…. shit.
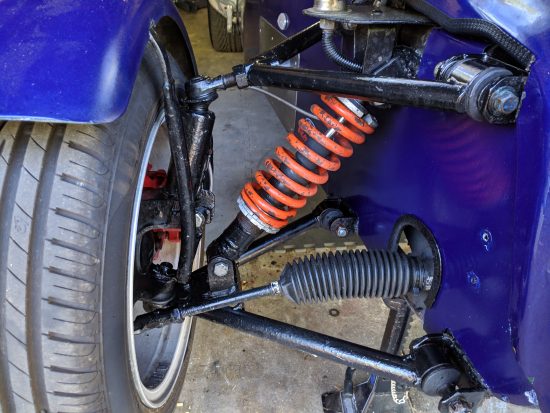
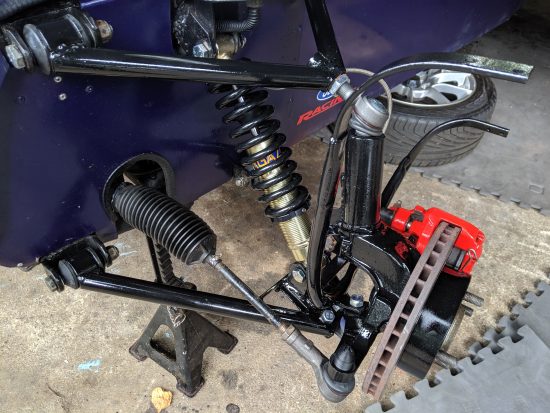
This was not going to do at all so it all came off and was stripped back to bare metal before being sprayed in Auto-K Black Calliper paint. I love this paint because it self levels, requires no primer or top coat, is resin based and hardens. Its ideal for metal bits like suspension IMO!

Once painted I installed new bushes, new track rod ends as well as new upper and lower ball joints. This was what was needed to get the feeling back in the ride and sort the old girl for many years to come!
Along the way, I replaced far too many bolts that were not the right size or spec which was slightly concerning. Why you would use a mild steel M8 bolt when it should be a stainless 8.8 M10 I have no idea, but when I found it wrong, it got put right!
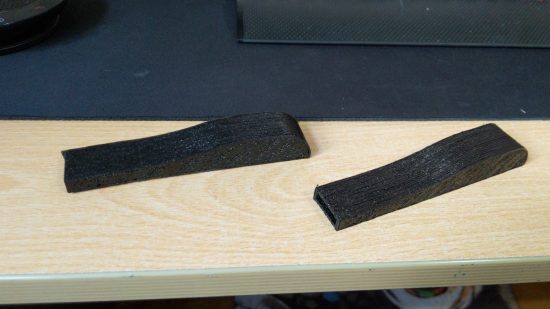
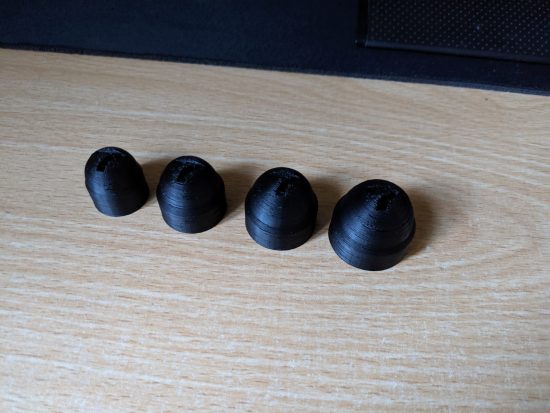
Of course the 3D printer came in handy along the way. Firstly to print some custom designed flexible mounts for the cycle wings to stop them rattling, and then to print some custom bolt caps with a Lotus 7 logo in. I mean, if you can, you should right?
All in this particular modification / improvement has taken me just short of 3 months, but that’s mainly because I took my time and made it right!