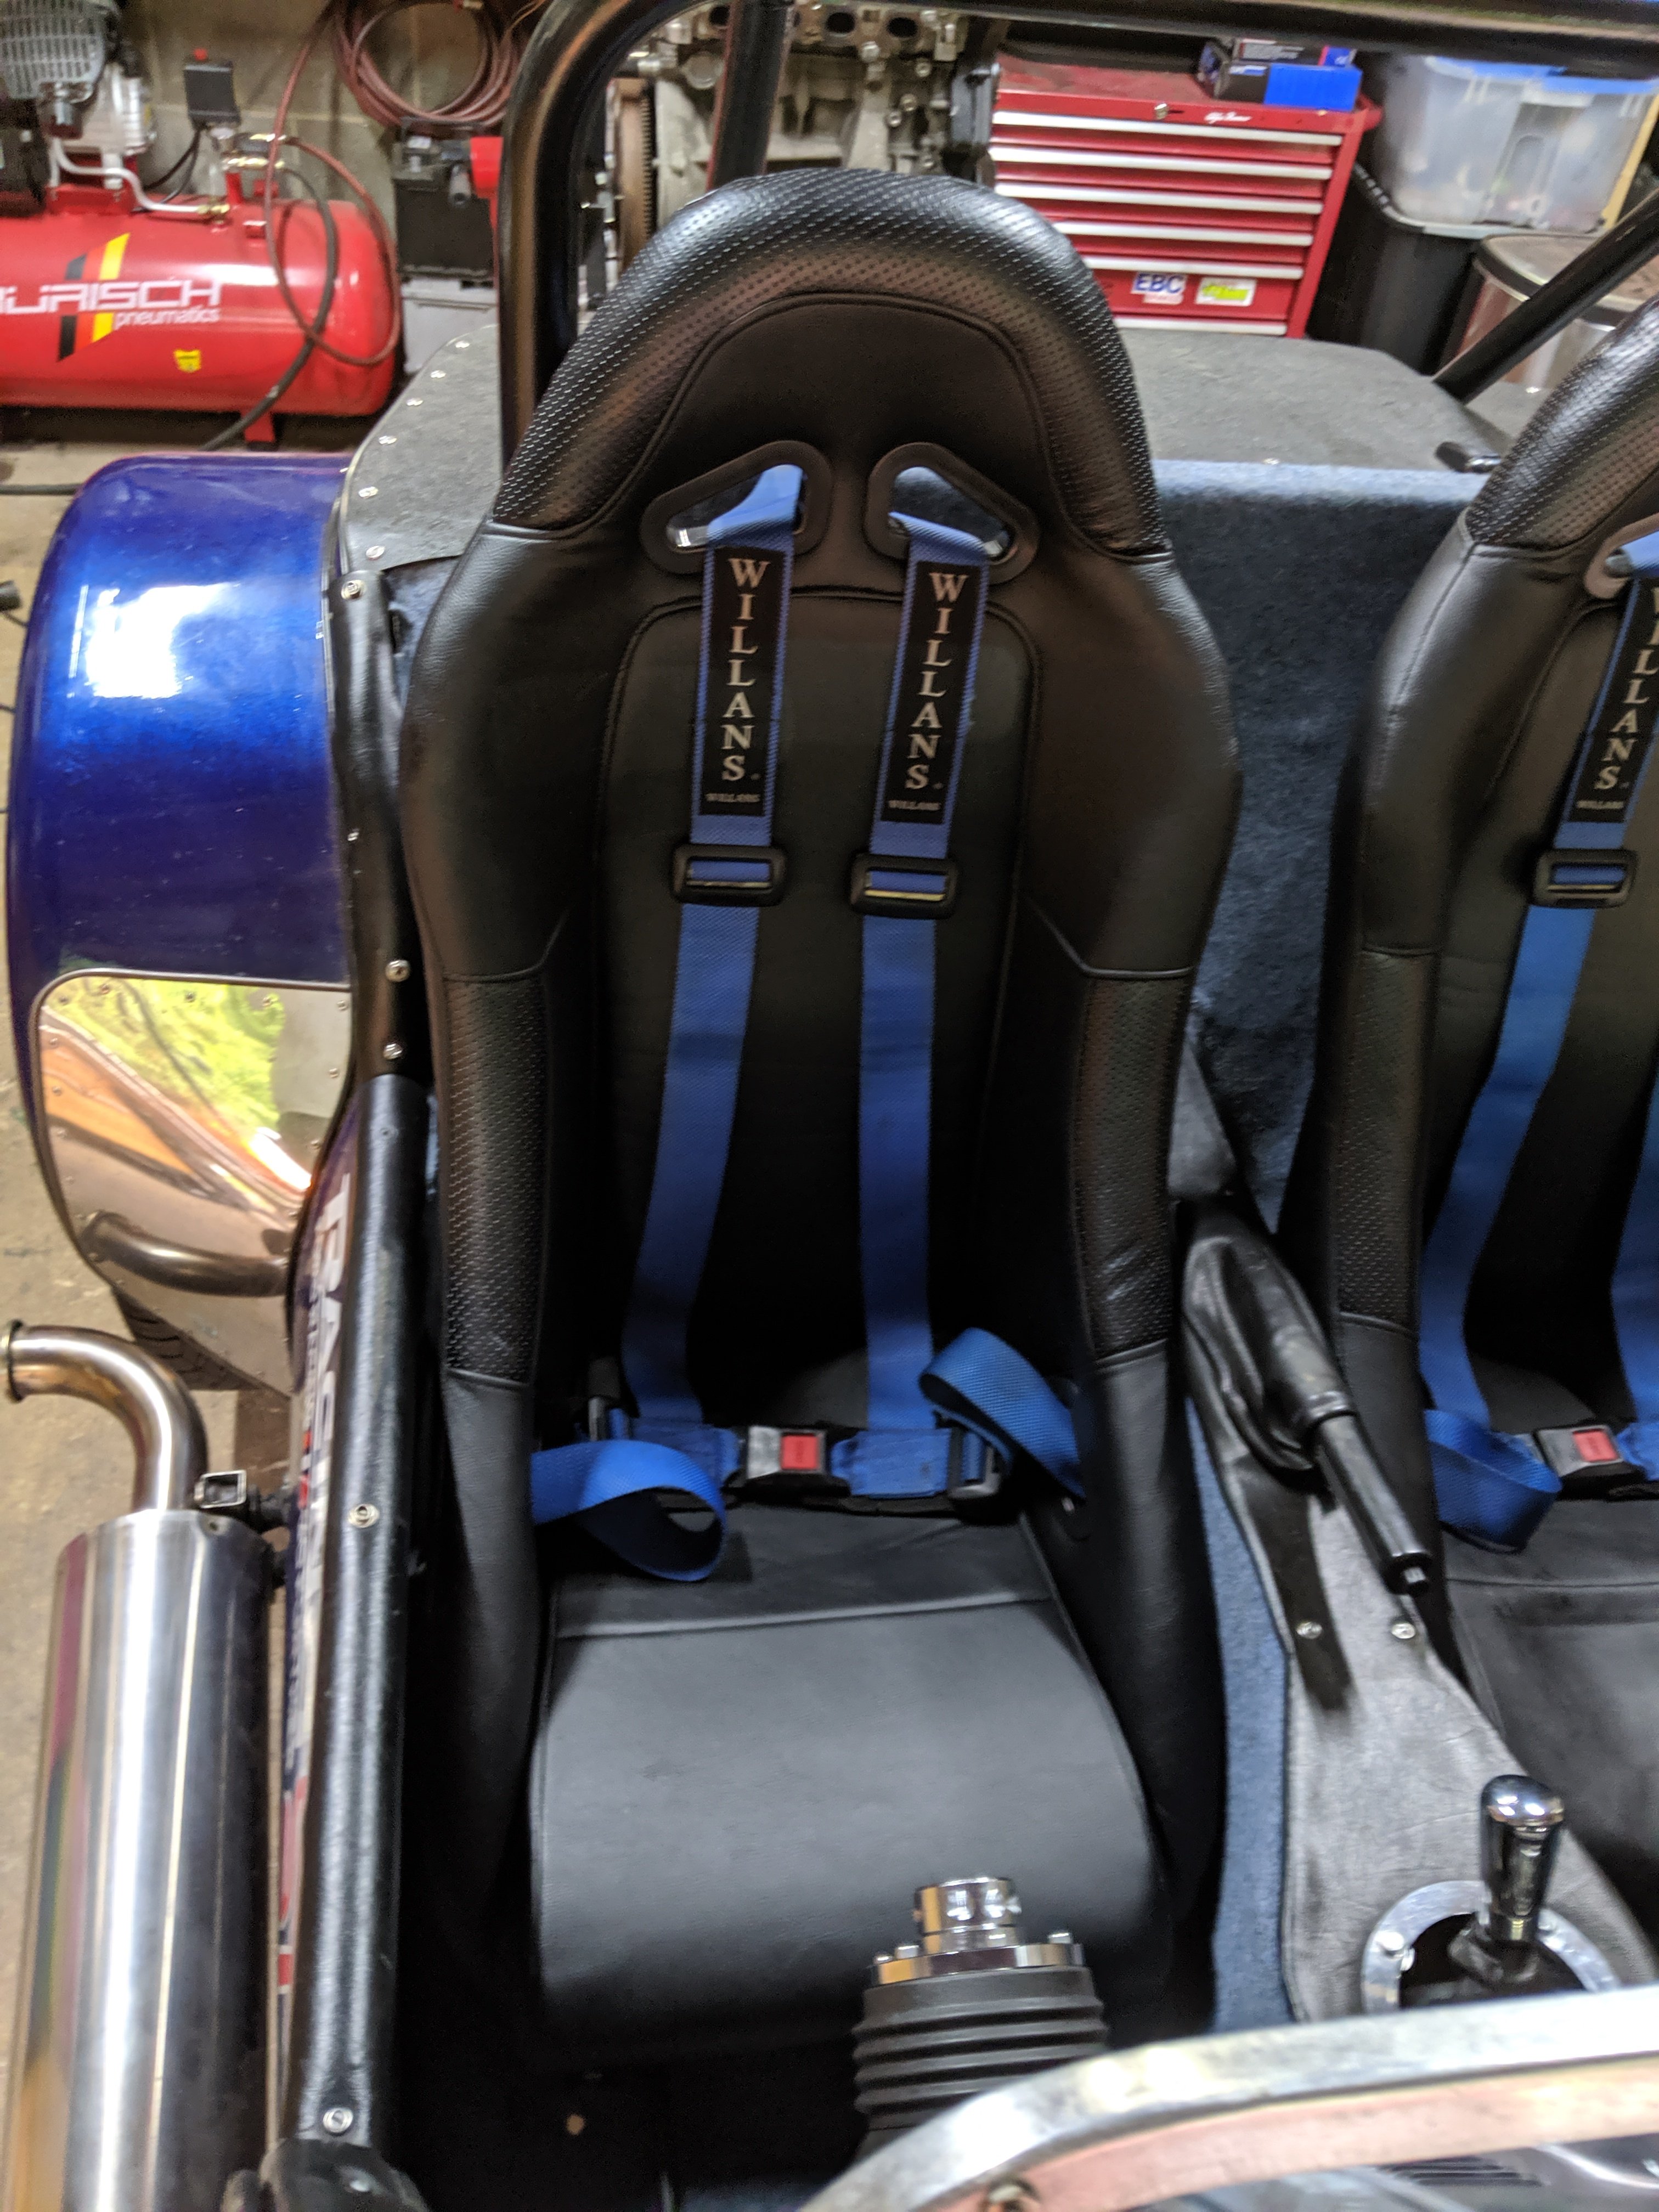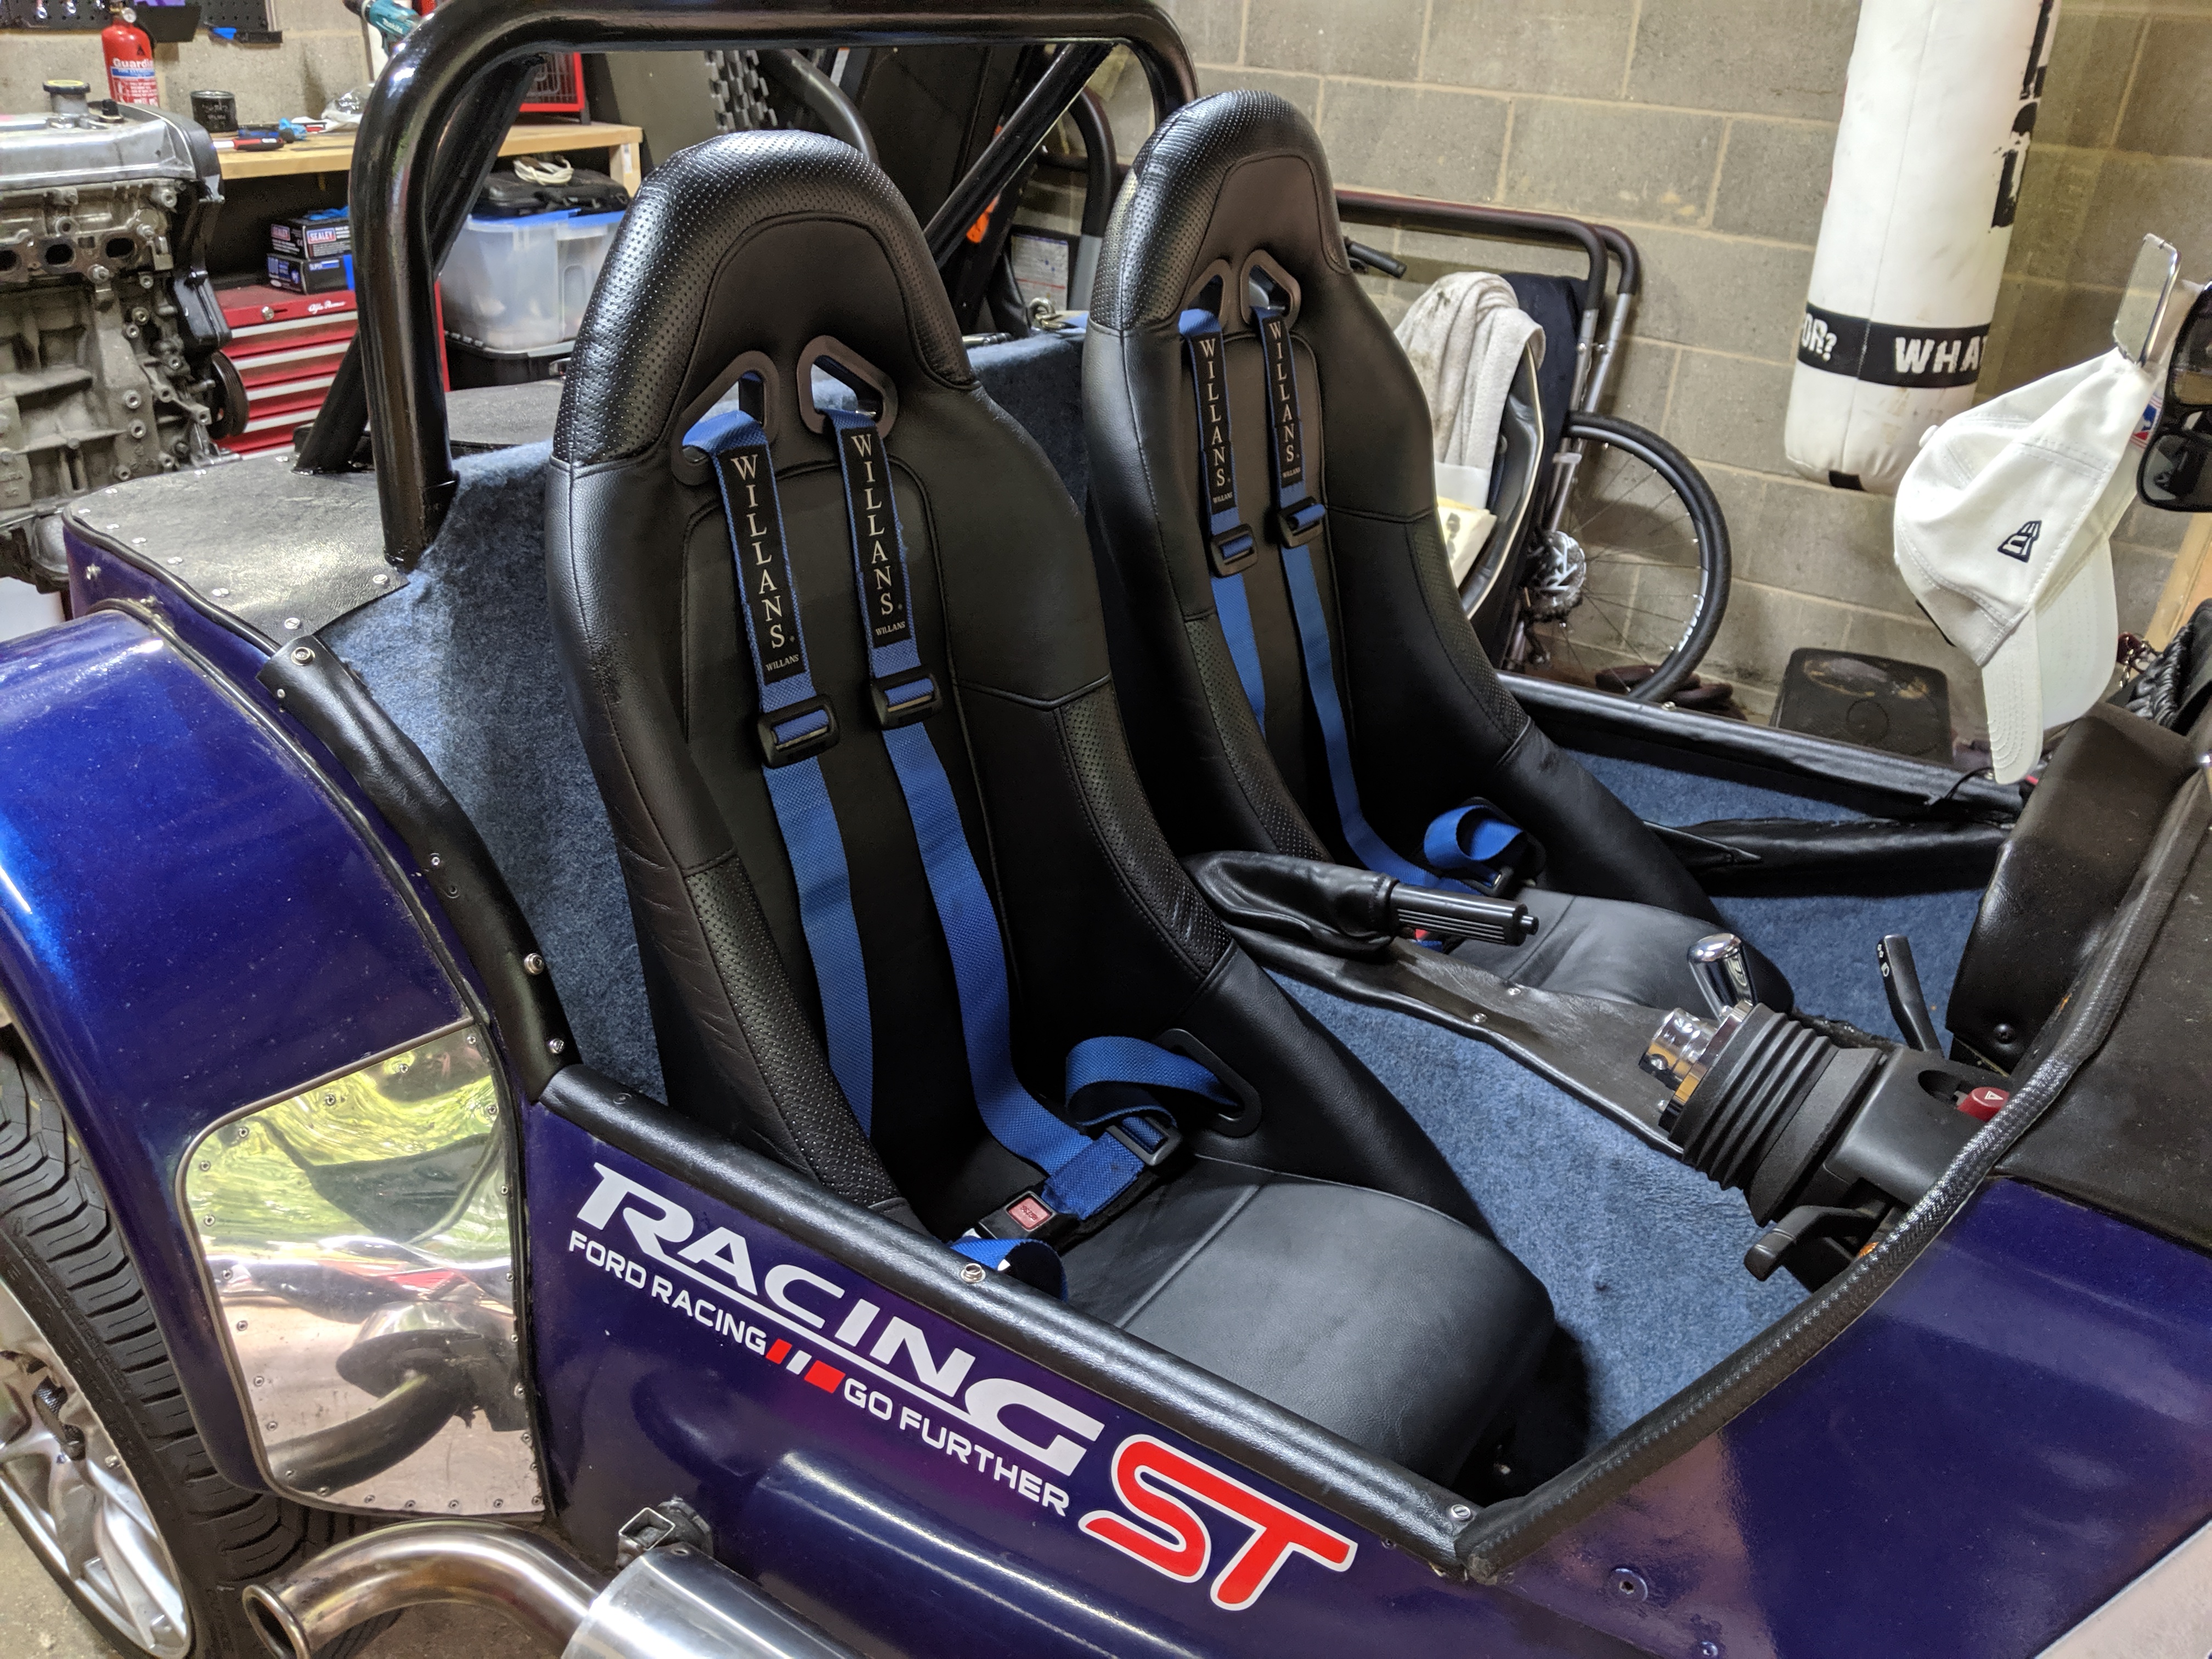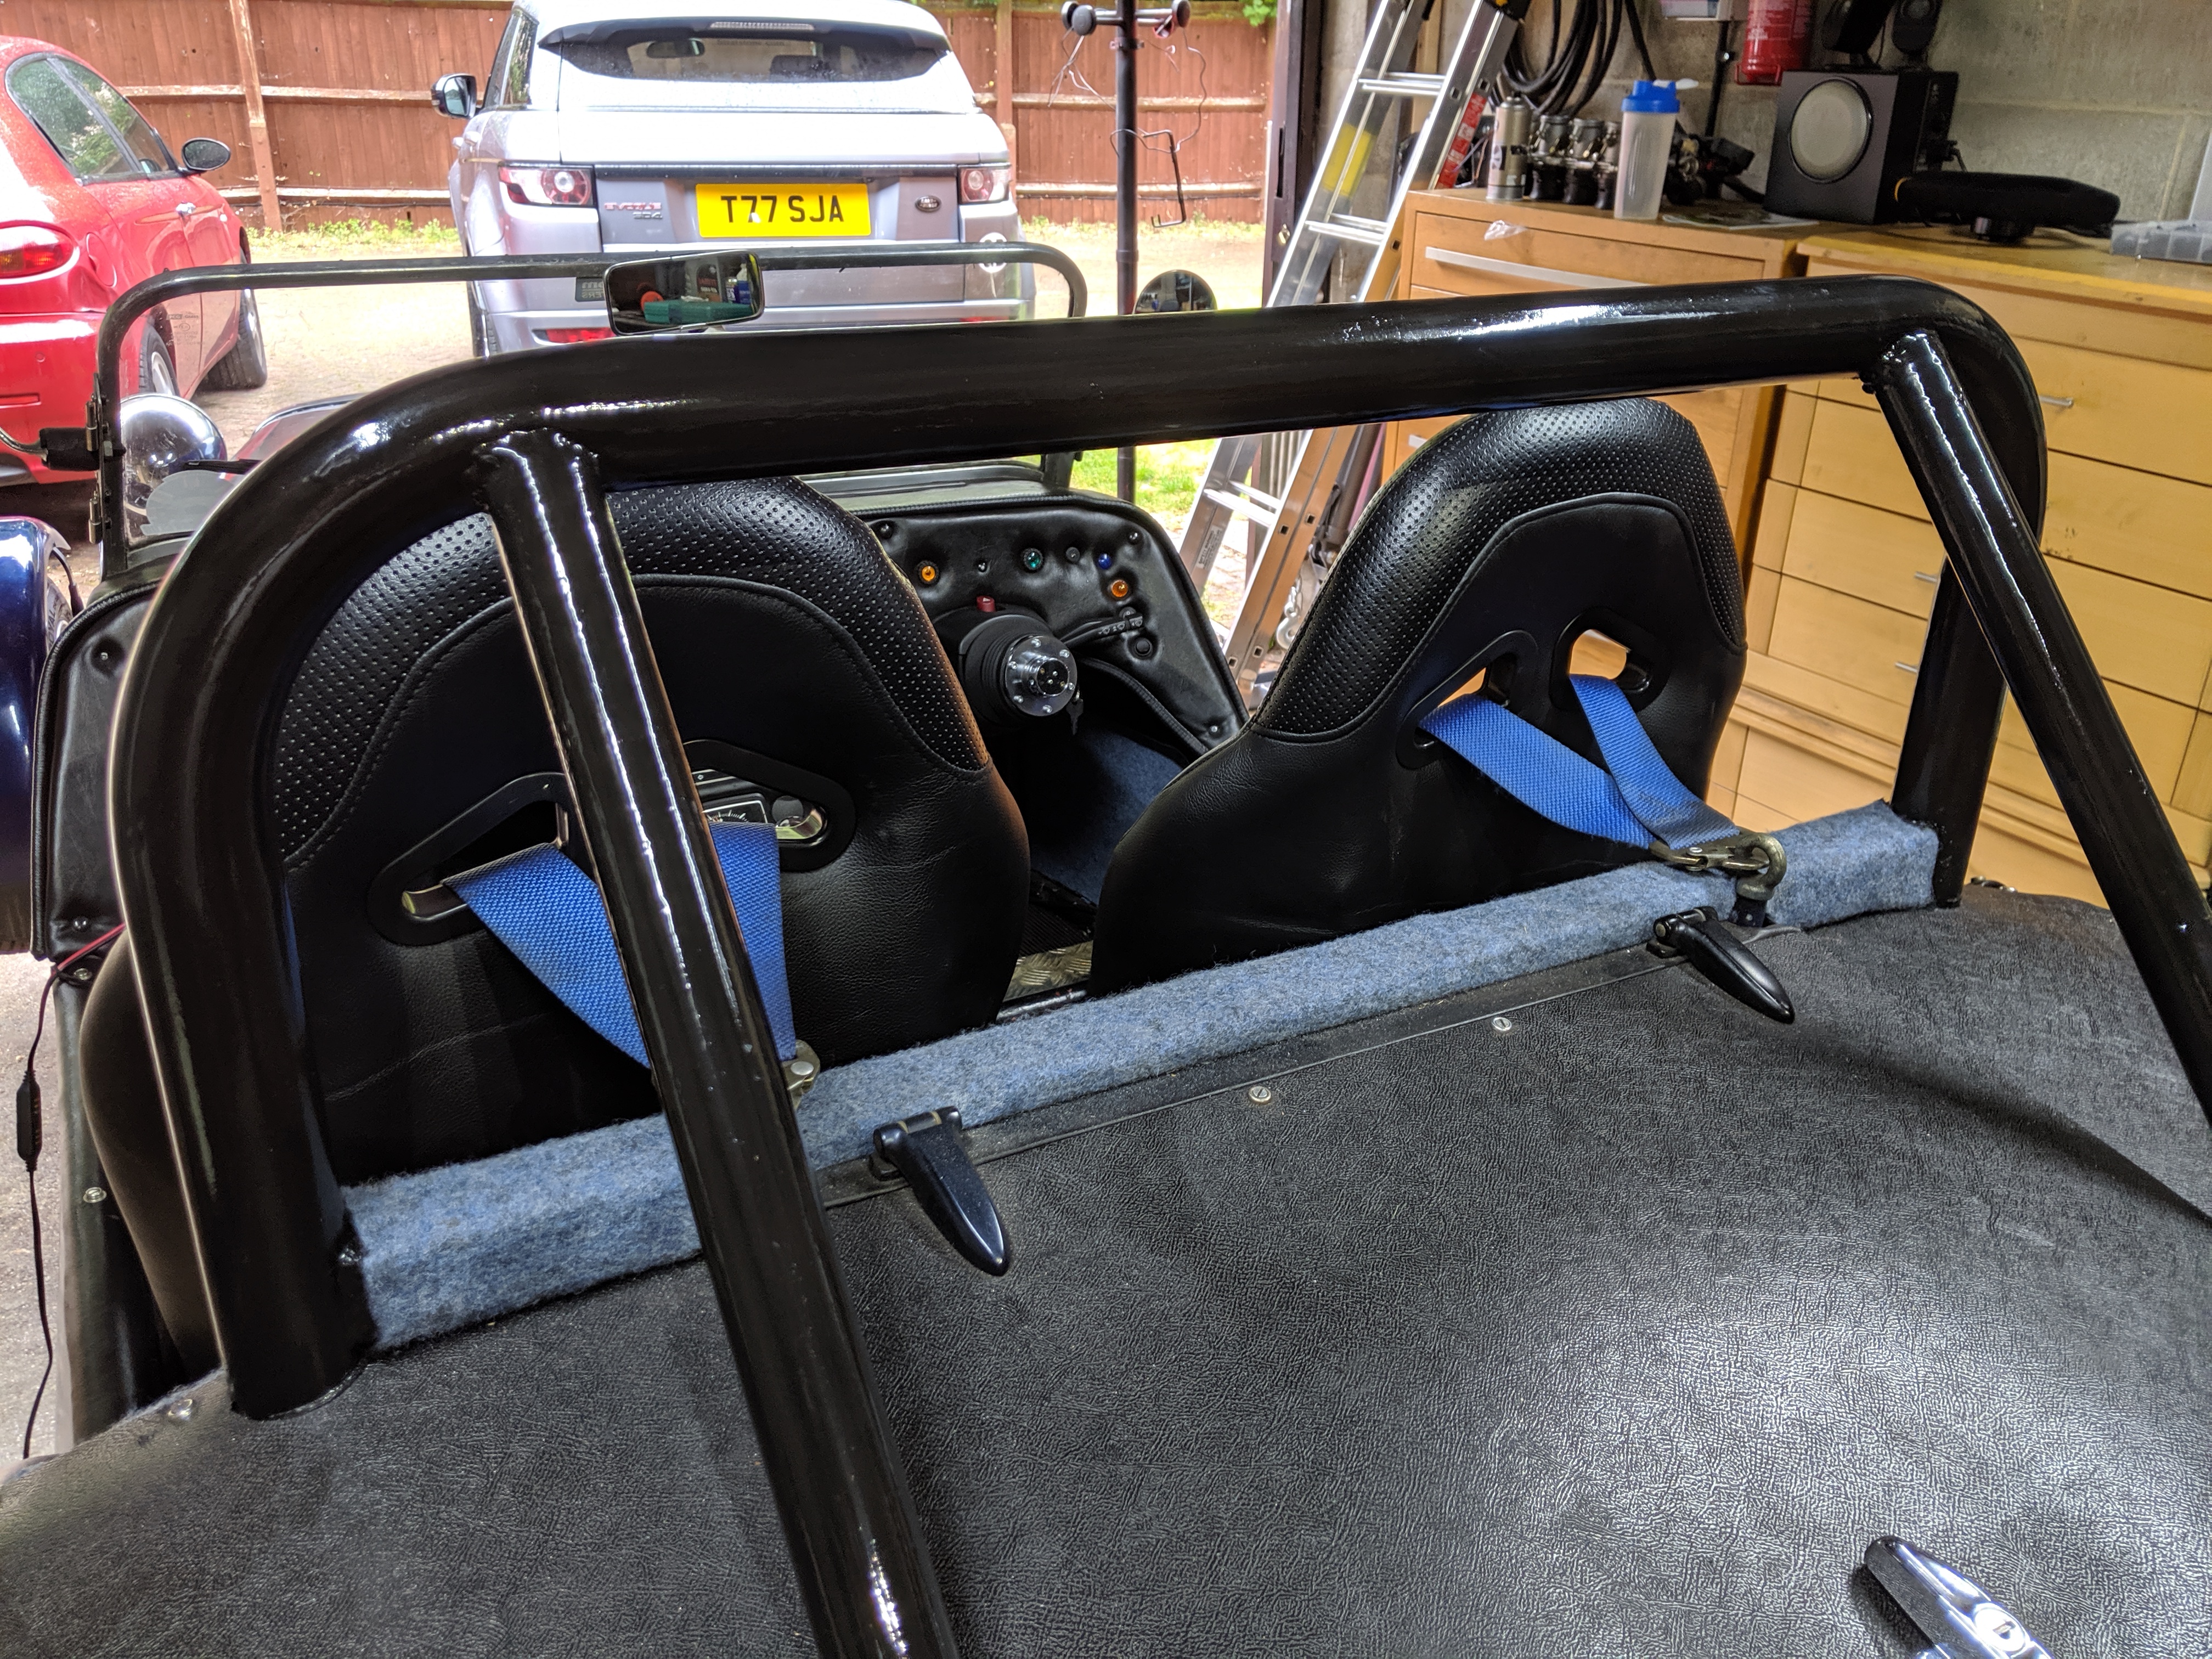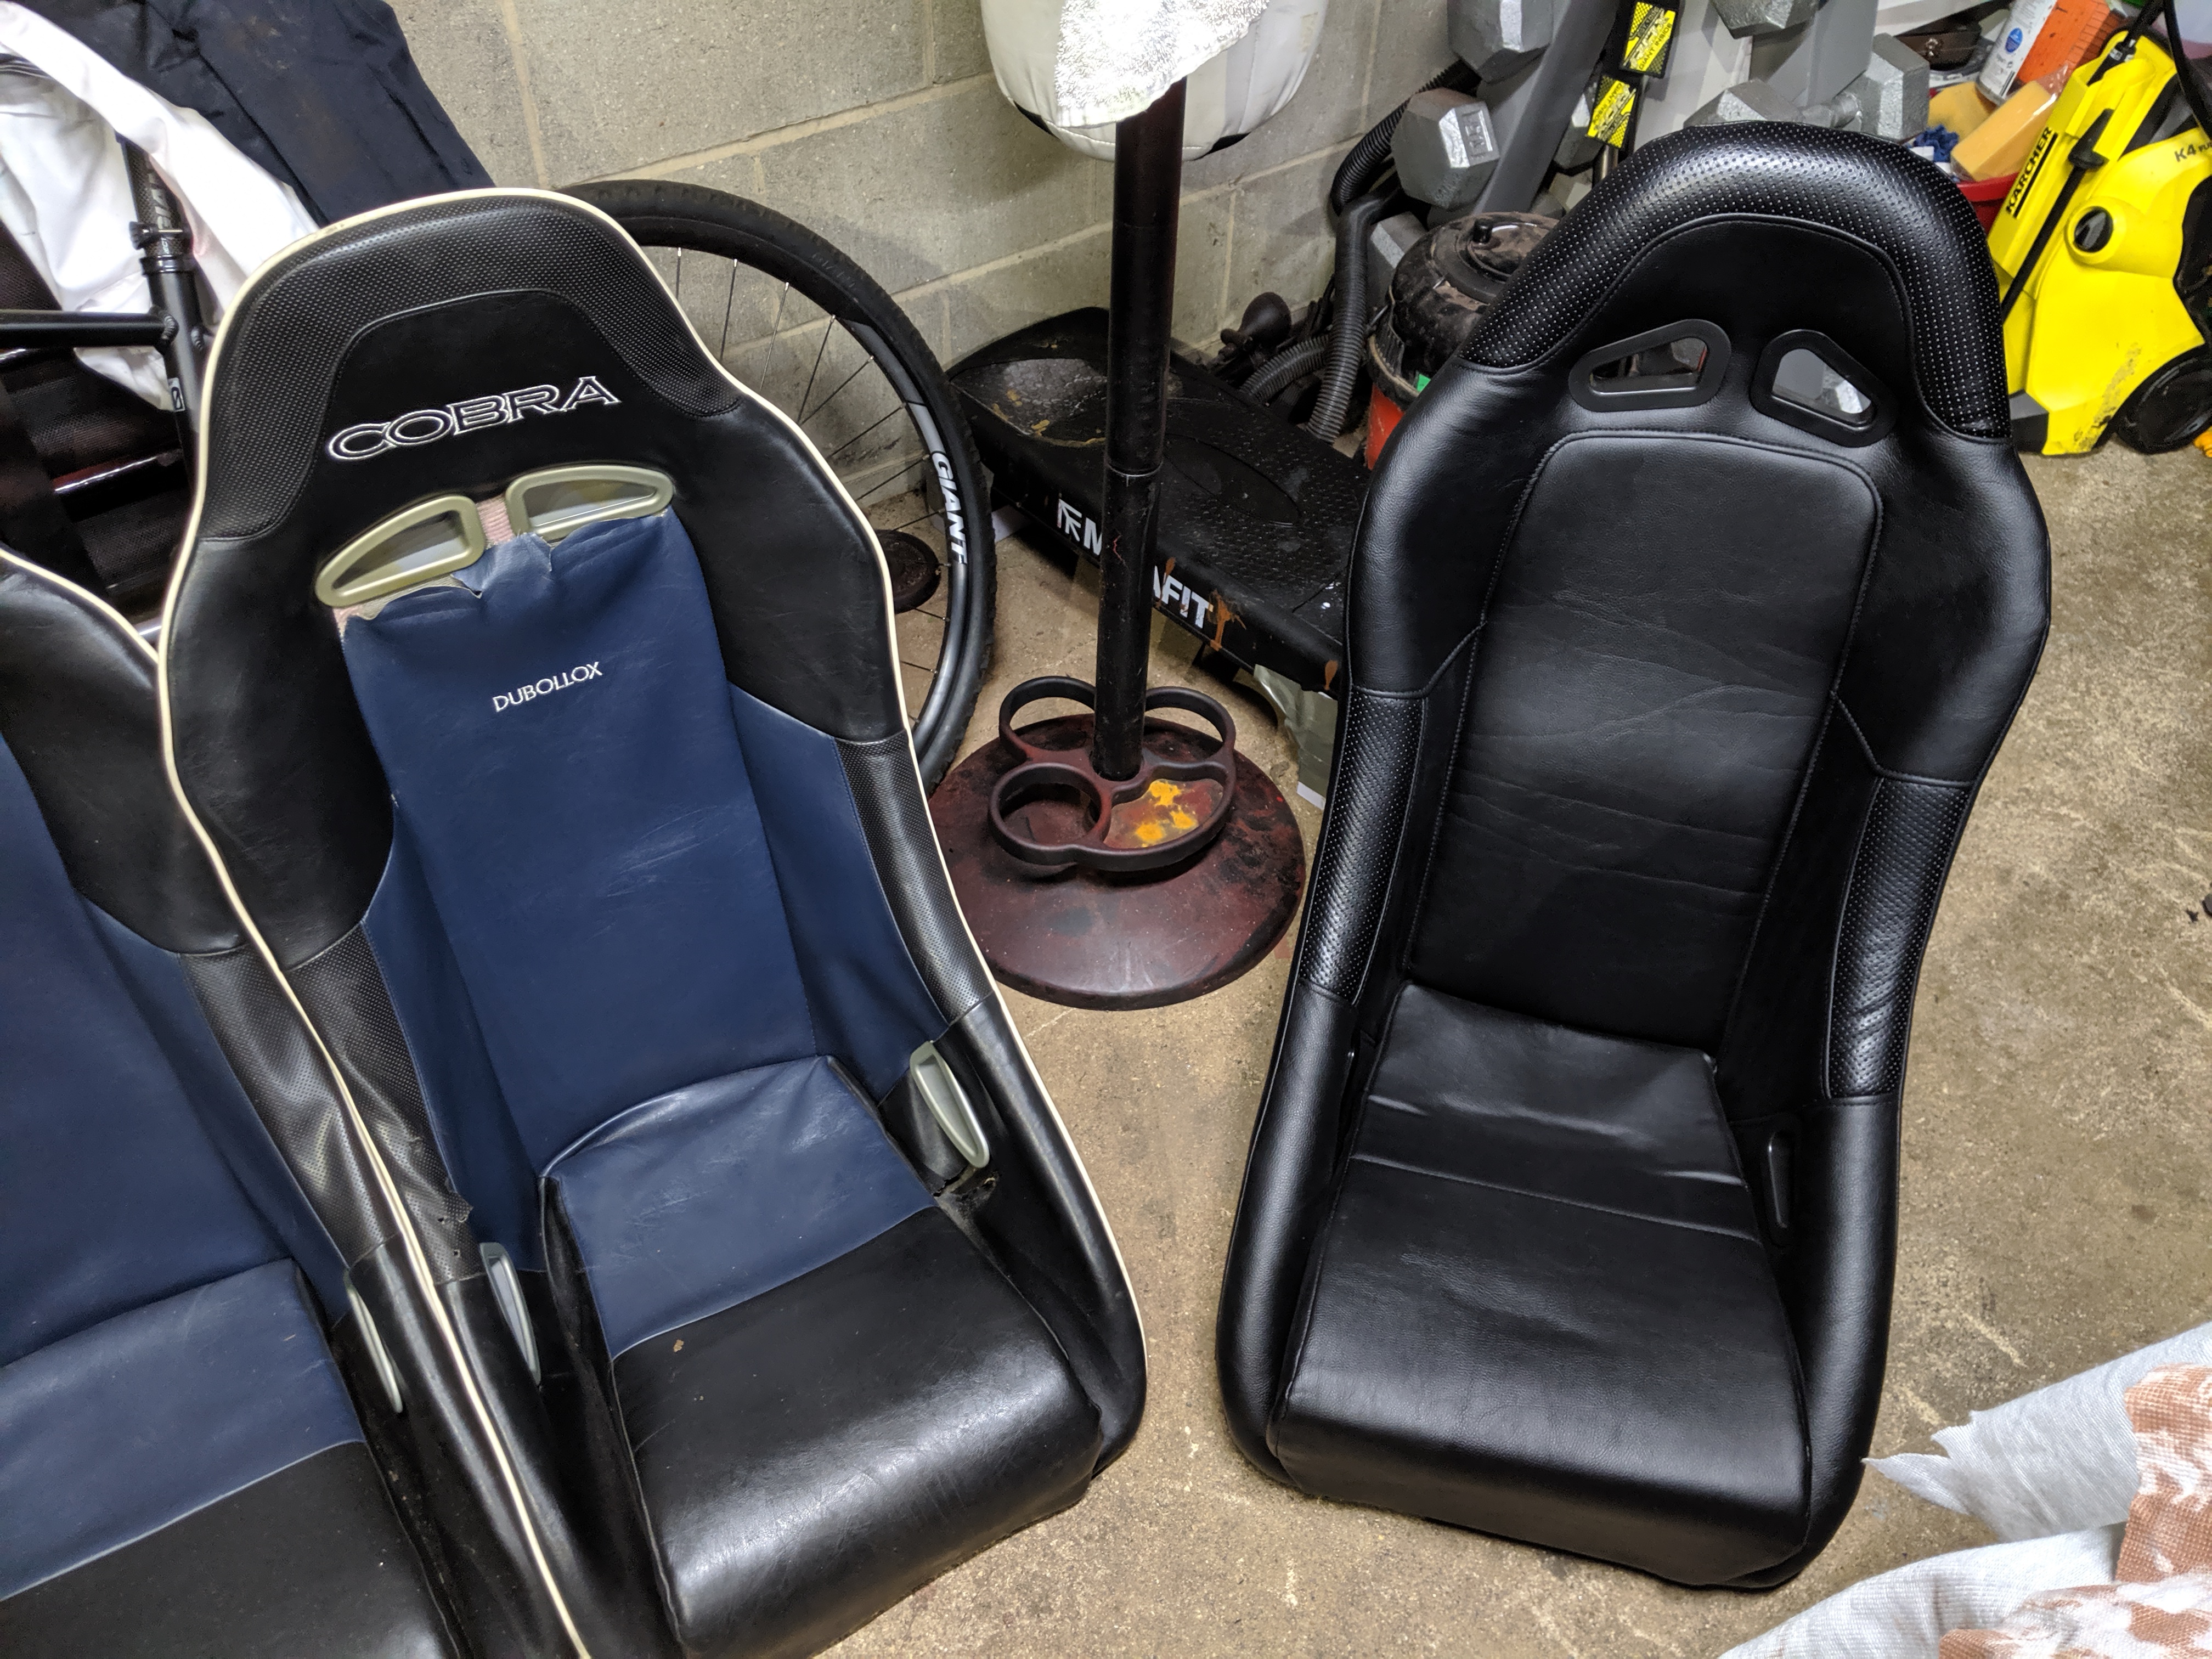
The original seats in the 2b were a little worse for wear when I bought the car, but I had mistakenly thought that it would be a relatively cheap thing to fix. Little did I know that trimmers charge a small fortune for their skills!
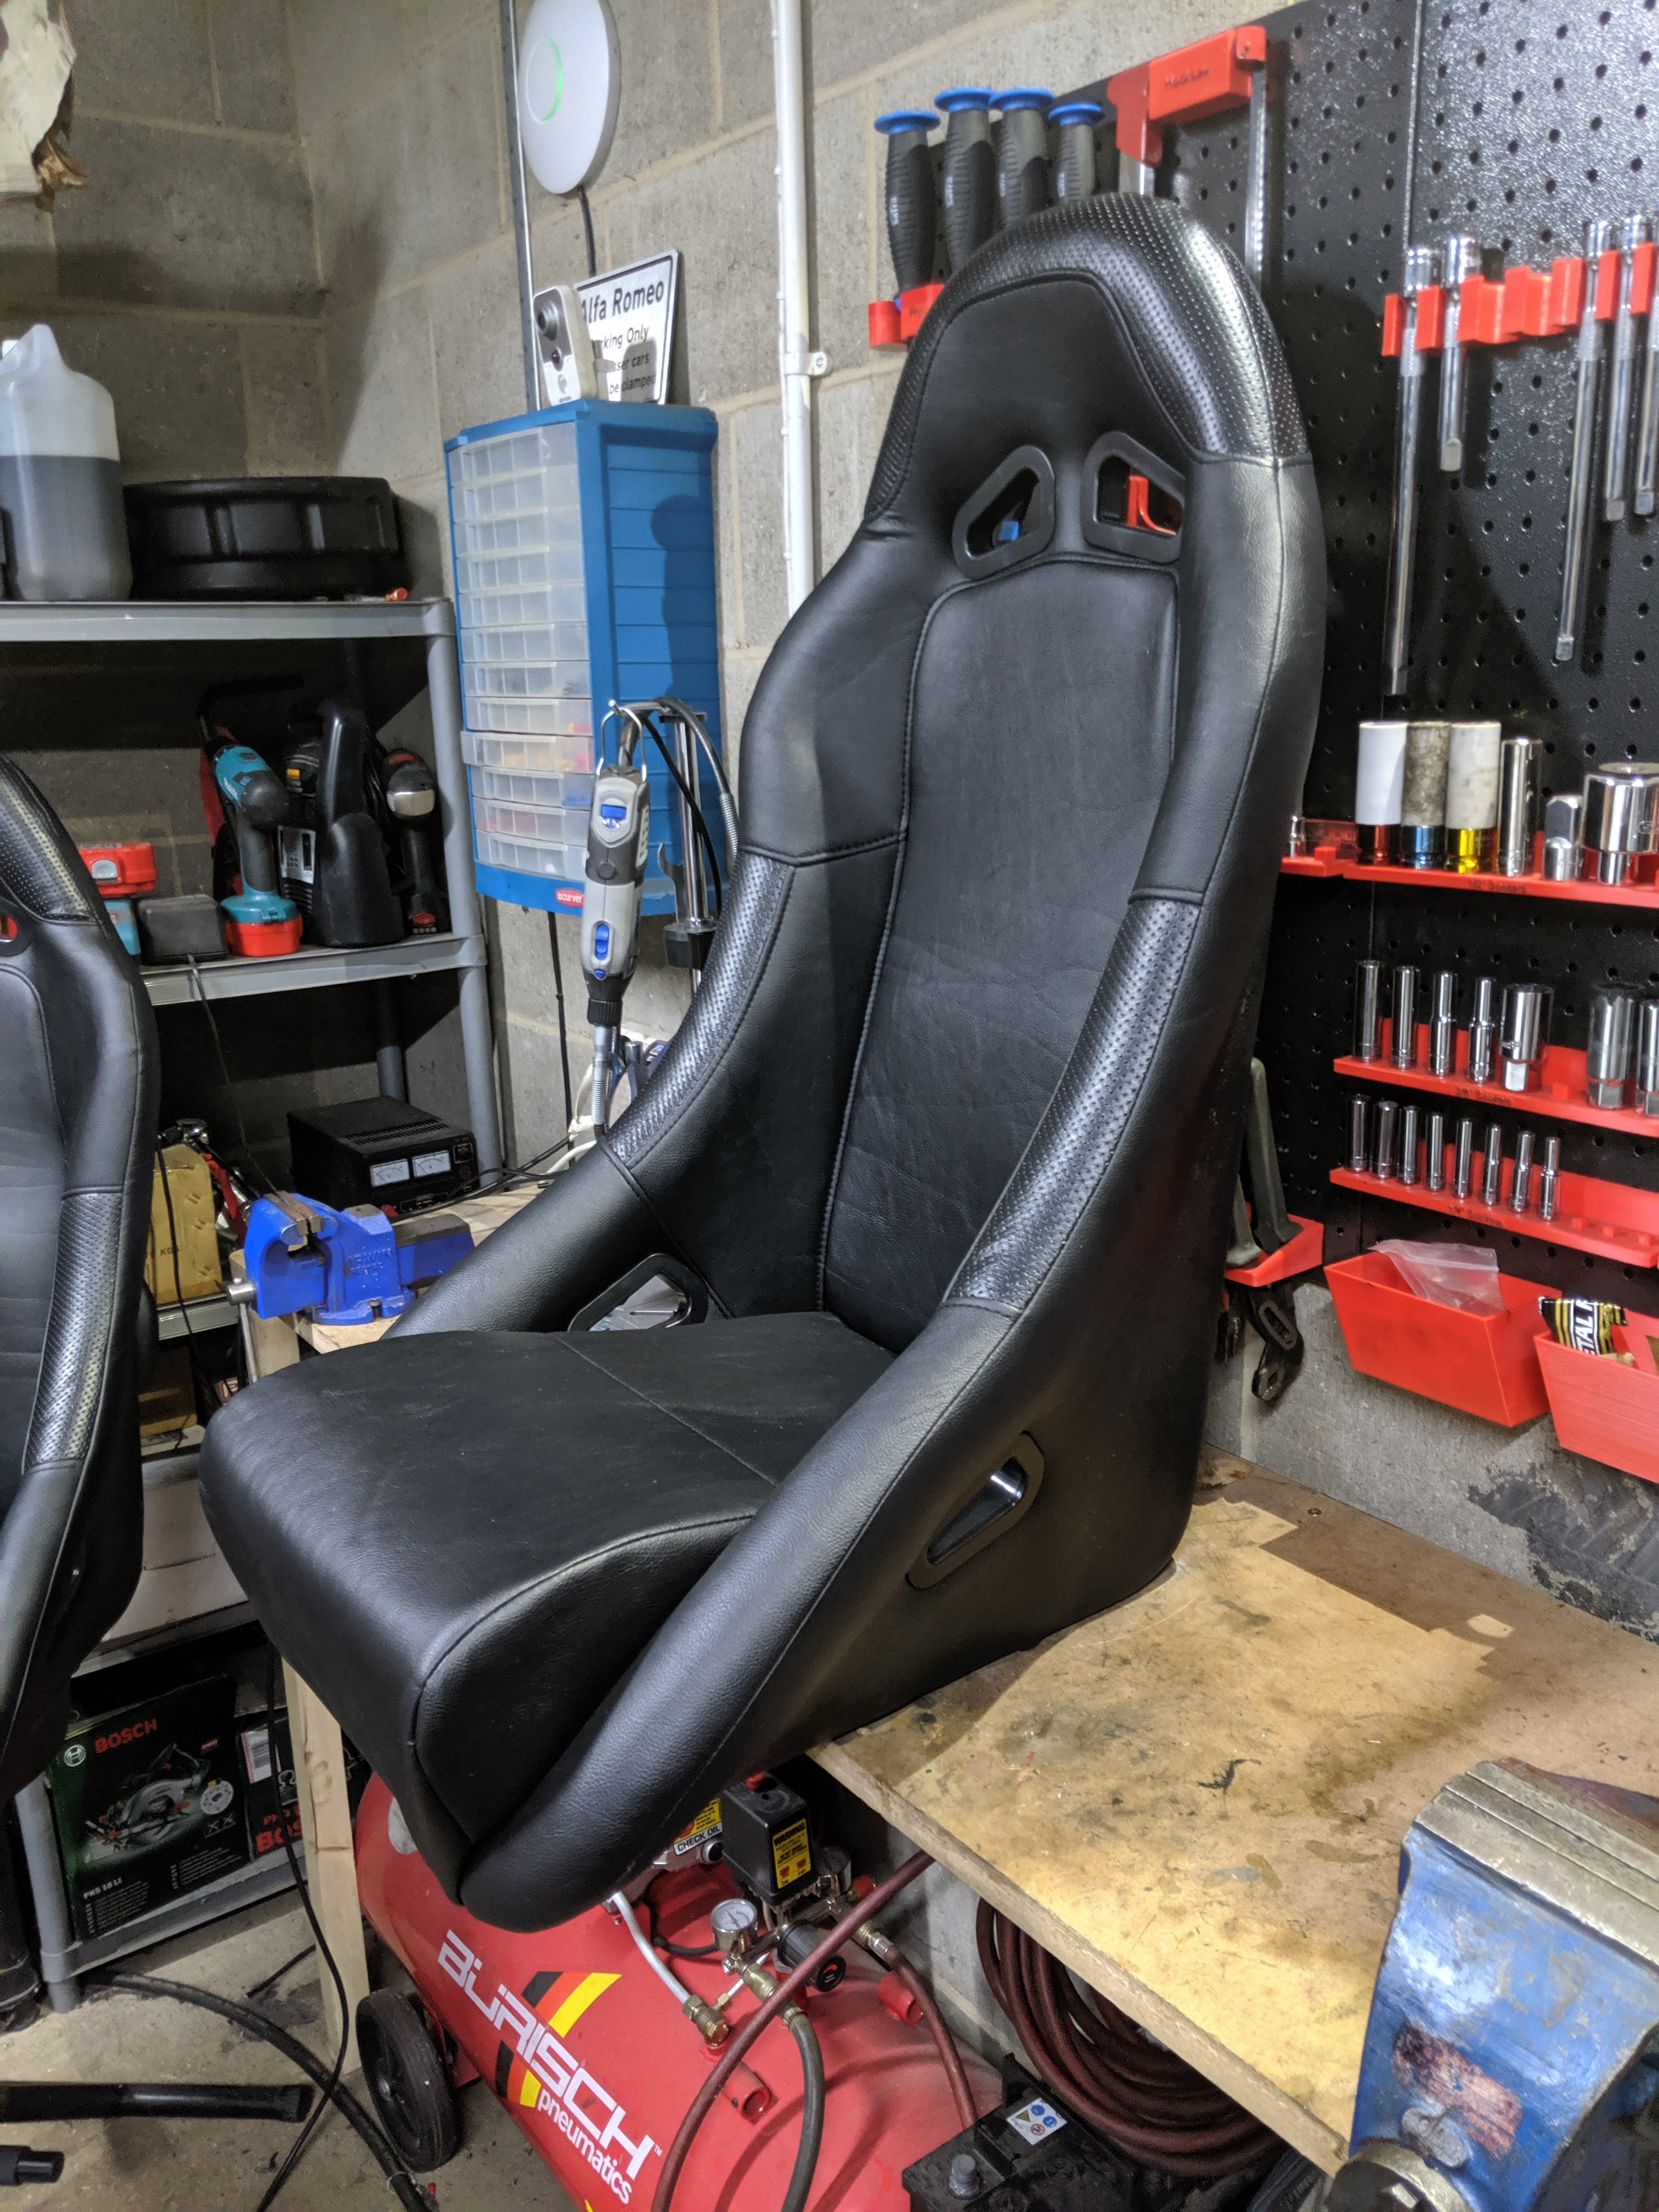
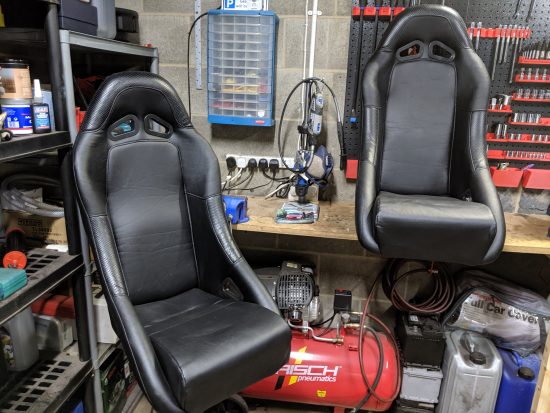
In fact, I was being quoted around £200 per seat to have them fixed, and new seats were about £200 per seat! So, well, you know….. I bought some new seats! That said, I wanted to minimise the cost here as I had hemorrhaged way more than I initially budgeted to get it ready for the summer, so I set about some ebay stalking, and after several back and forth’s on buying expensive branded, quality seats vs something secondhand and cheap, I found a seller with a new pair of the exact seats that were in the car currently (retro style buckets) but in plain black vinyl.
The best part about this find was that the seller was clearly just a regular guy that thought he would get rich selling motorsport parts on ebay but clearly didn’t have the roaring success he planned for and was sat on some stock he needed to shift. This presented an opportunity for a cheeky offer! So an offer was made, and accepted, that got me 2 brand new seats for £260 delivered 🙂 #Result!
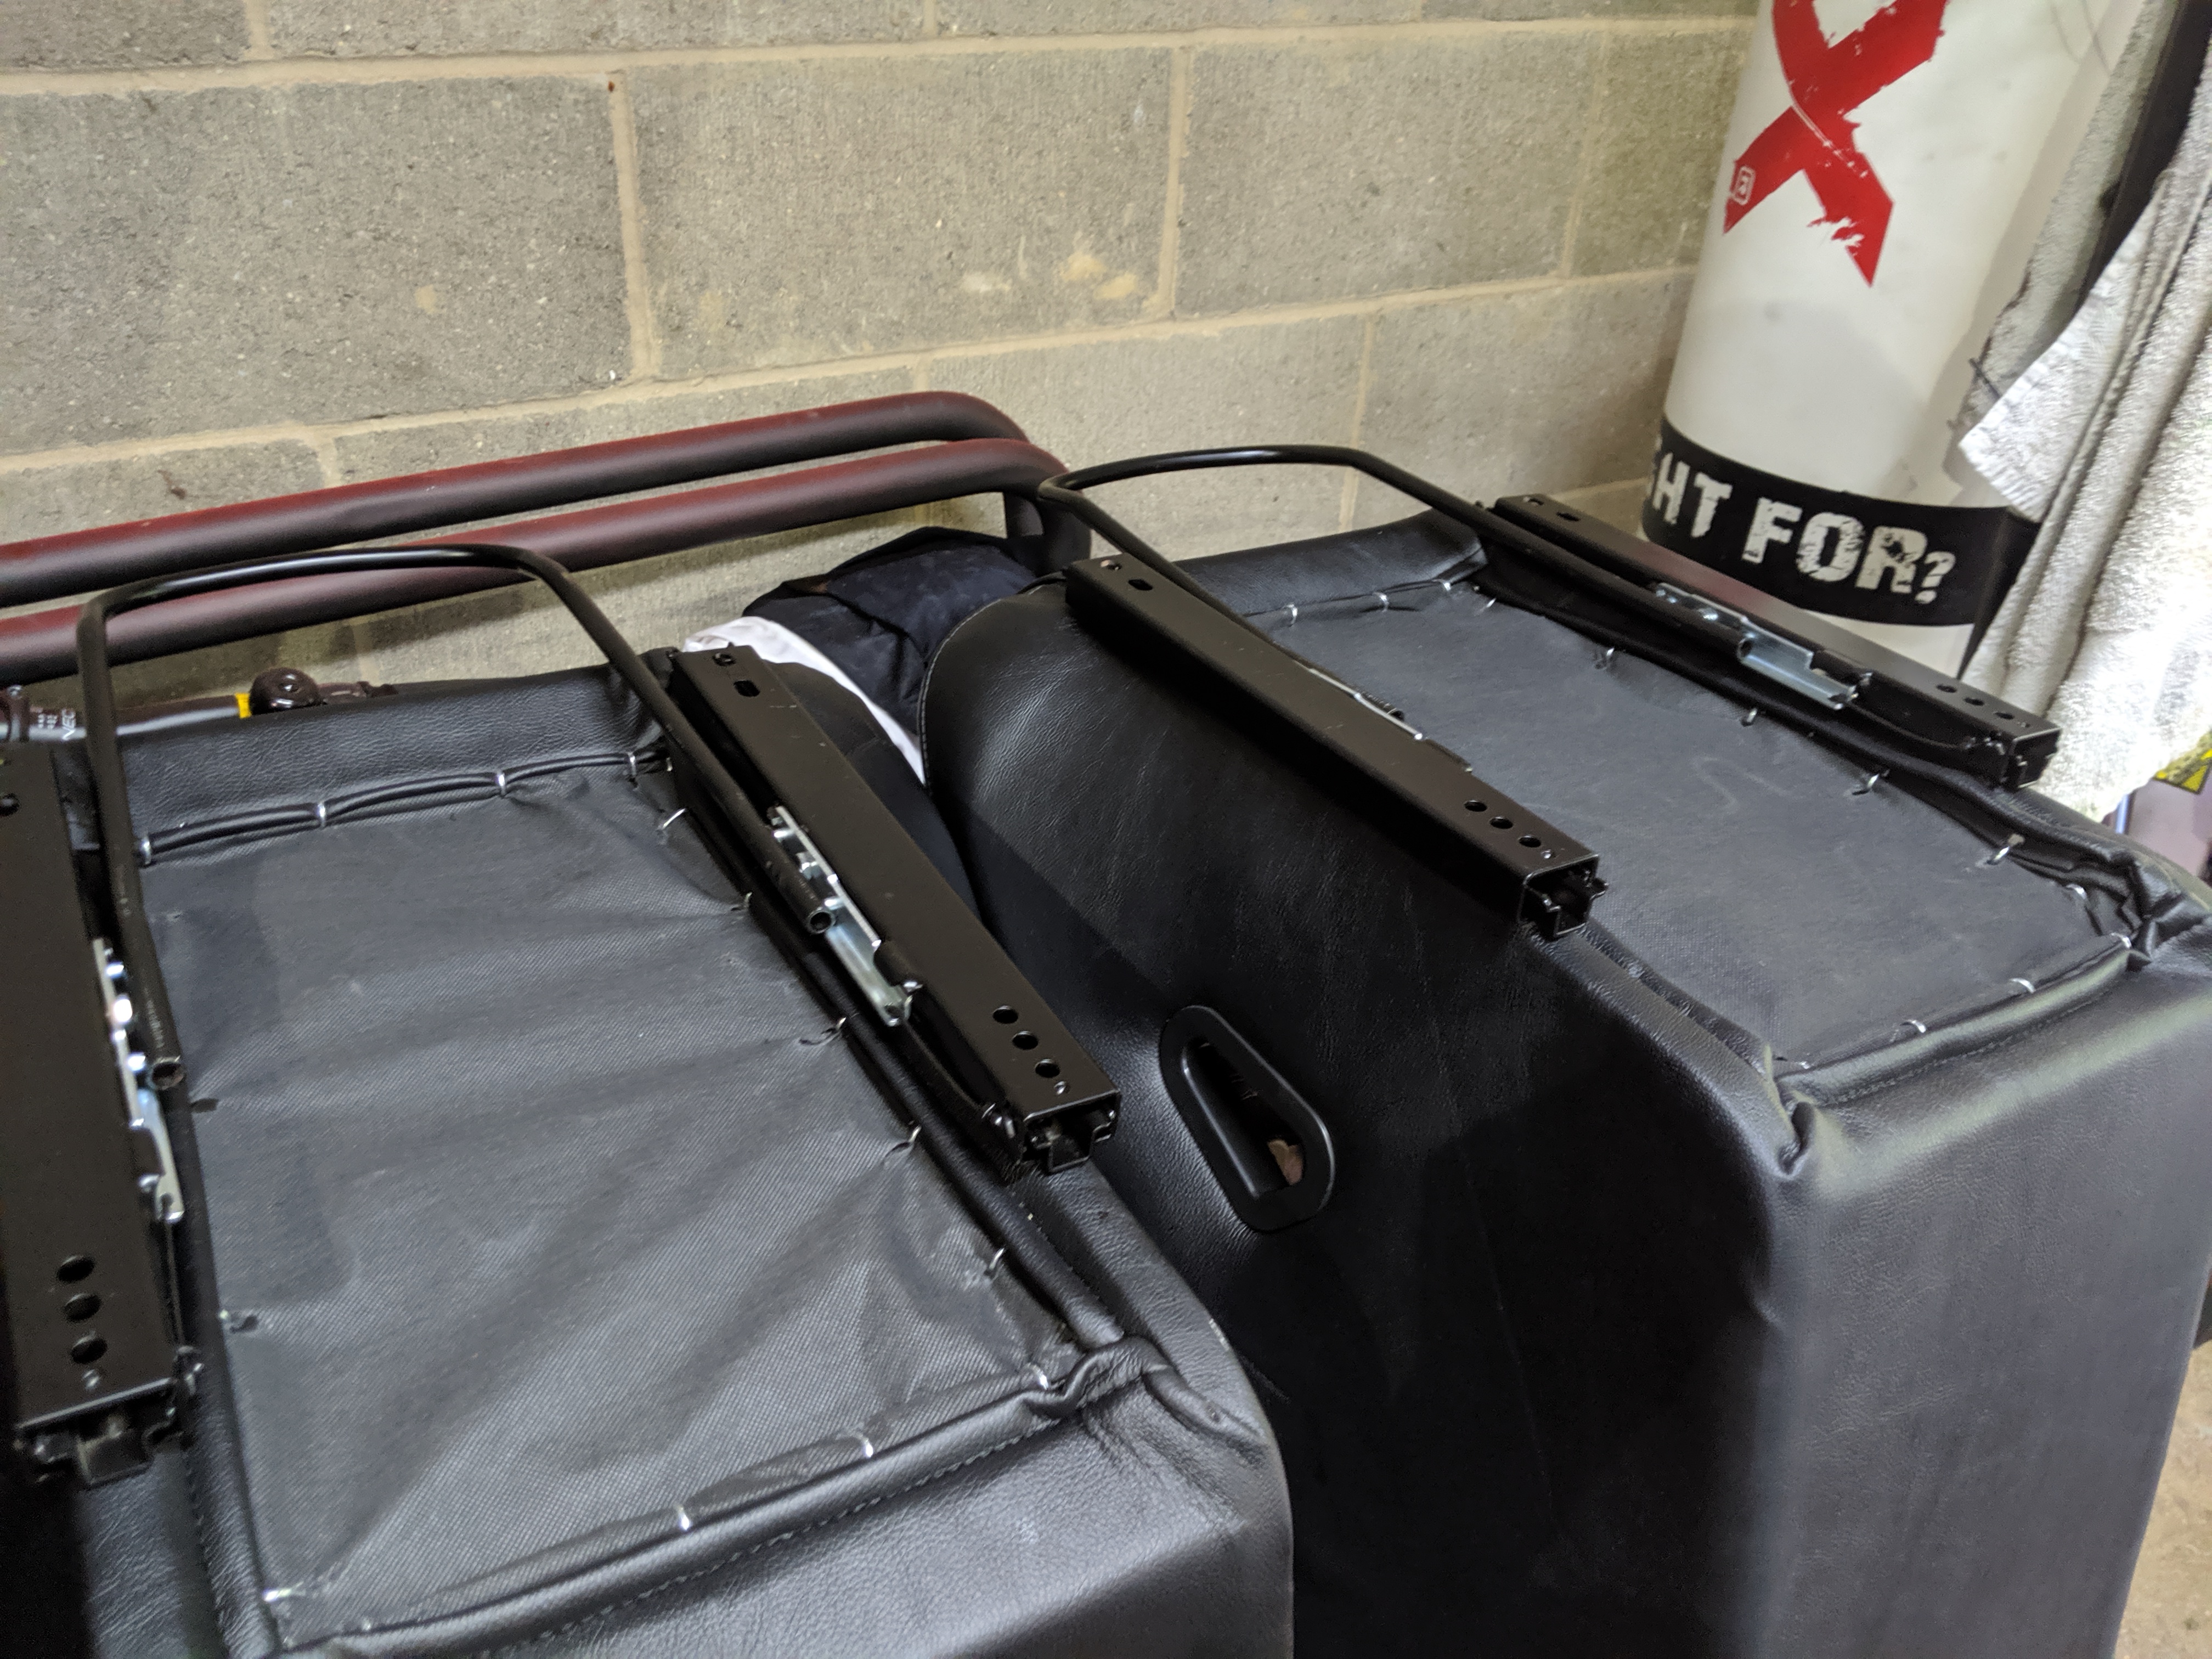
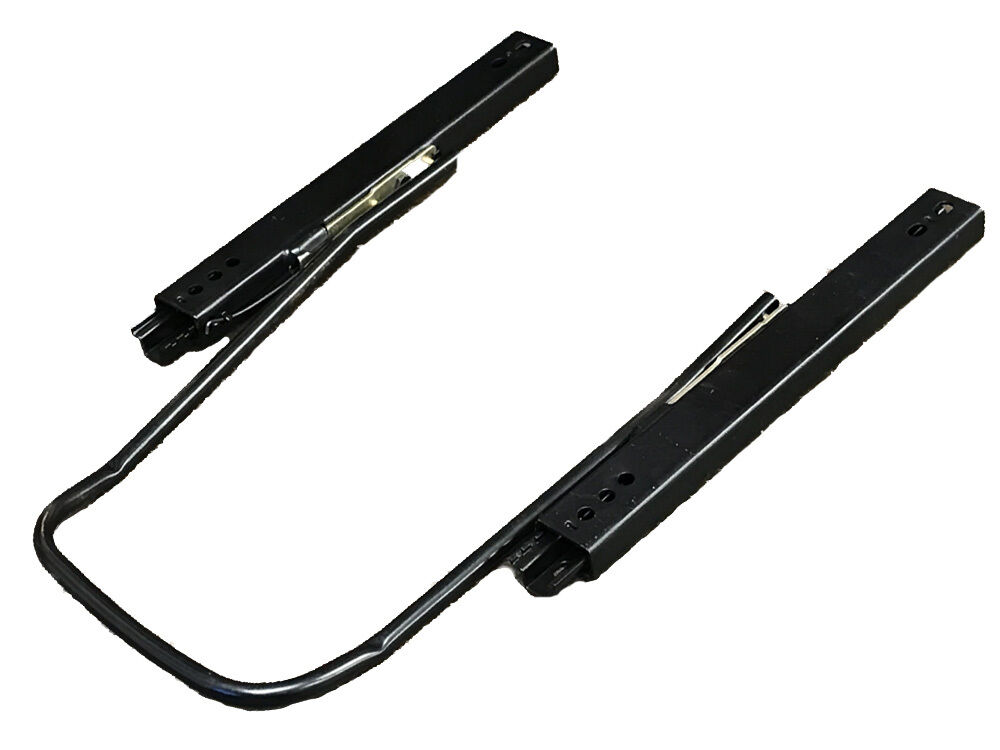
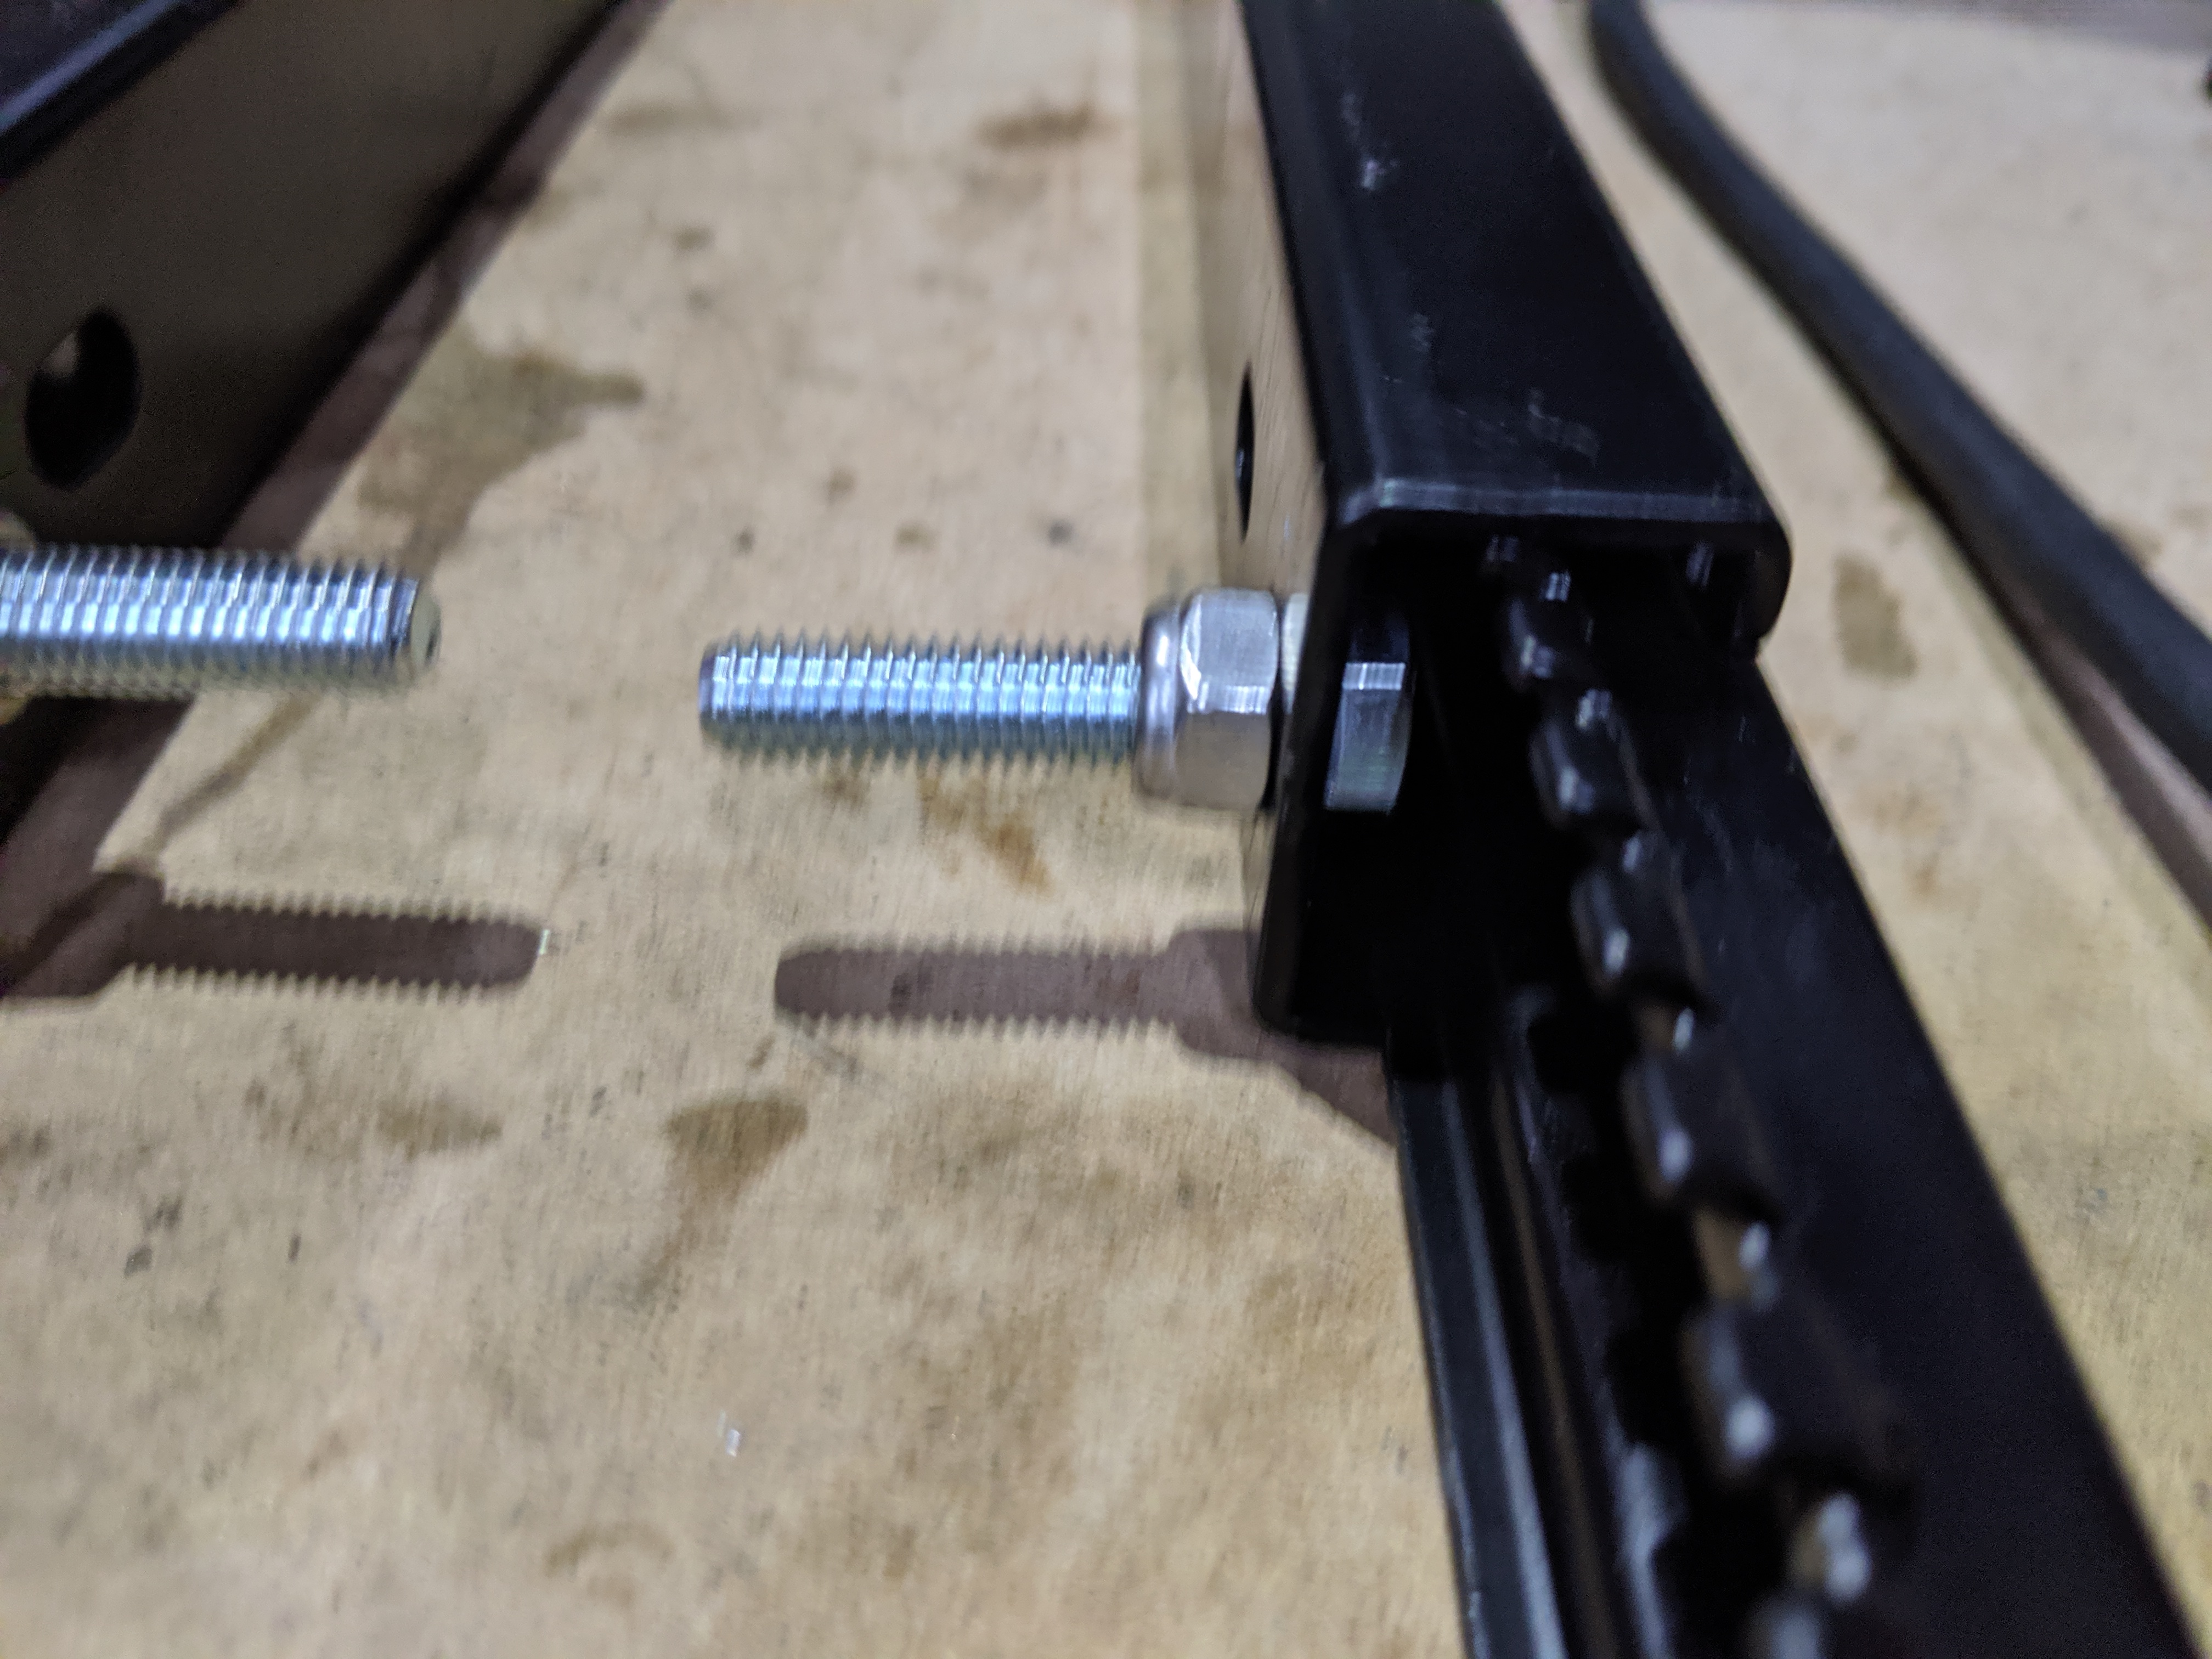
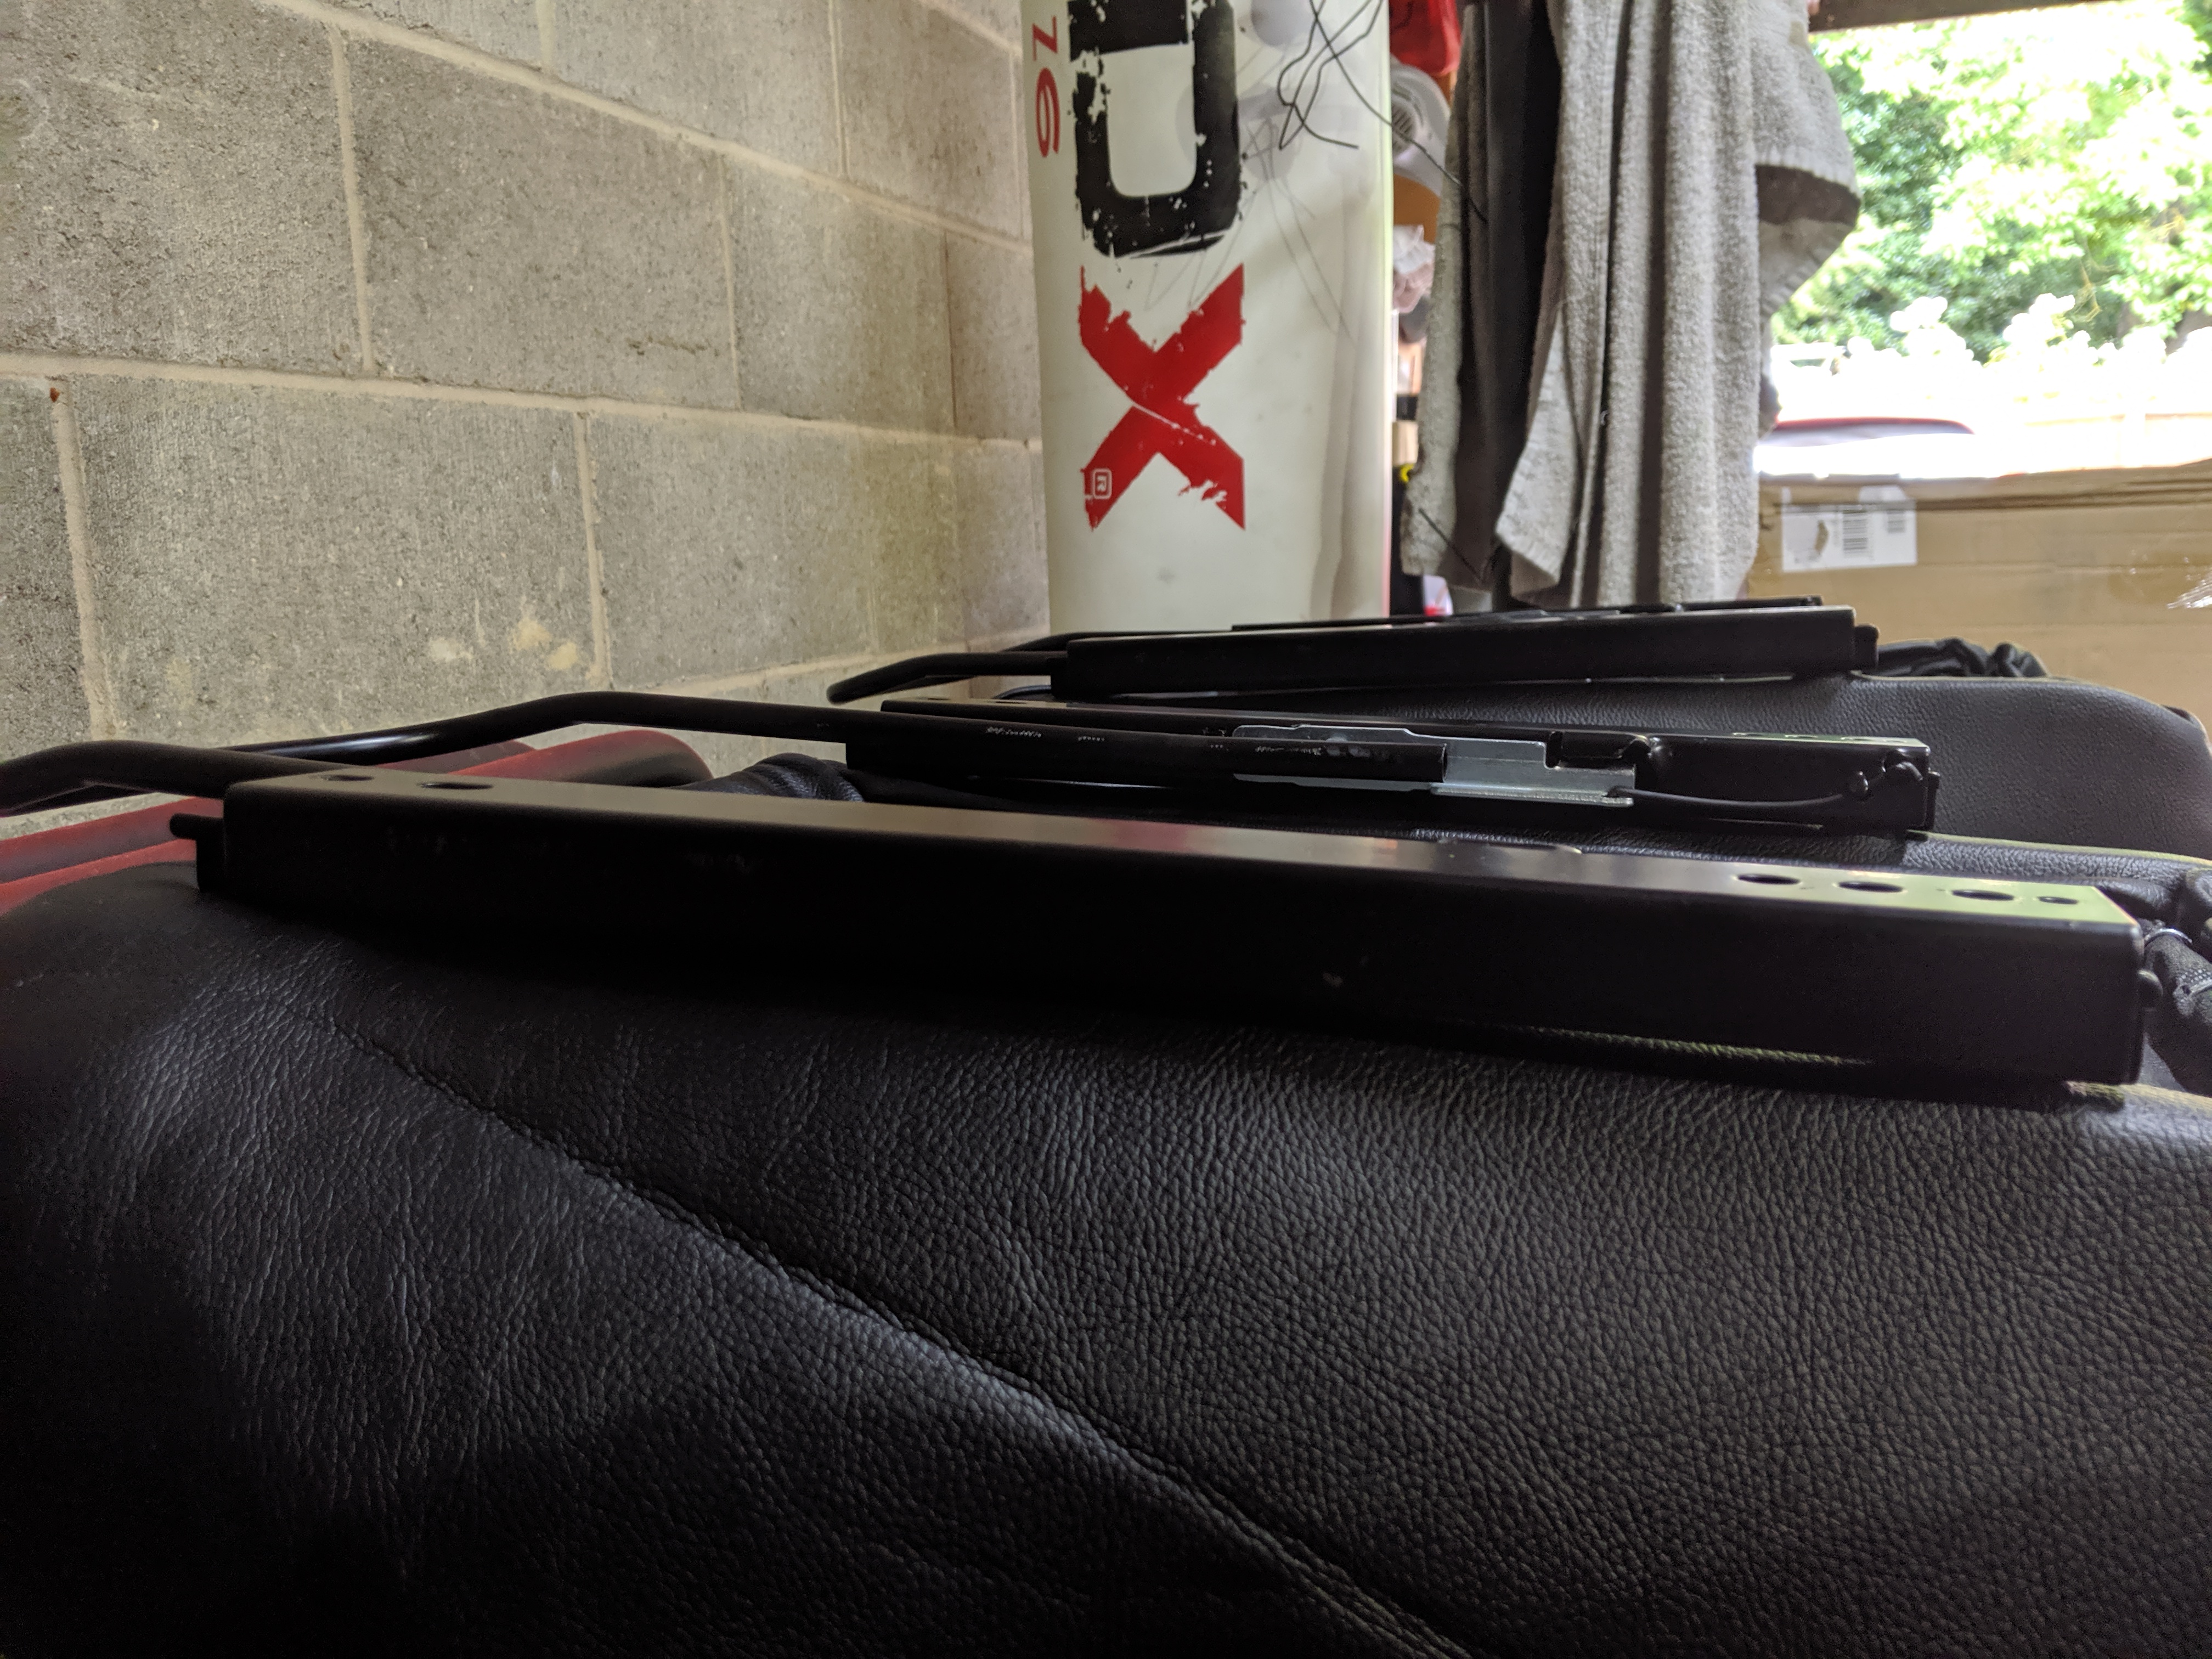
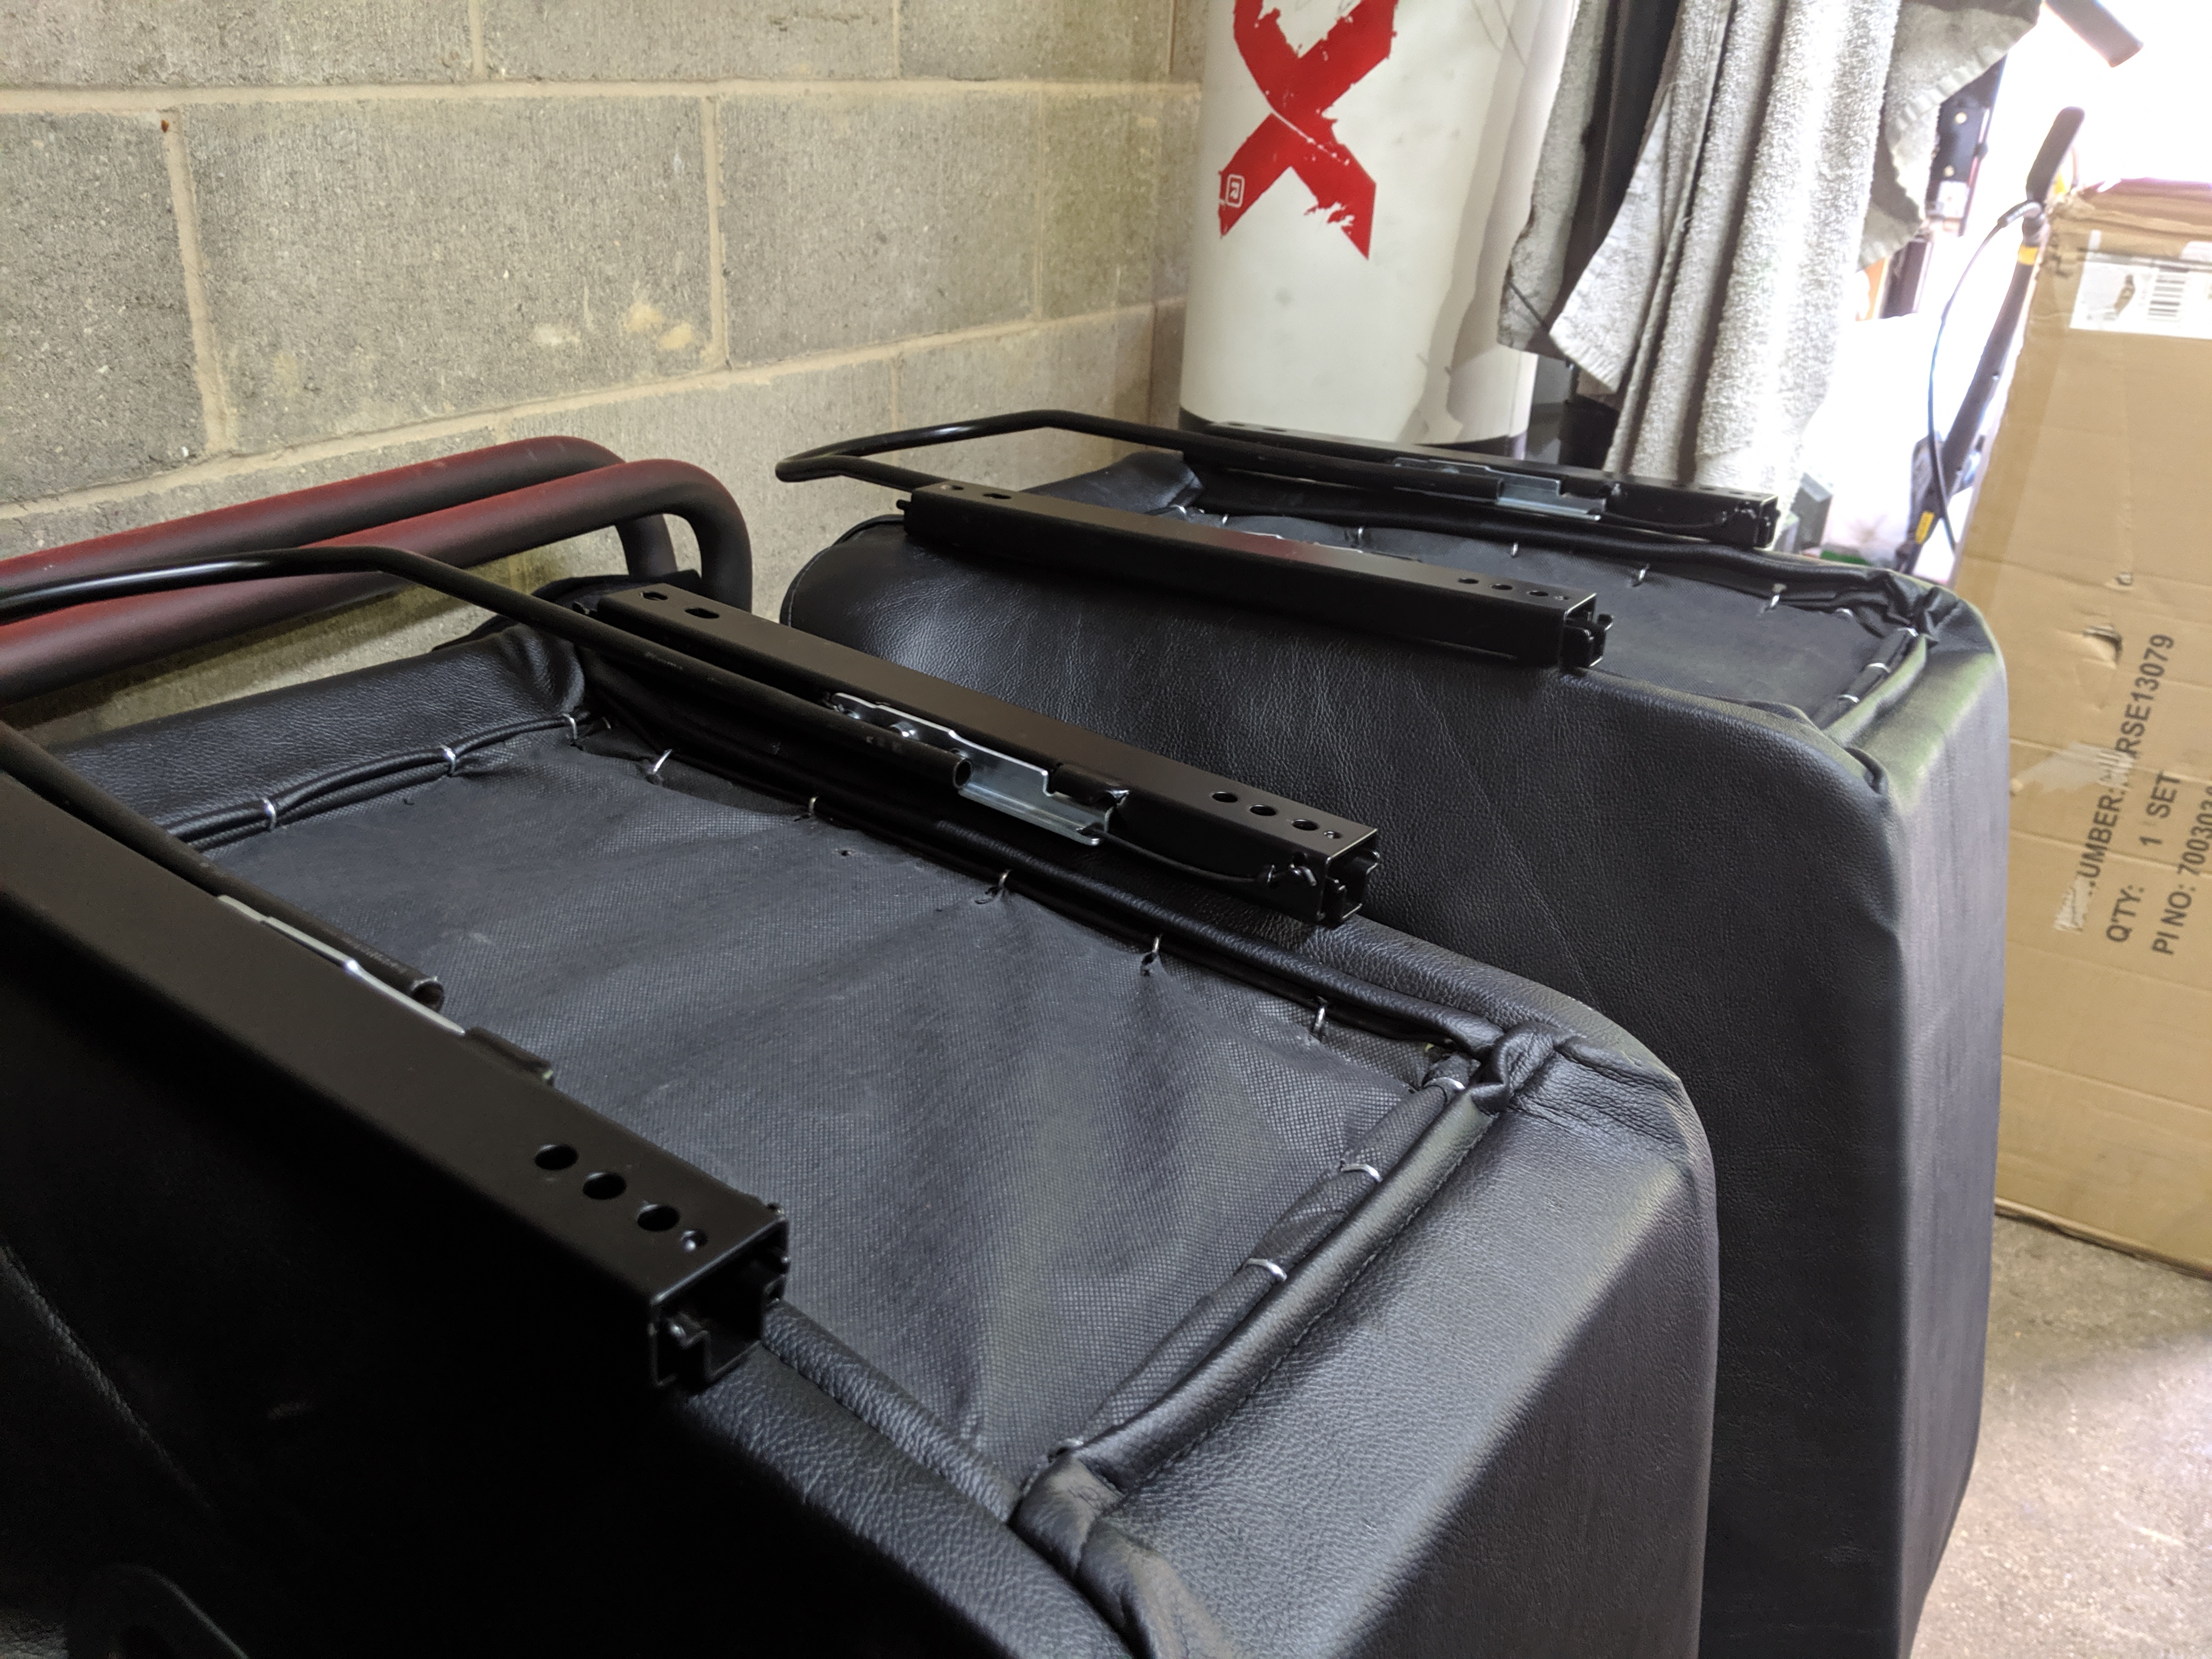
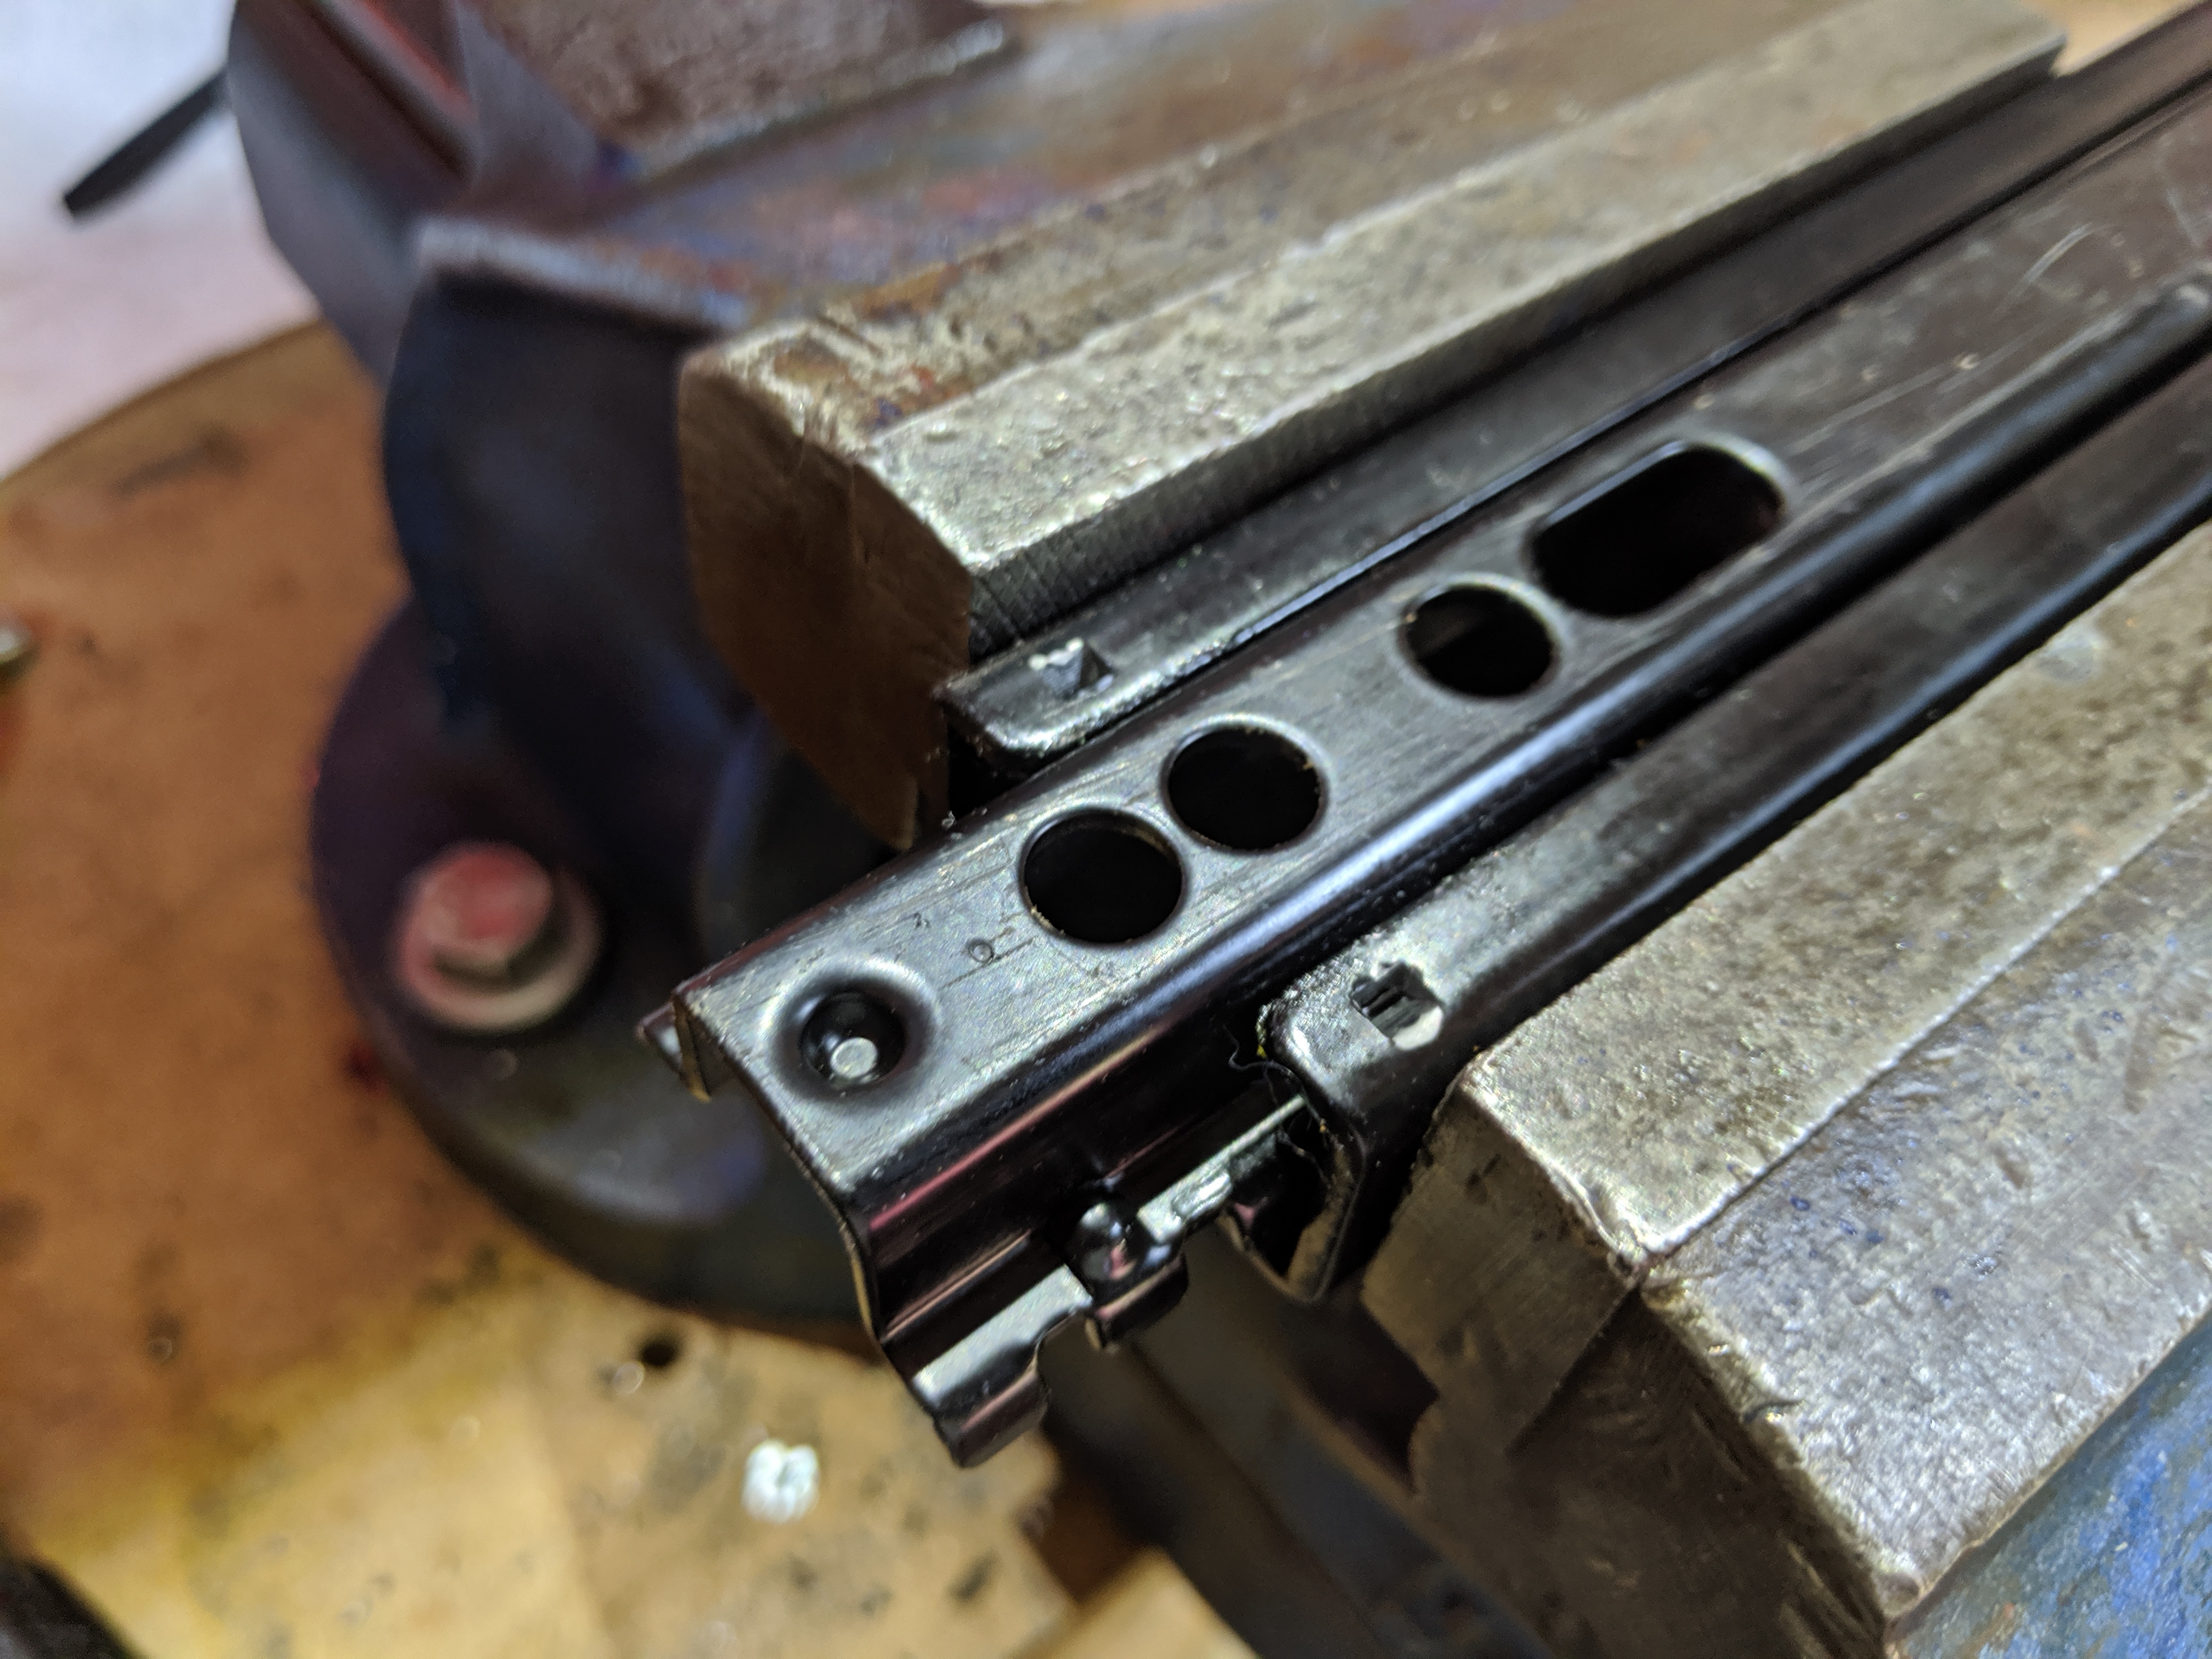
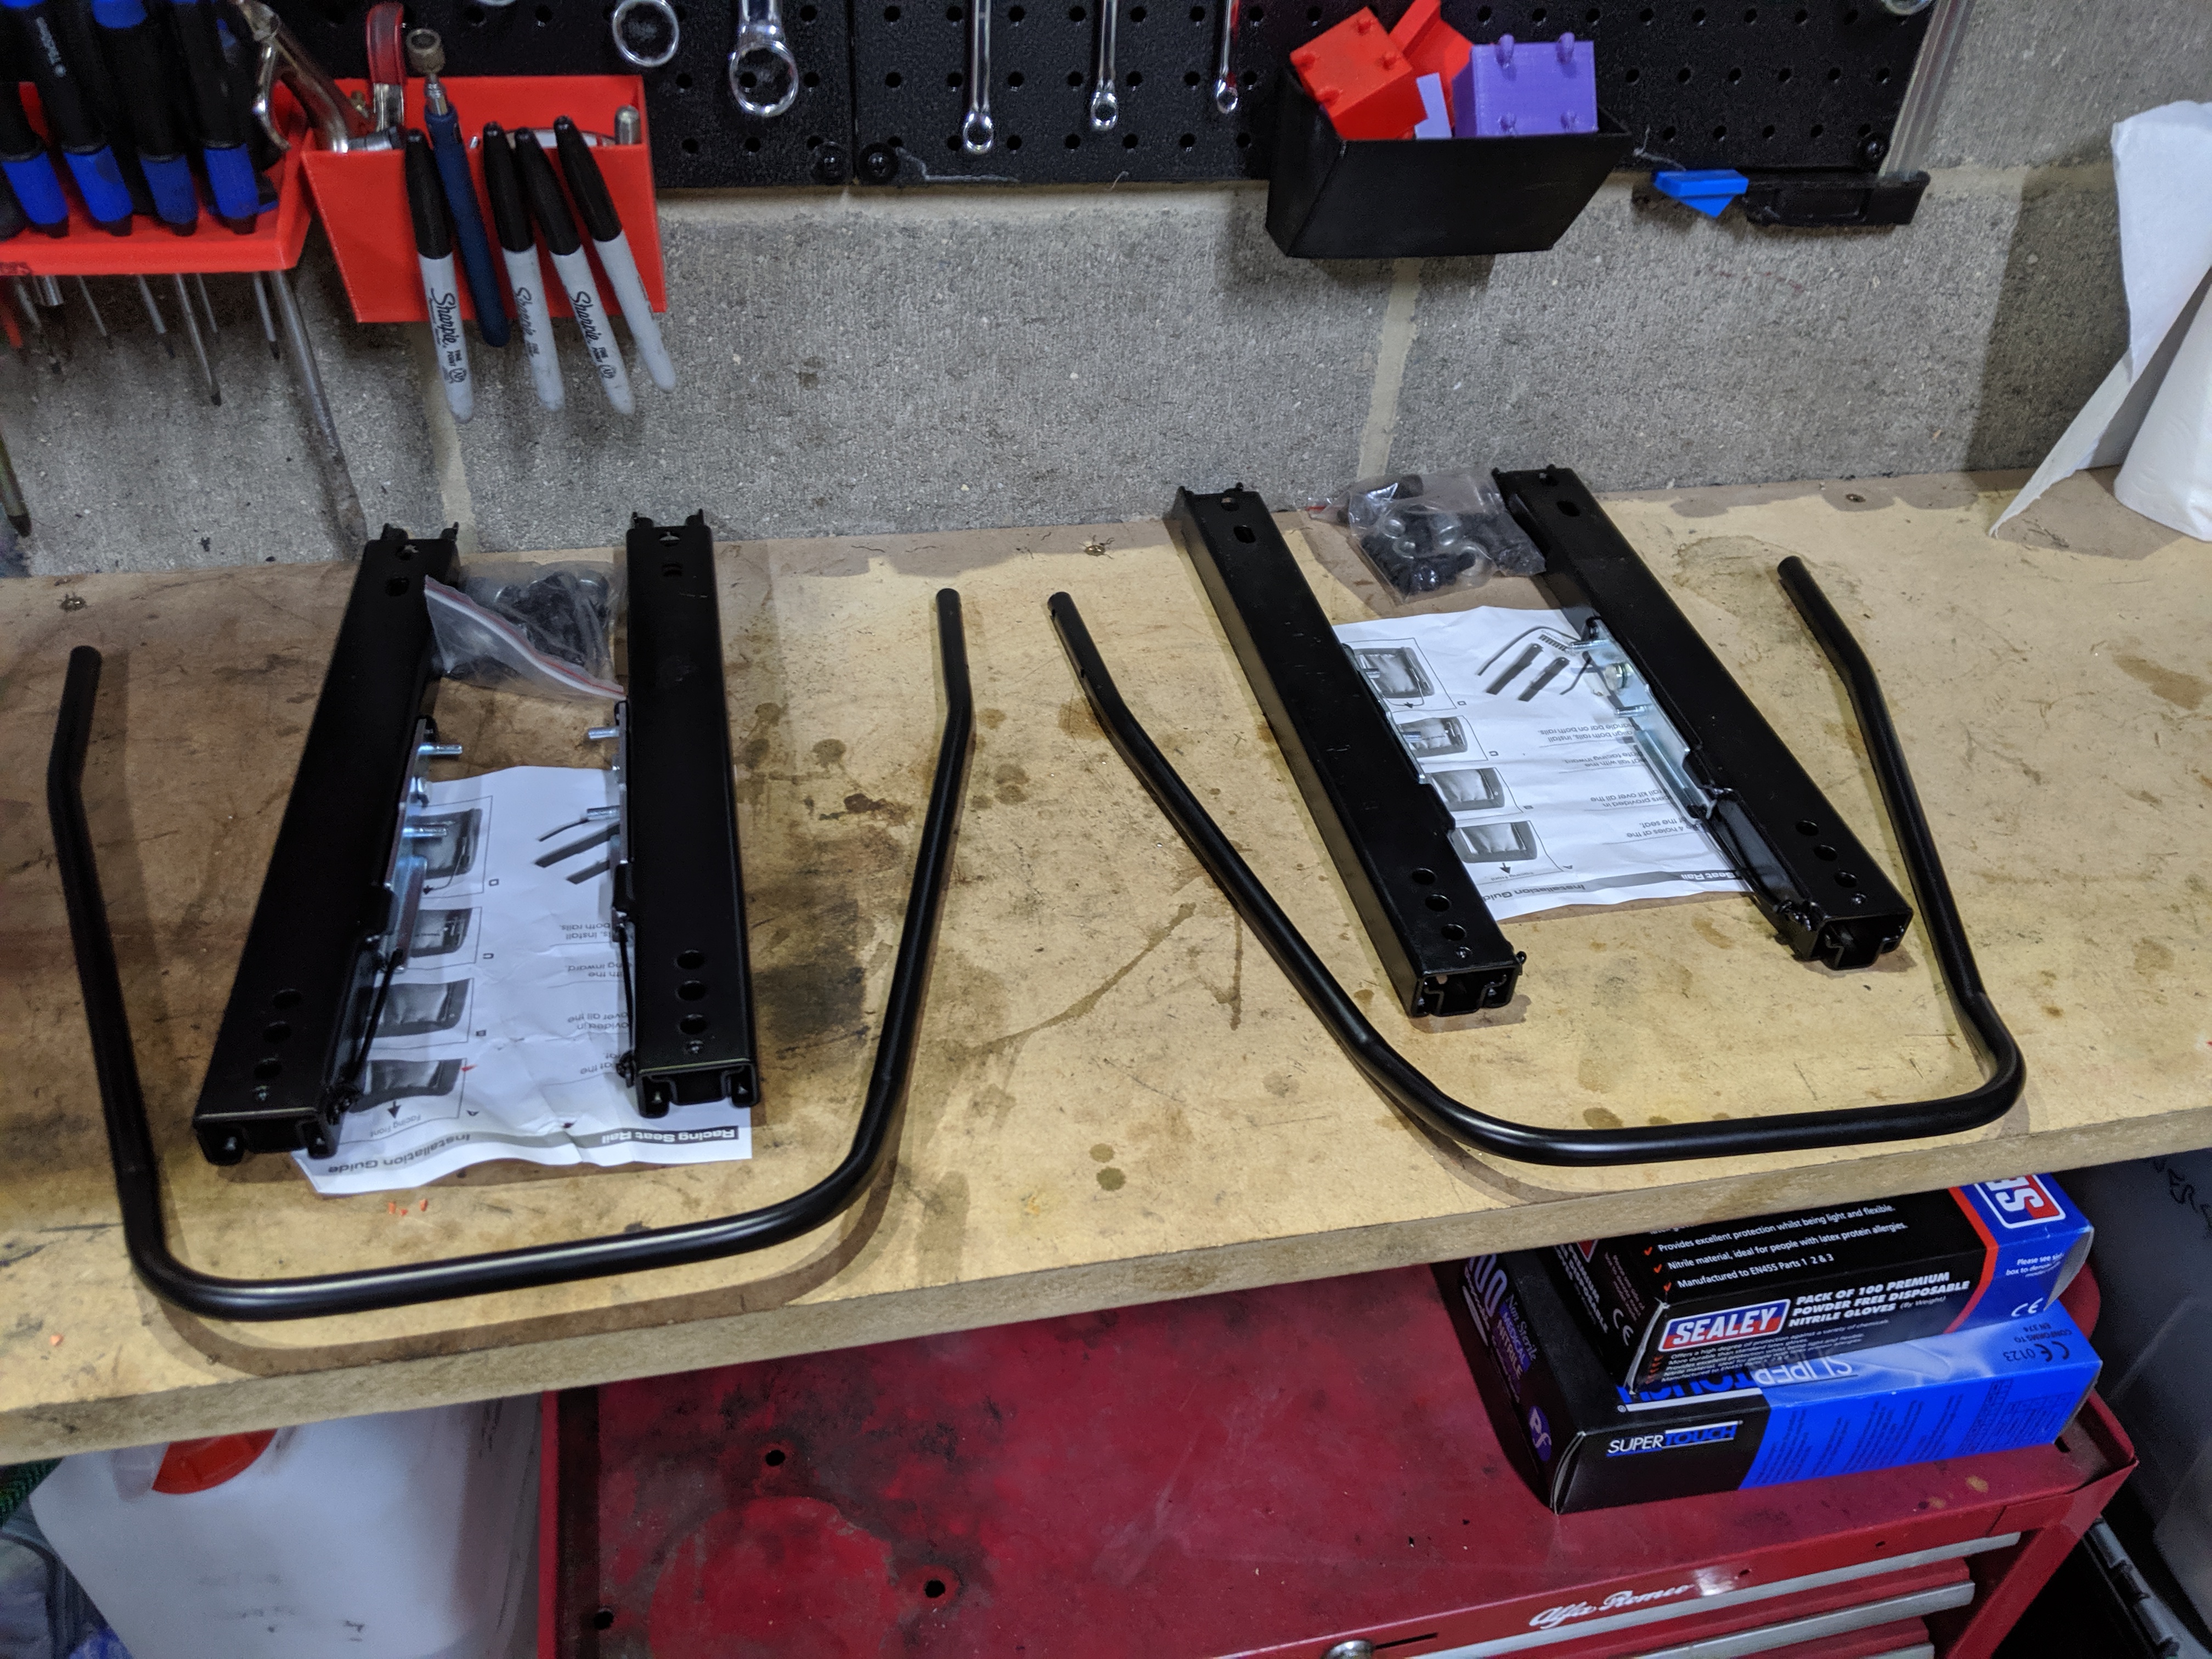
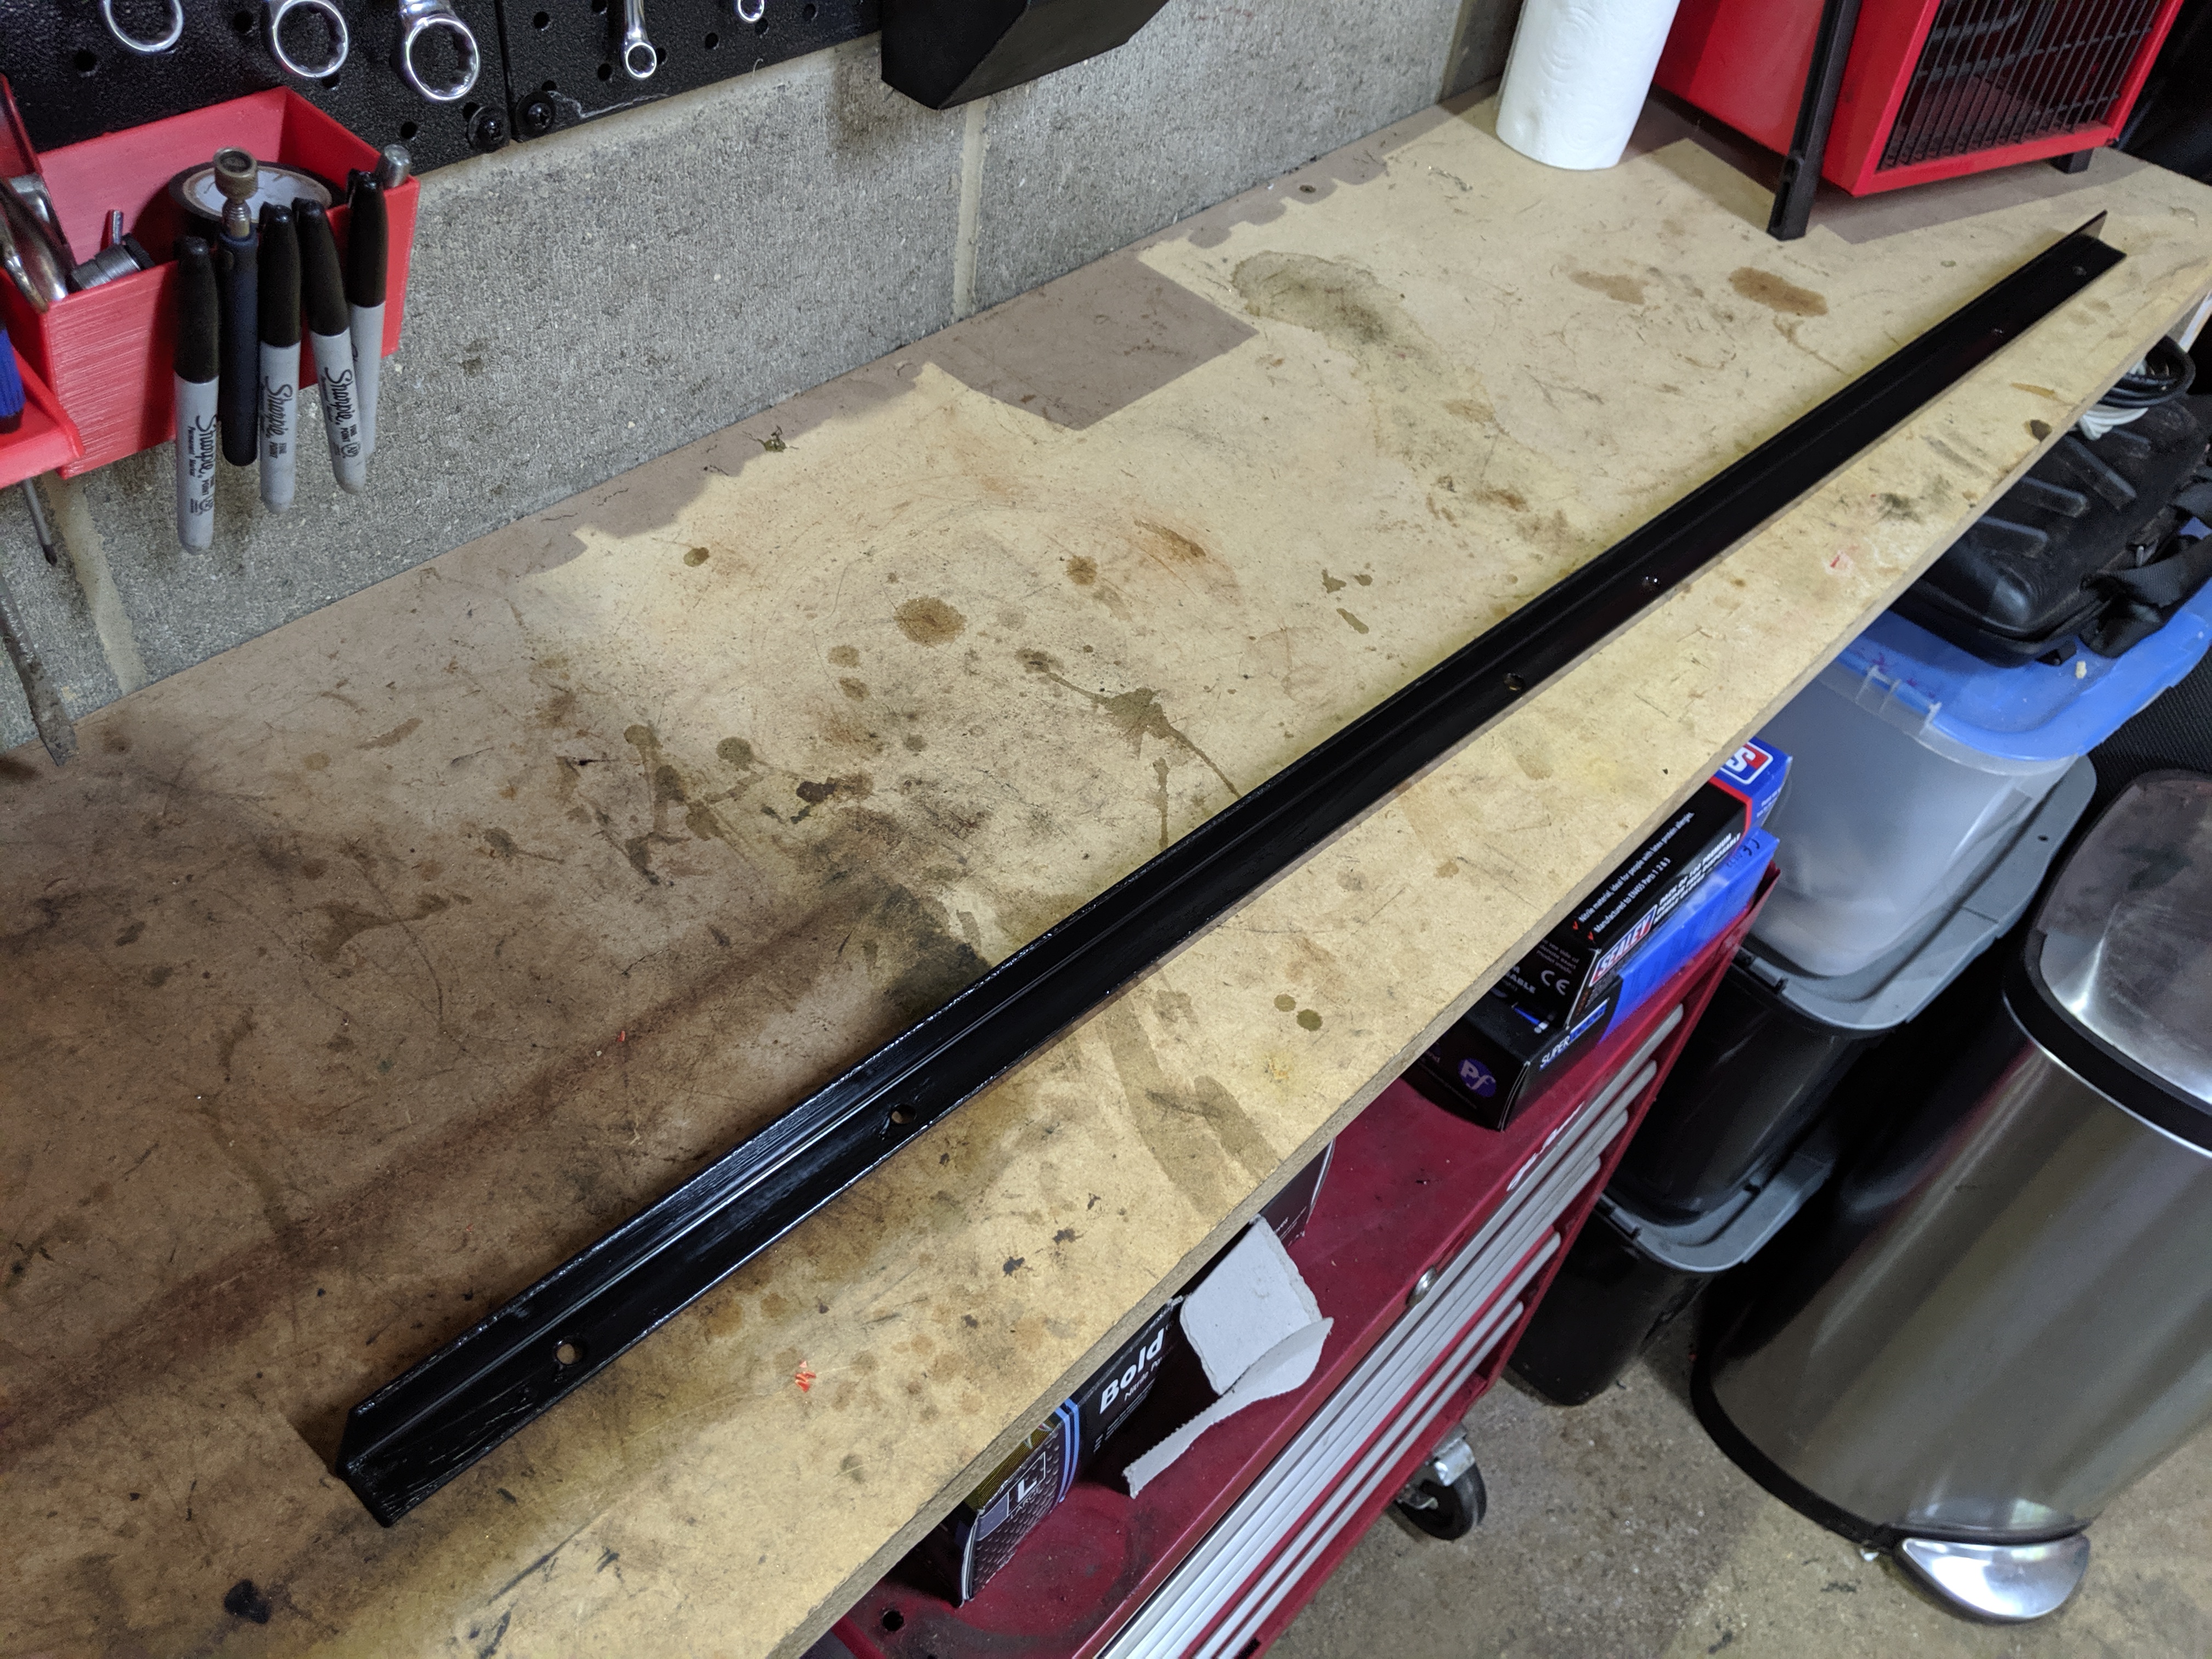
As part of the change I also wanted to put in new low profile, double lock rails, so that added another £50 to the bill but it was necessary to get the seats fitted in the best possible way.

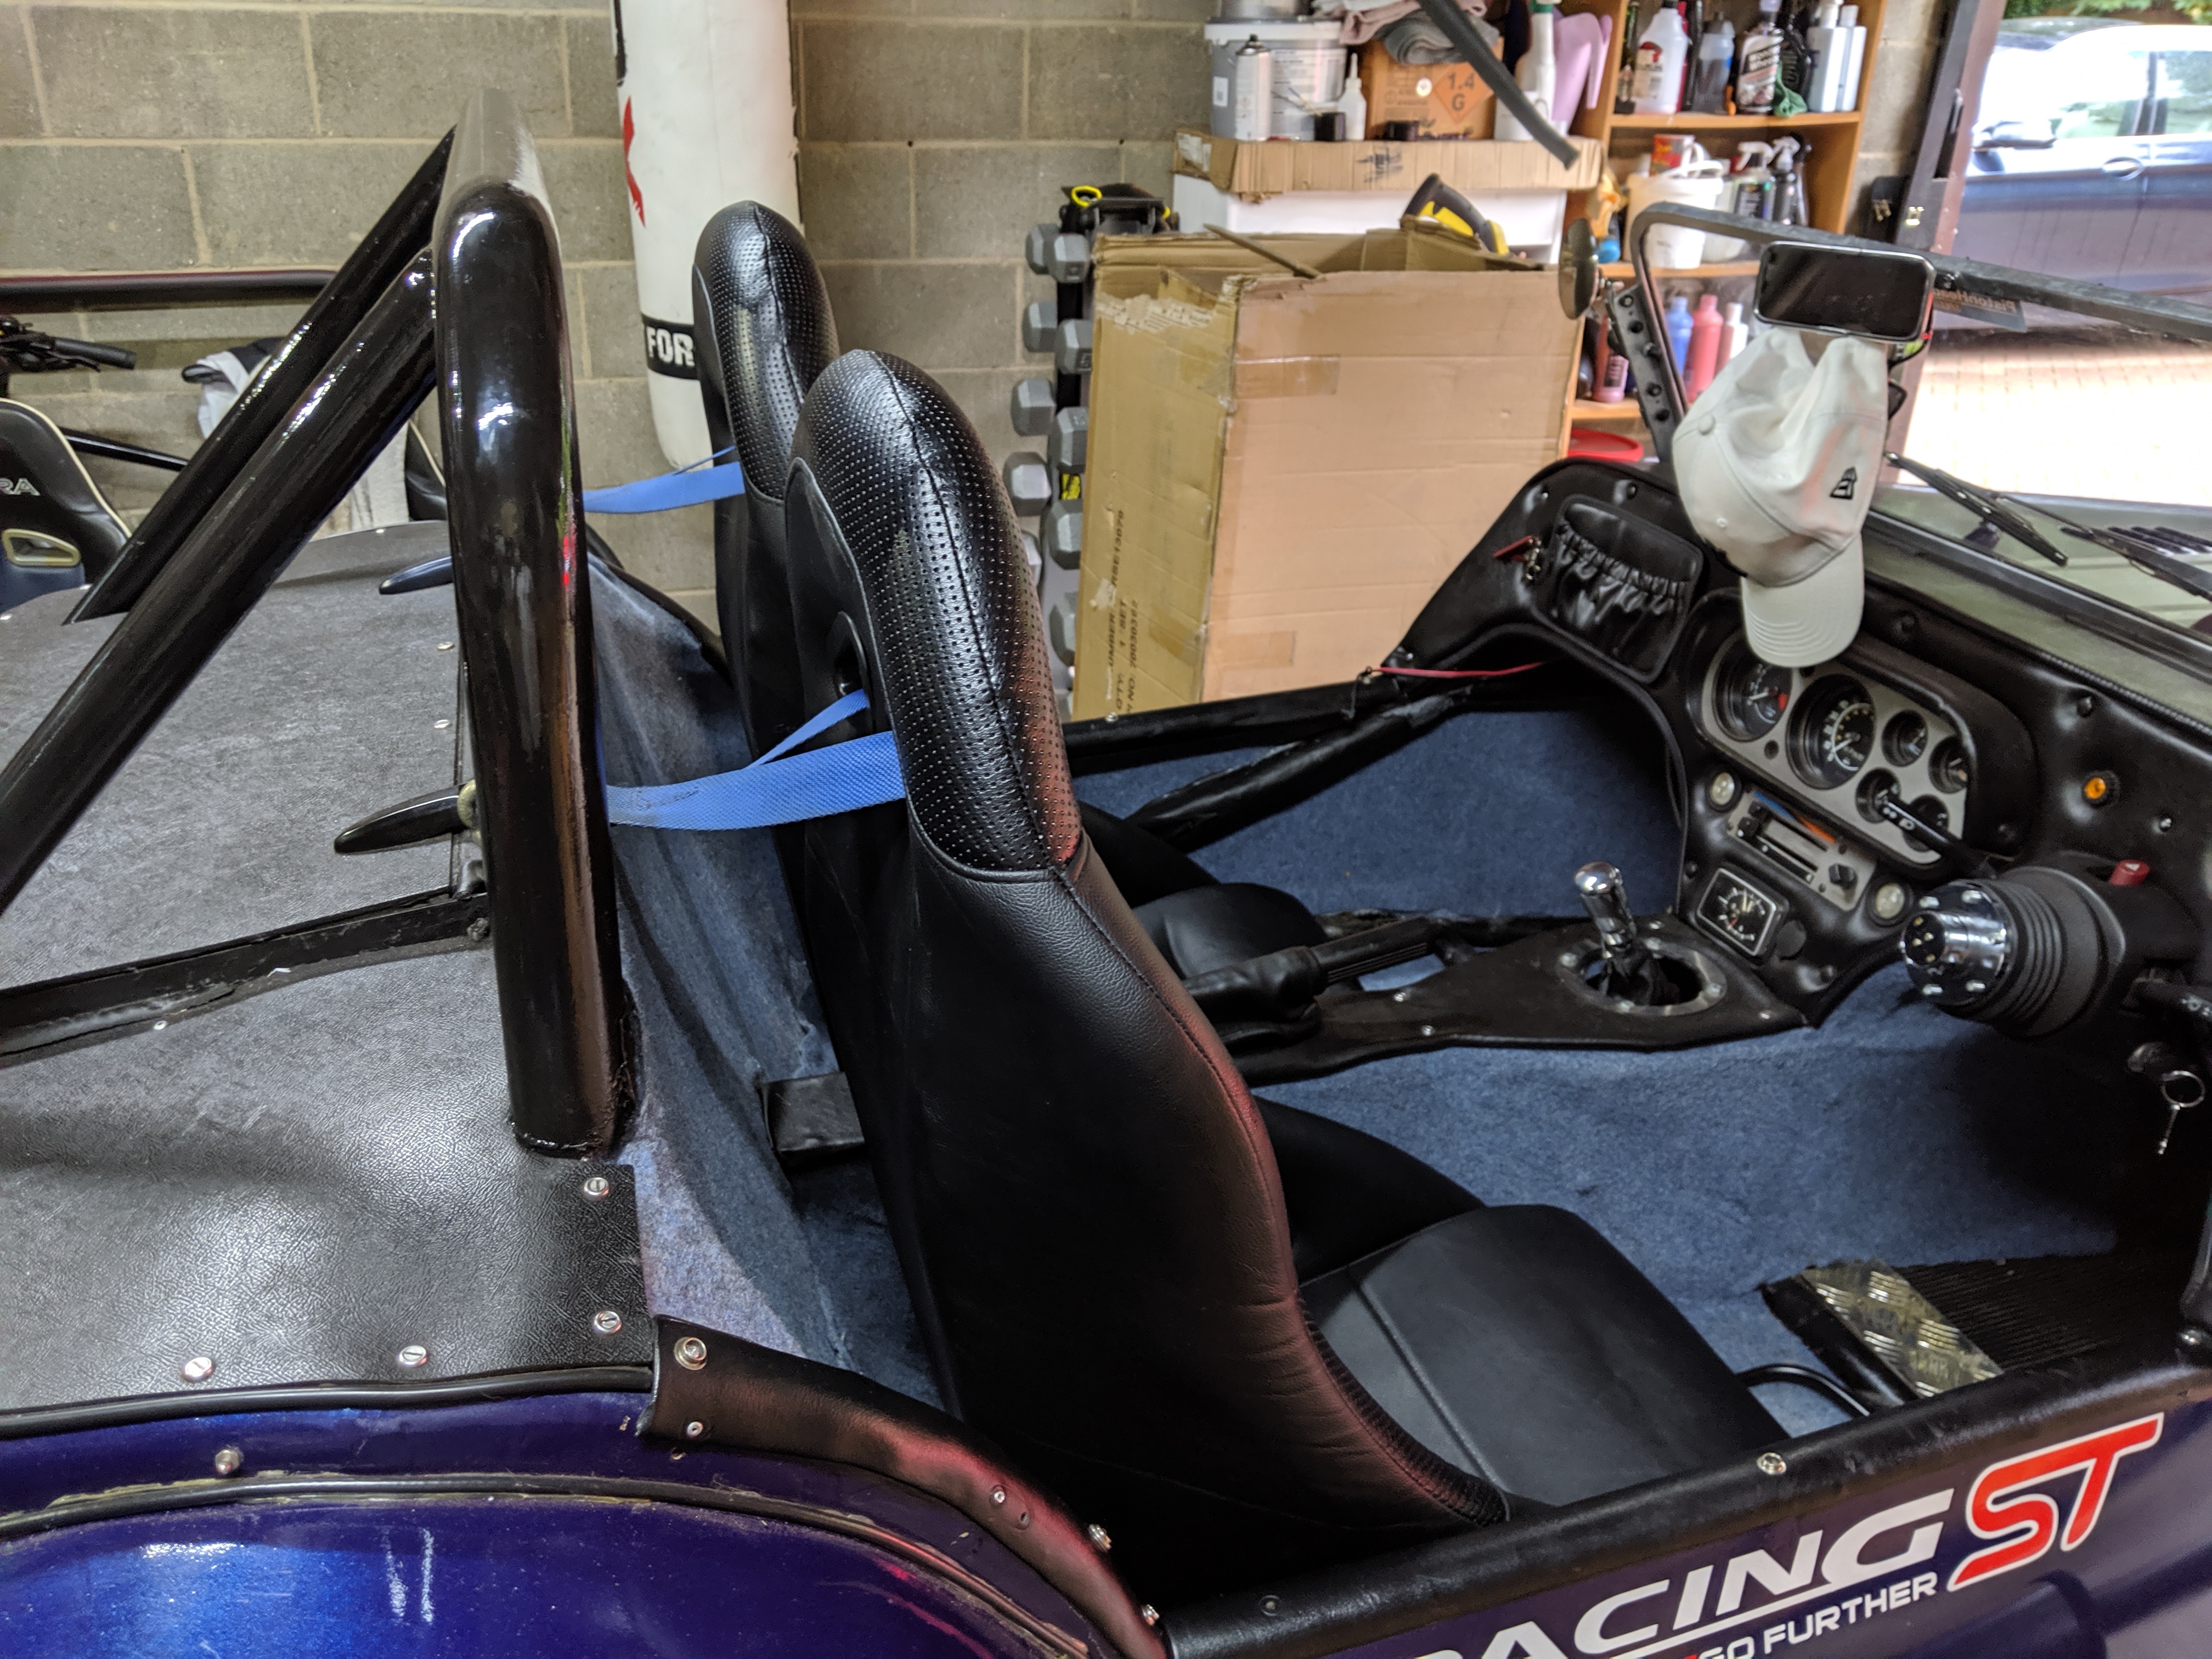
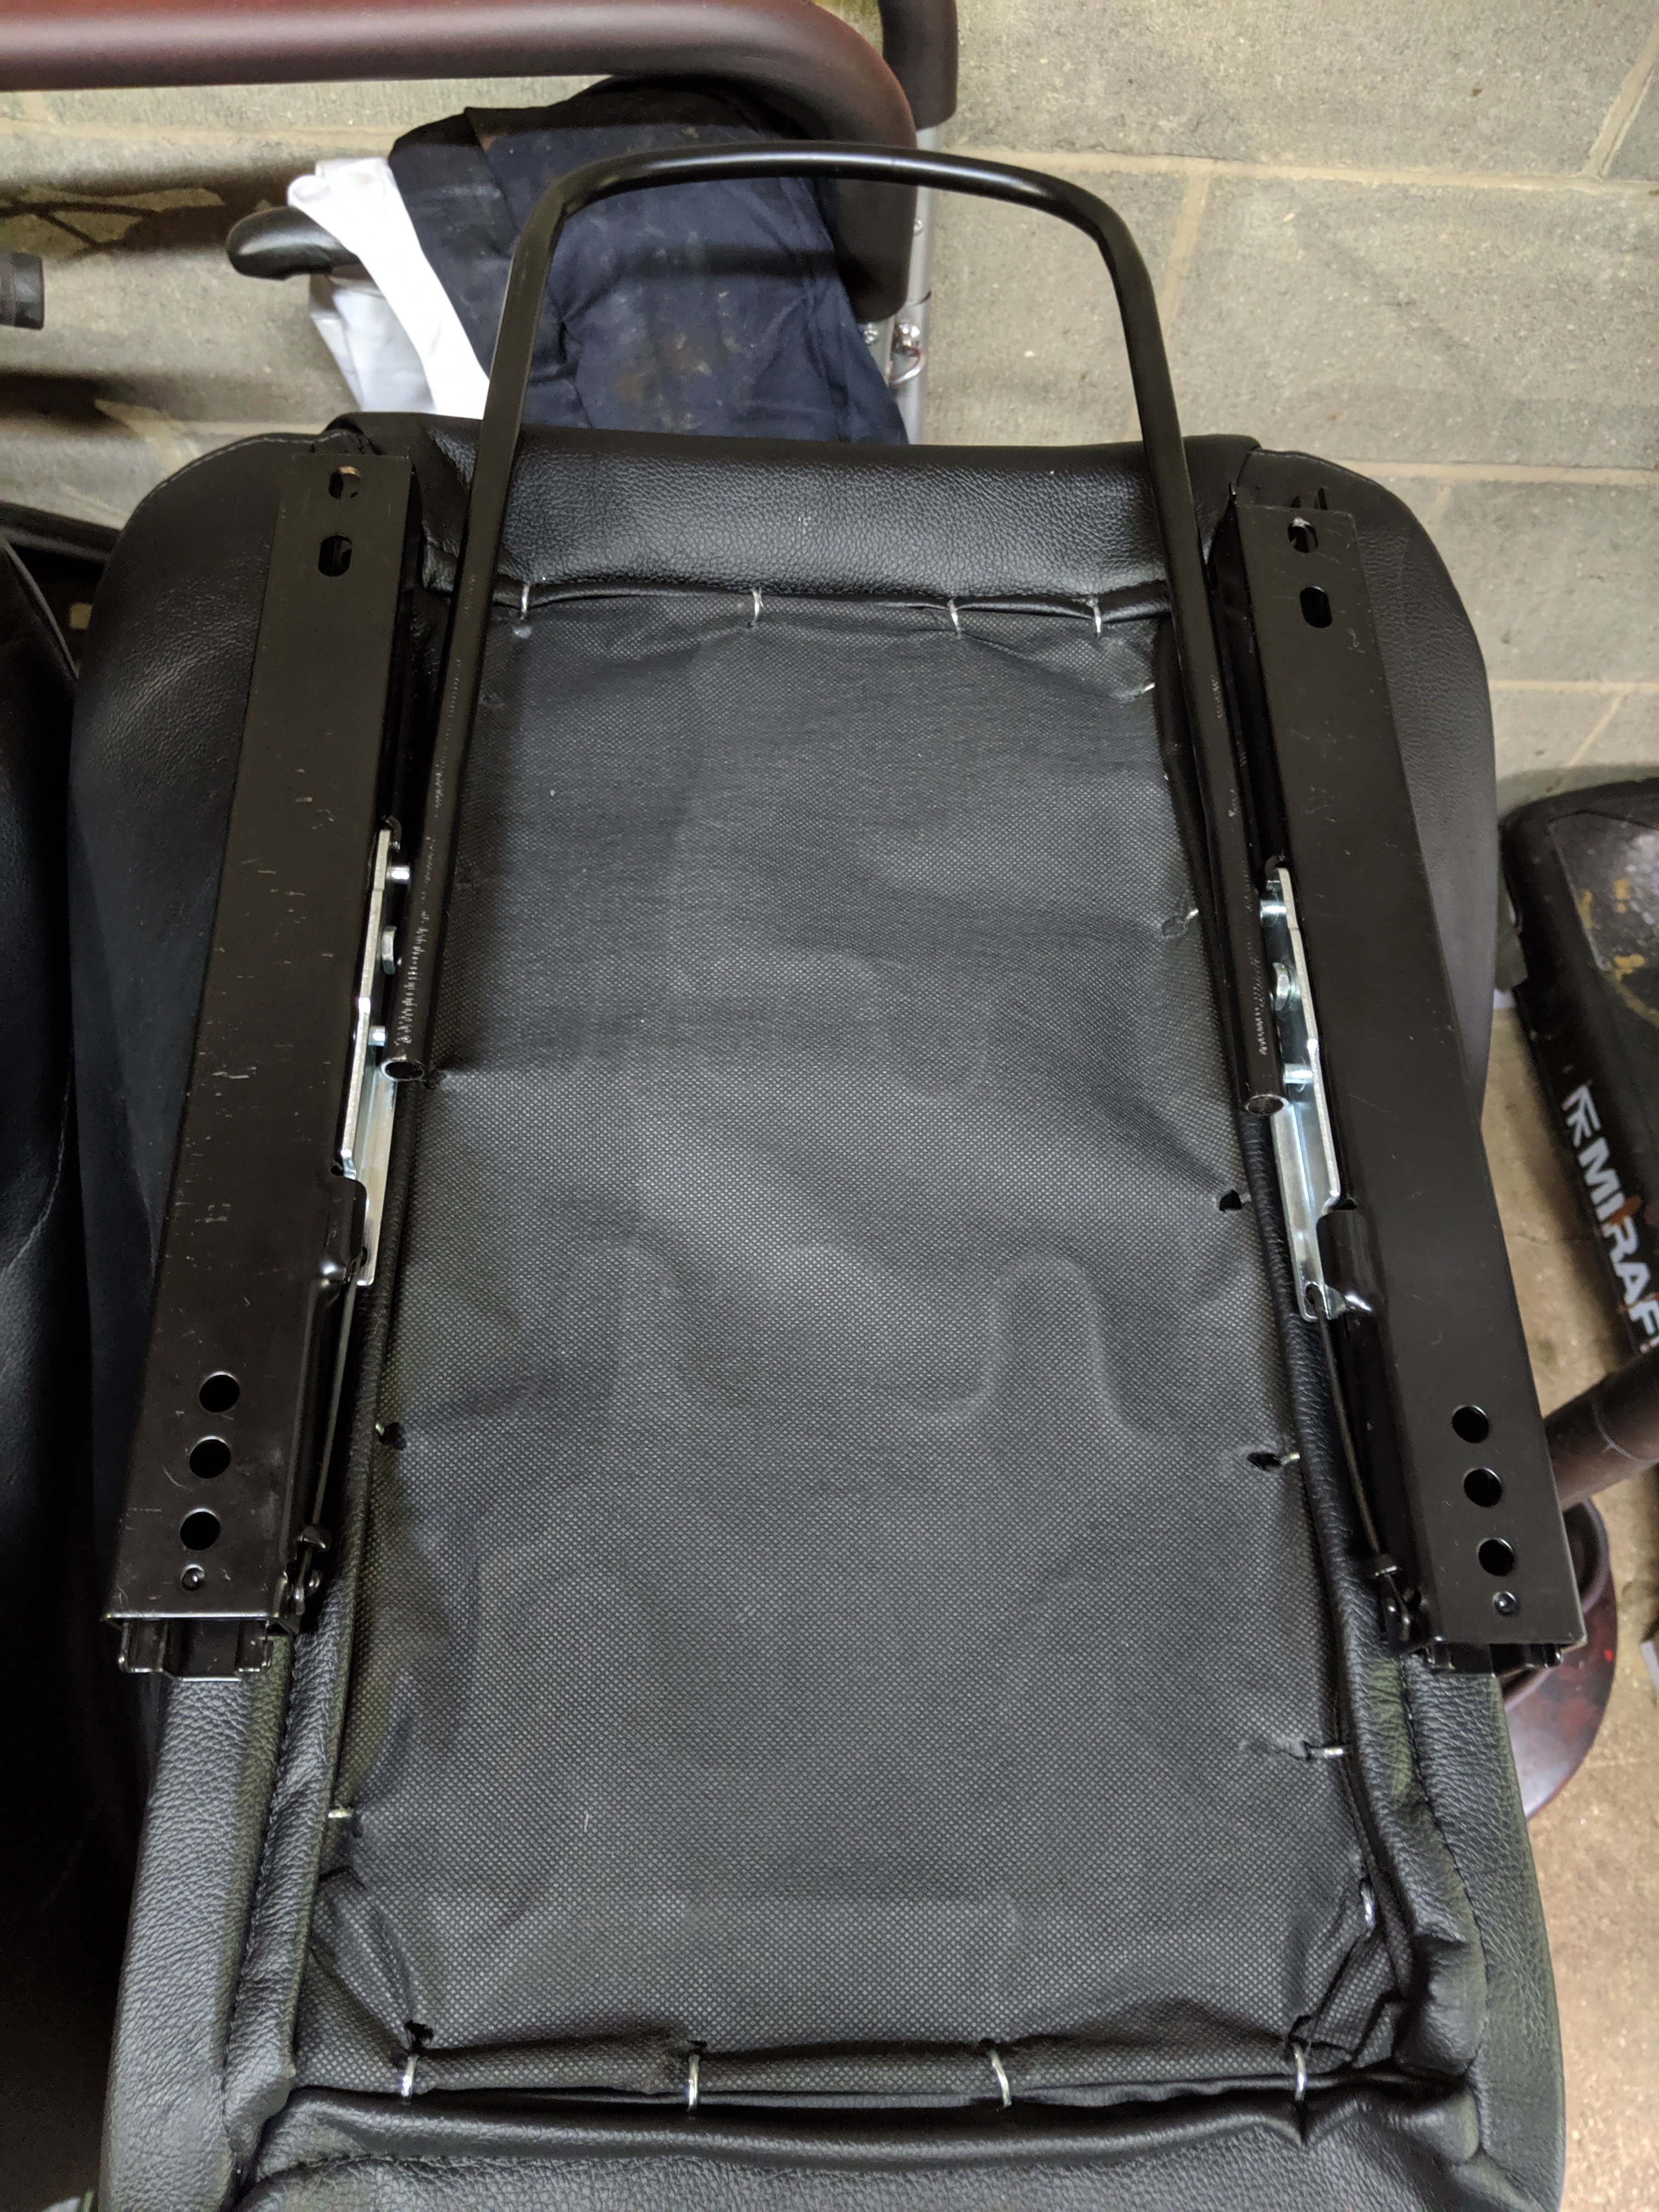
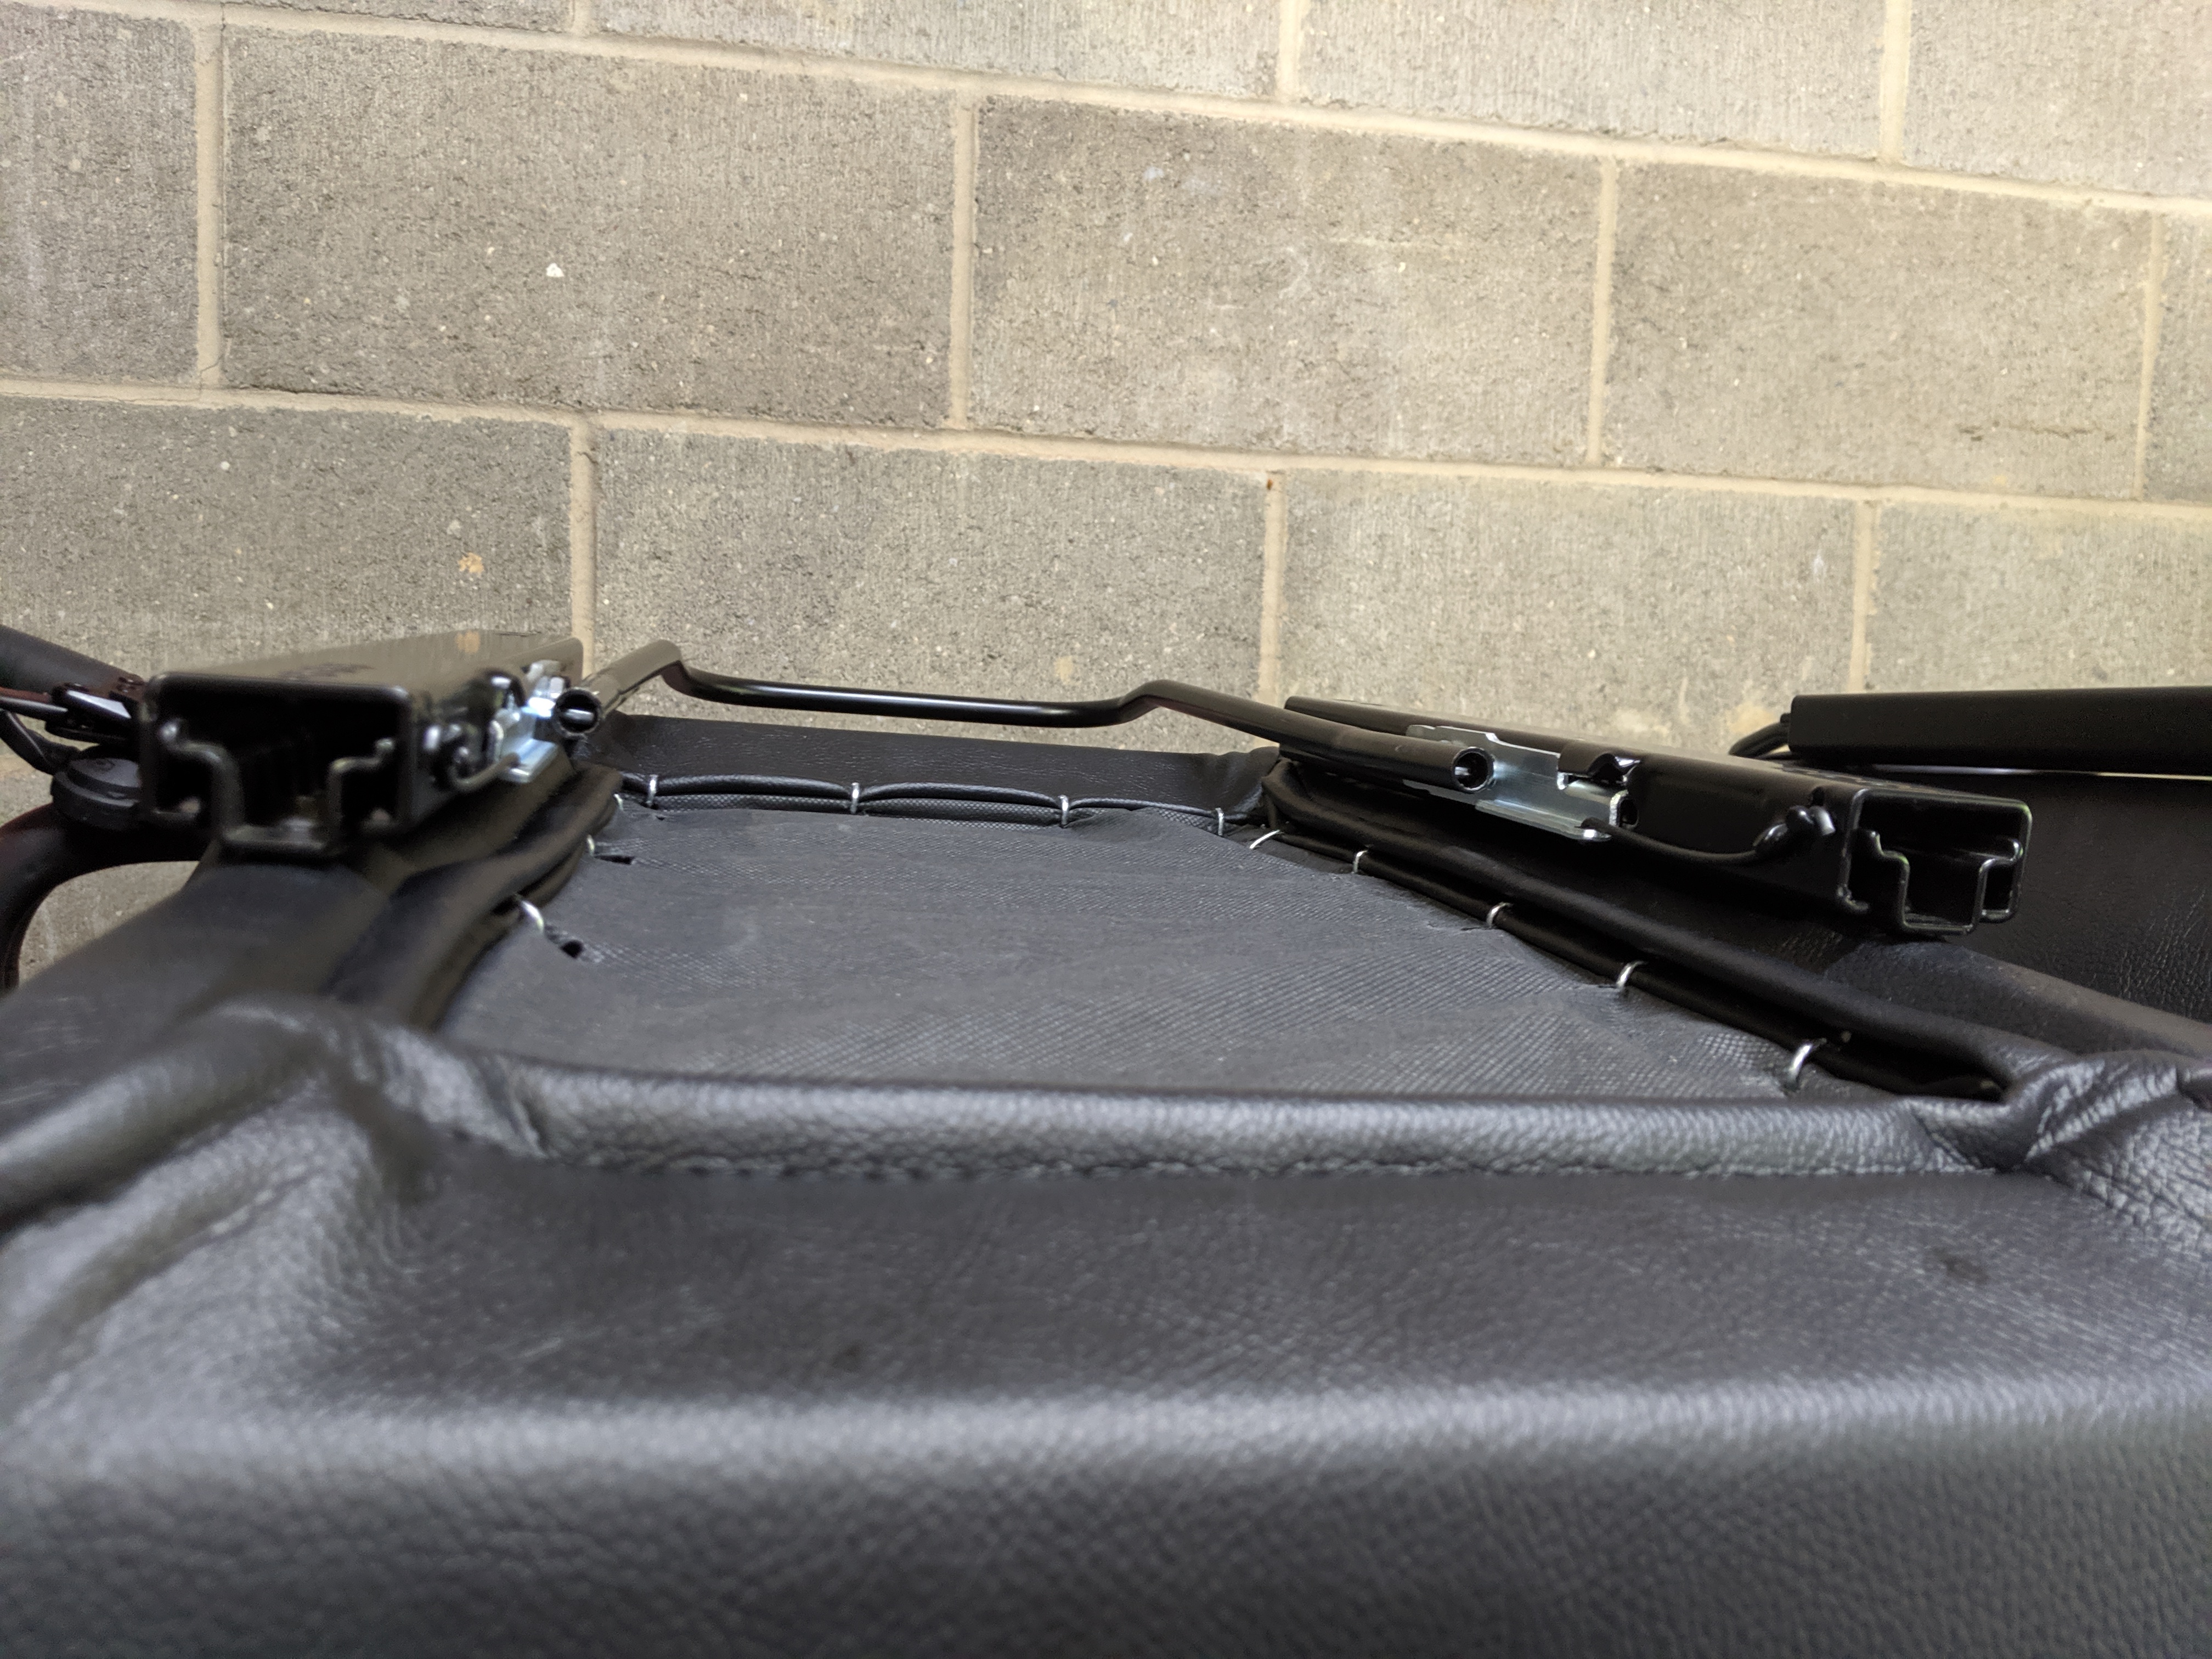
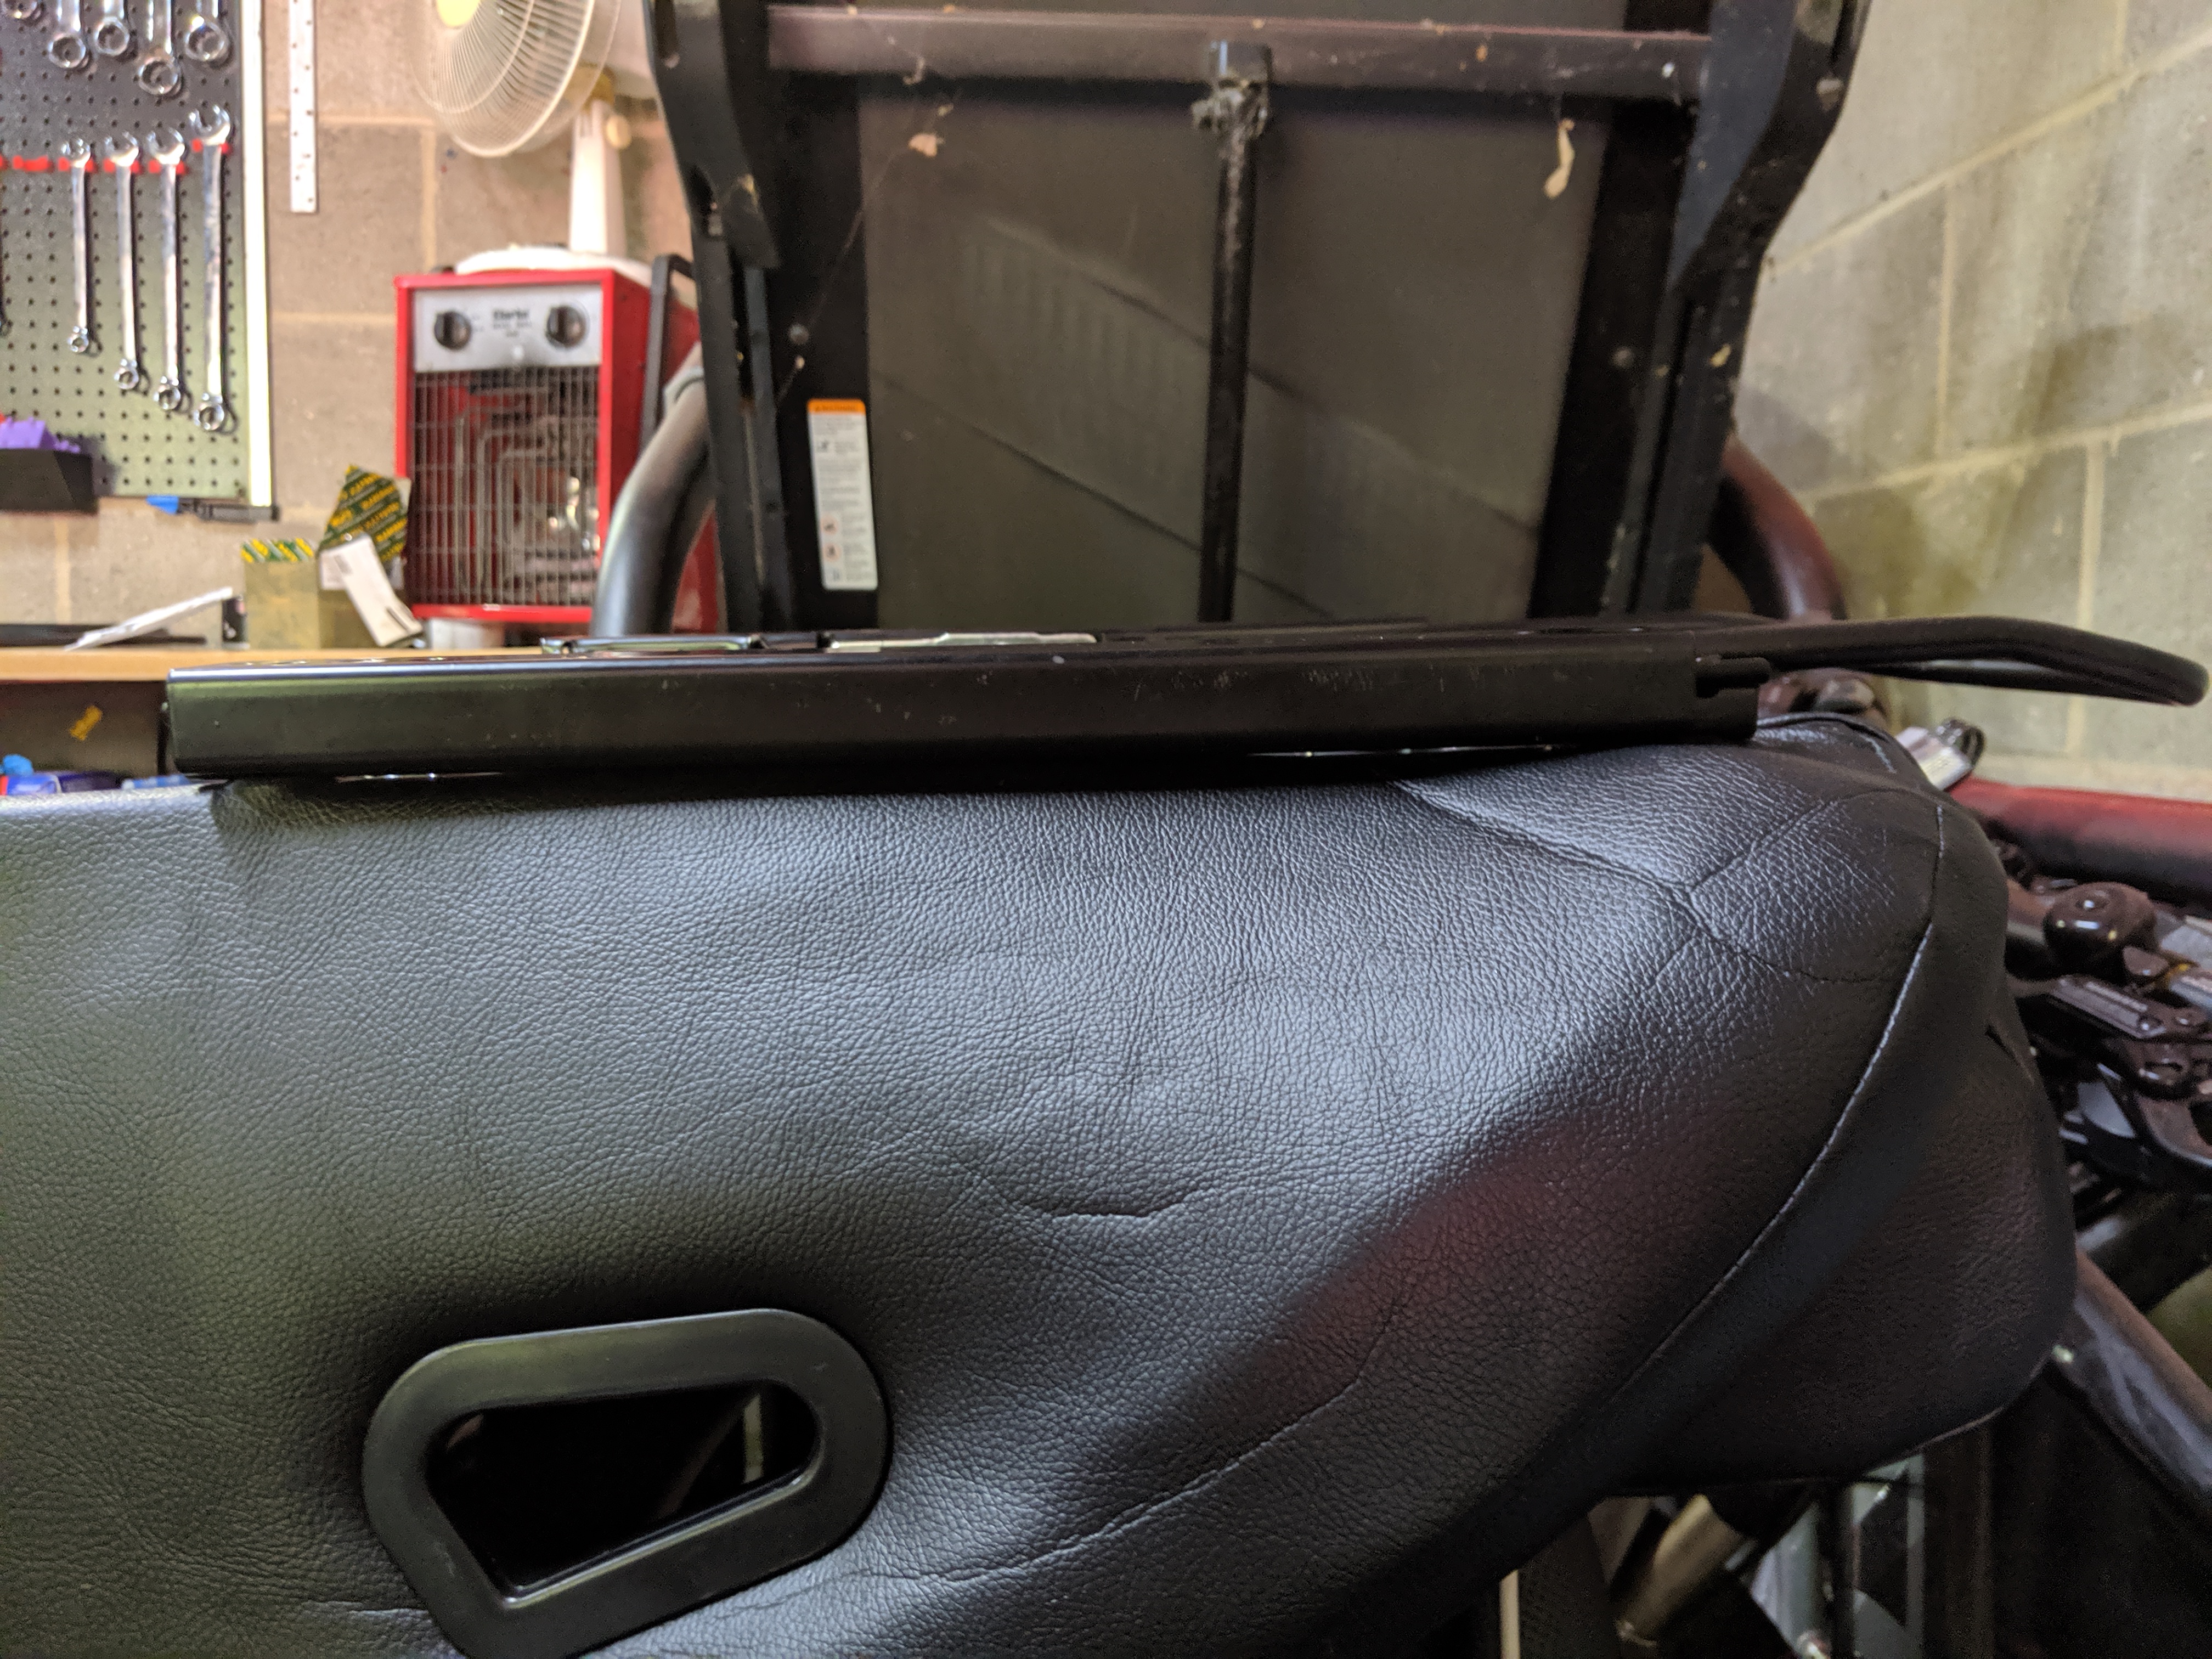
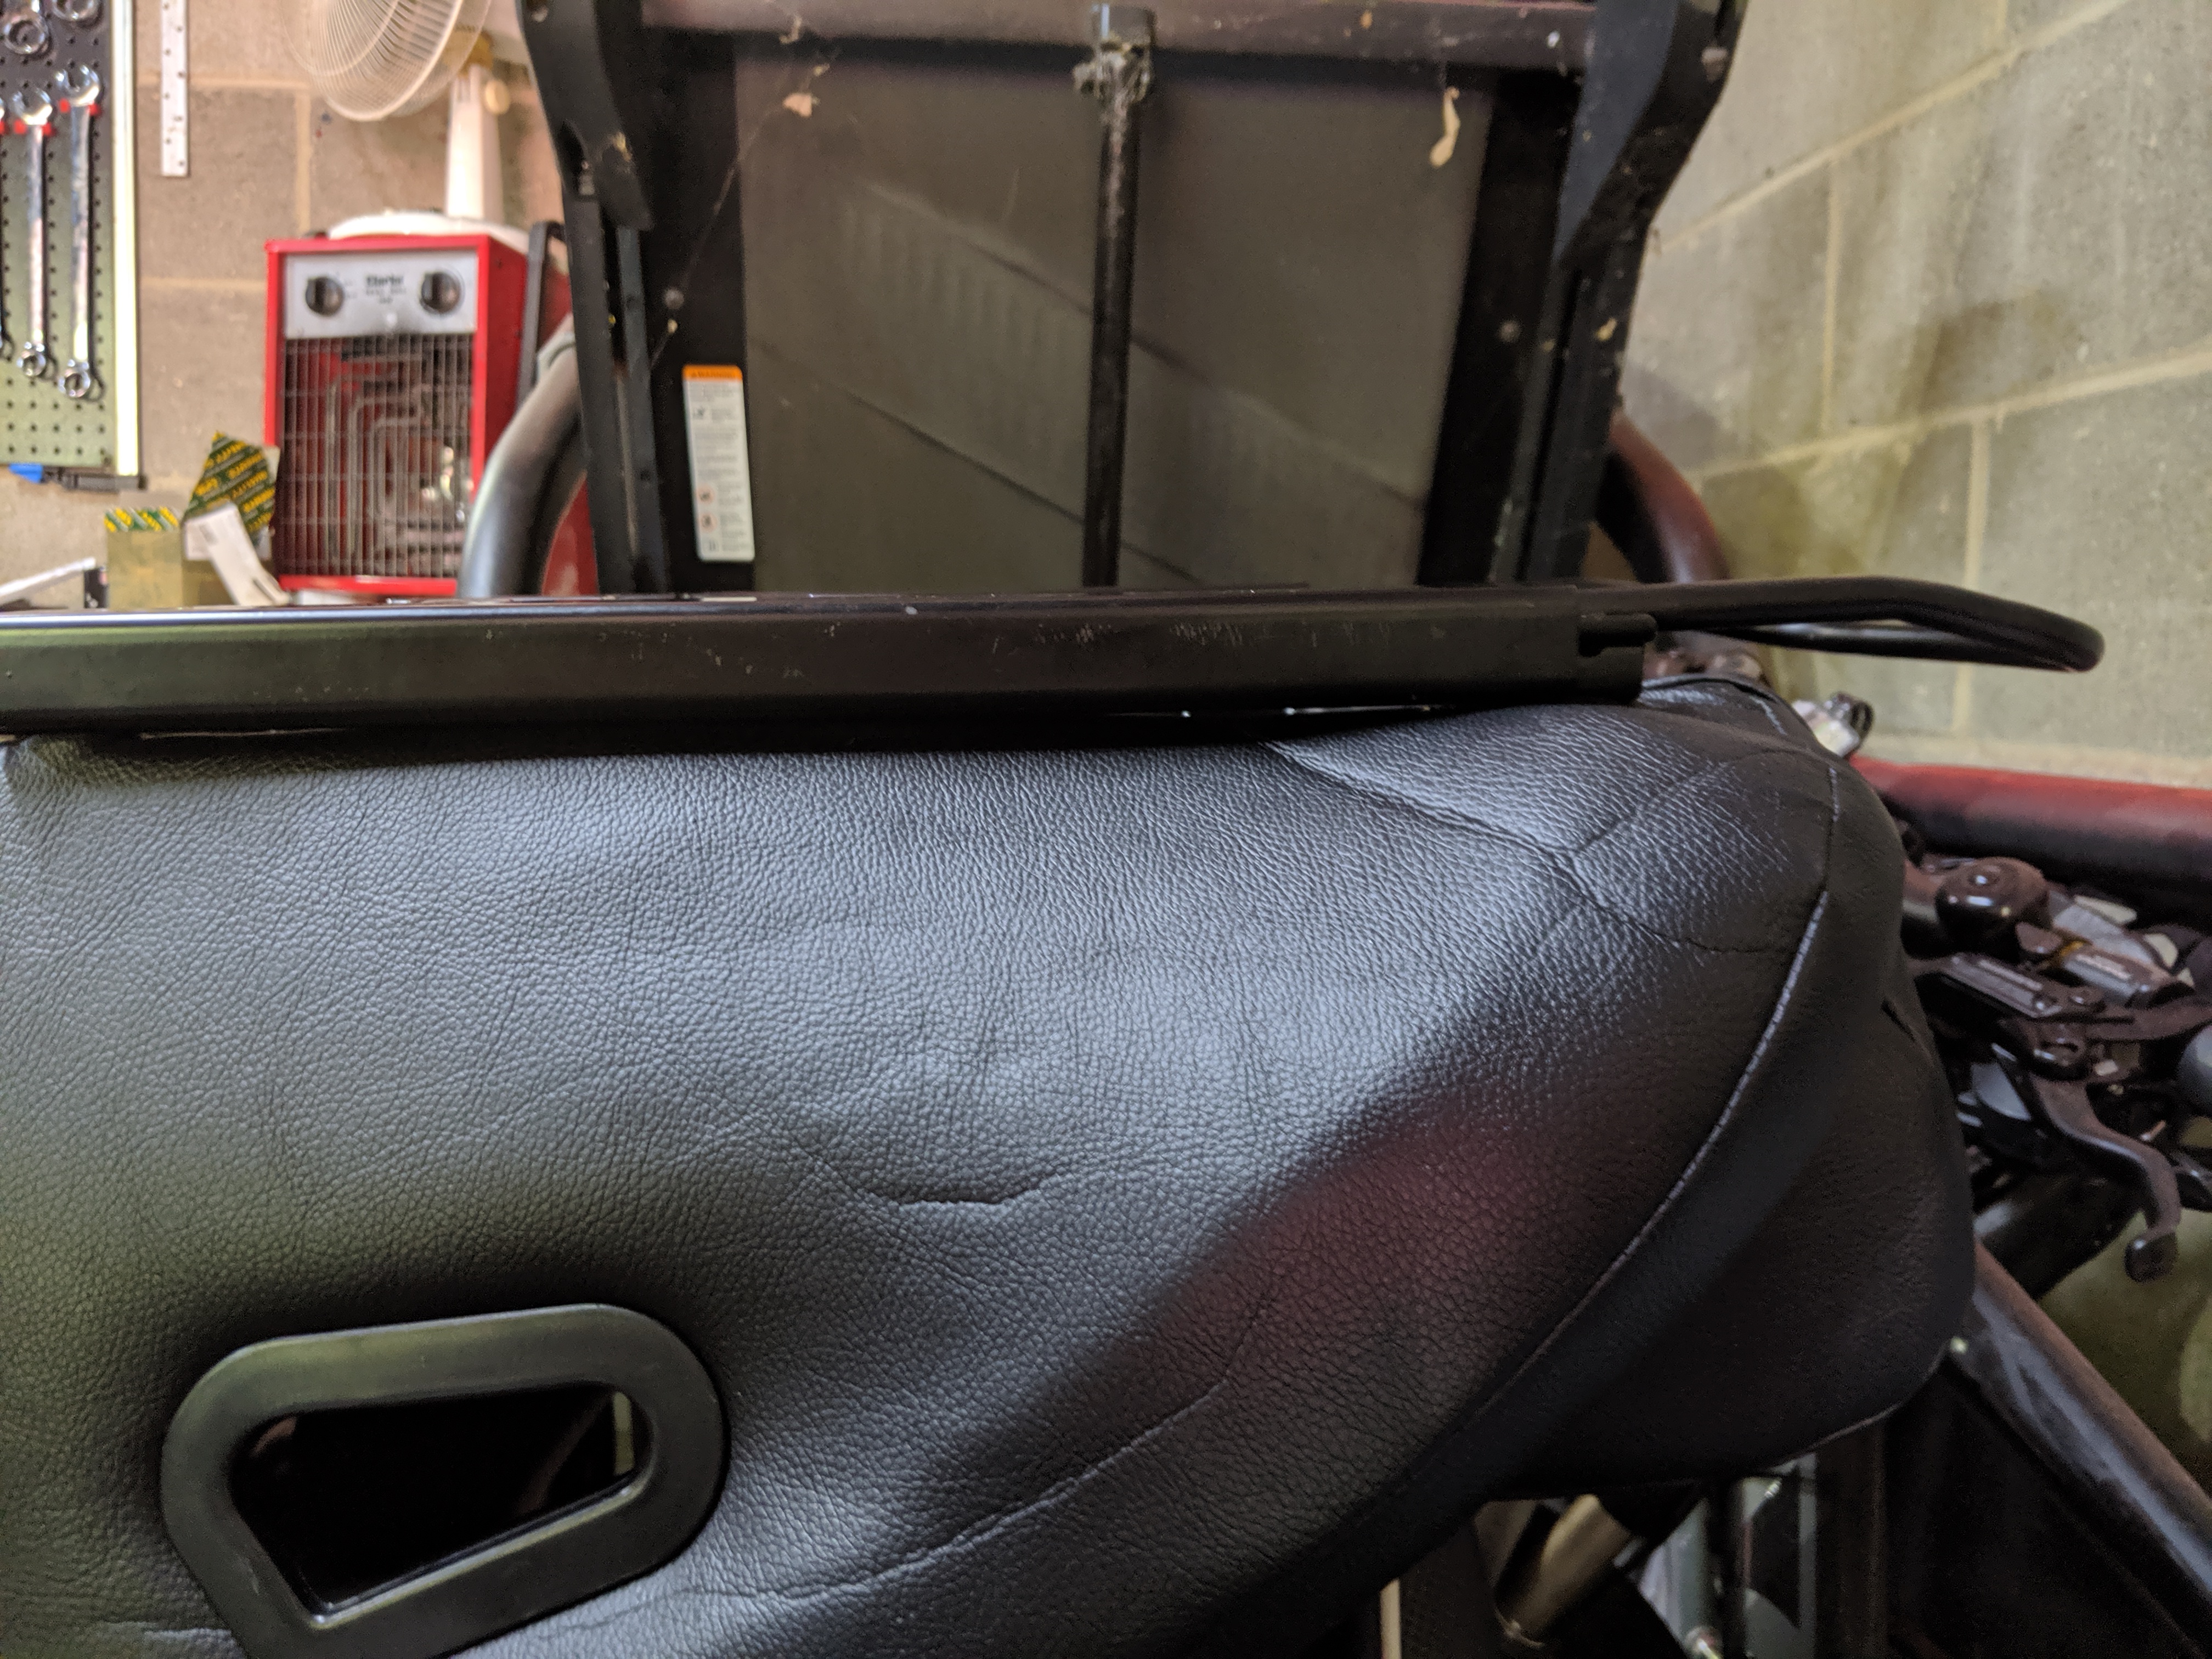
Once I had modified the rails to fit the bolt pattern of the new seats (nothing is plug and play in the kit car world!) I offered the seat into the car and sat in it for an initial test. This is where my heart sank. I was a good 4 inches over the top of the windscreen at eyeline 🙁 Not an ideal seating position by any means. It turns out these new seats had a 6″ pad in the base that meant I was 4″ higher than the set that came out. This was not going to do, so after several emotional responses from frustration to anger to sadness, I decided there was only one option….. heat a large carving knife up till it was glowing red and trim the foam!
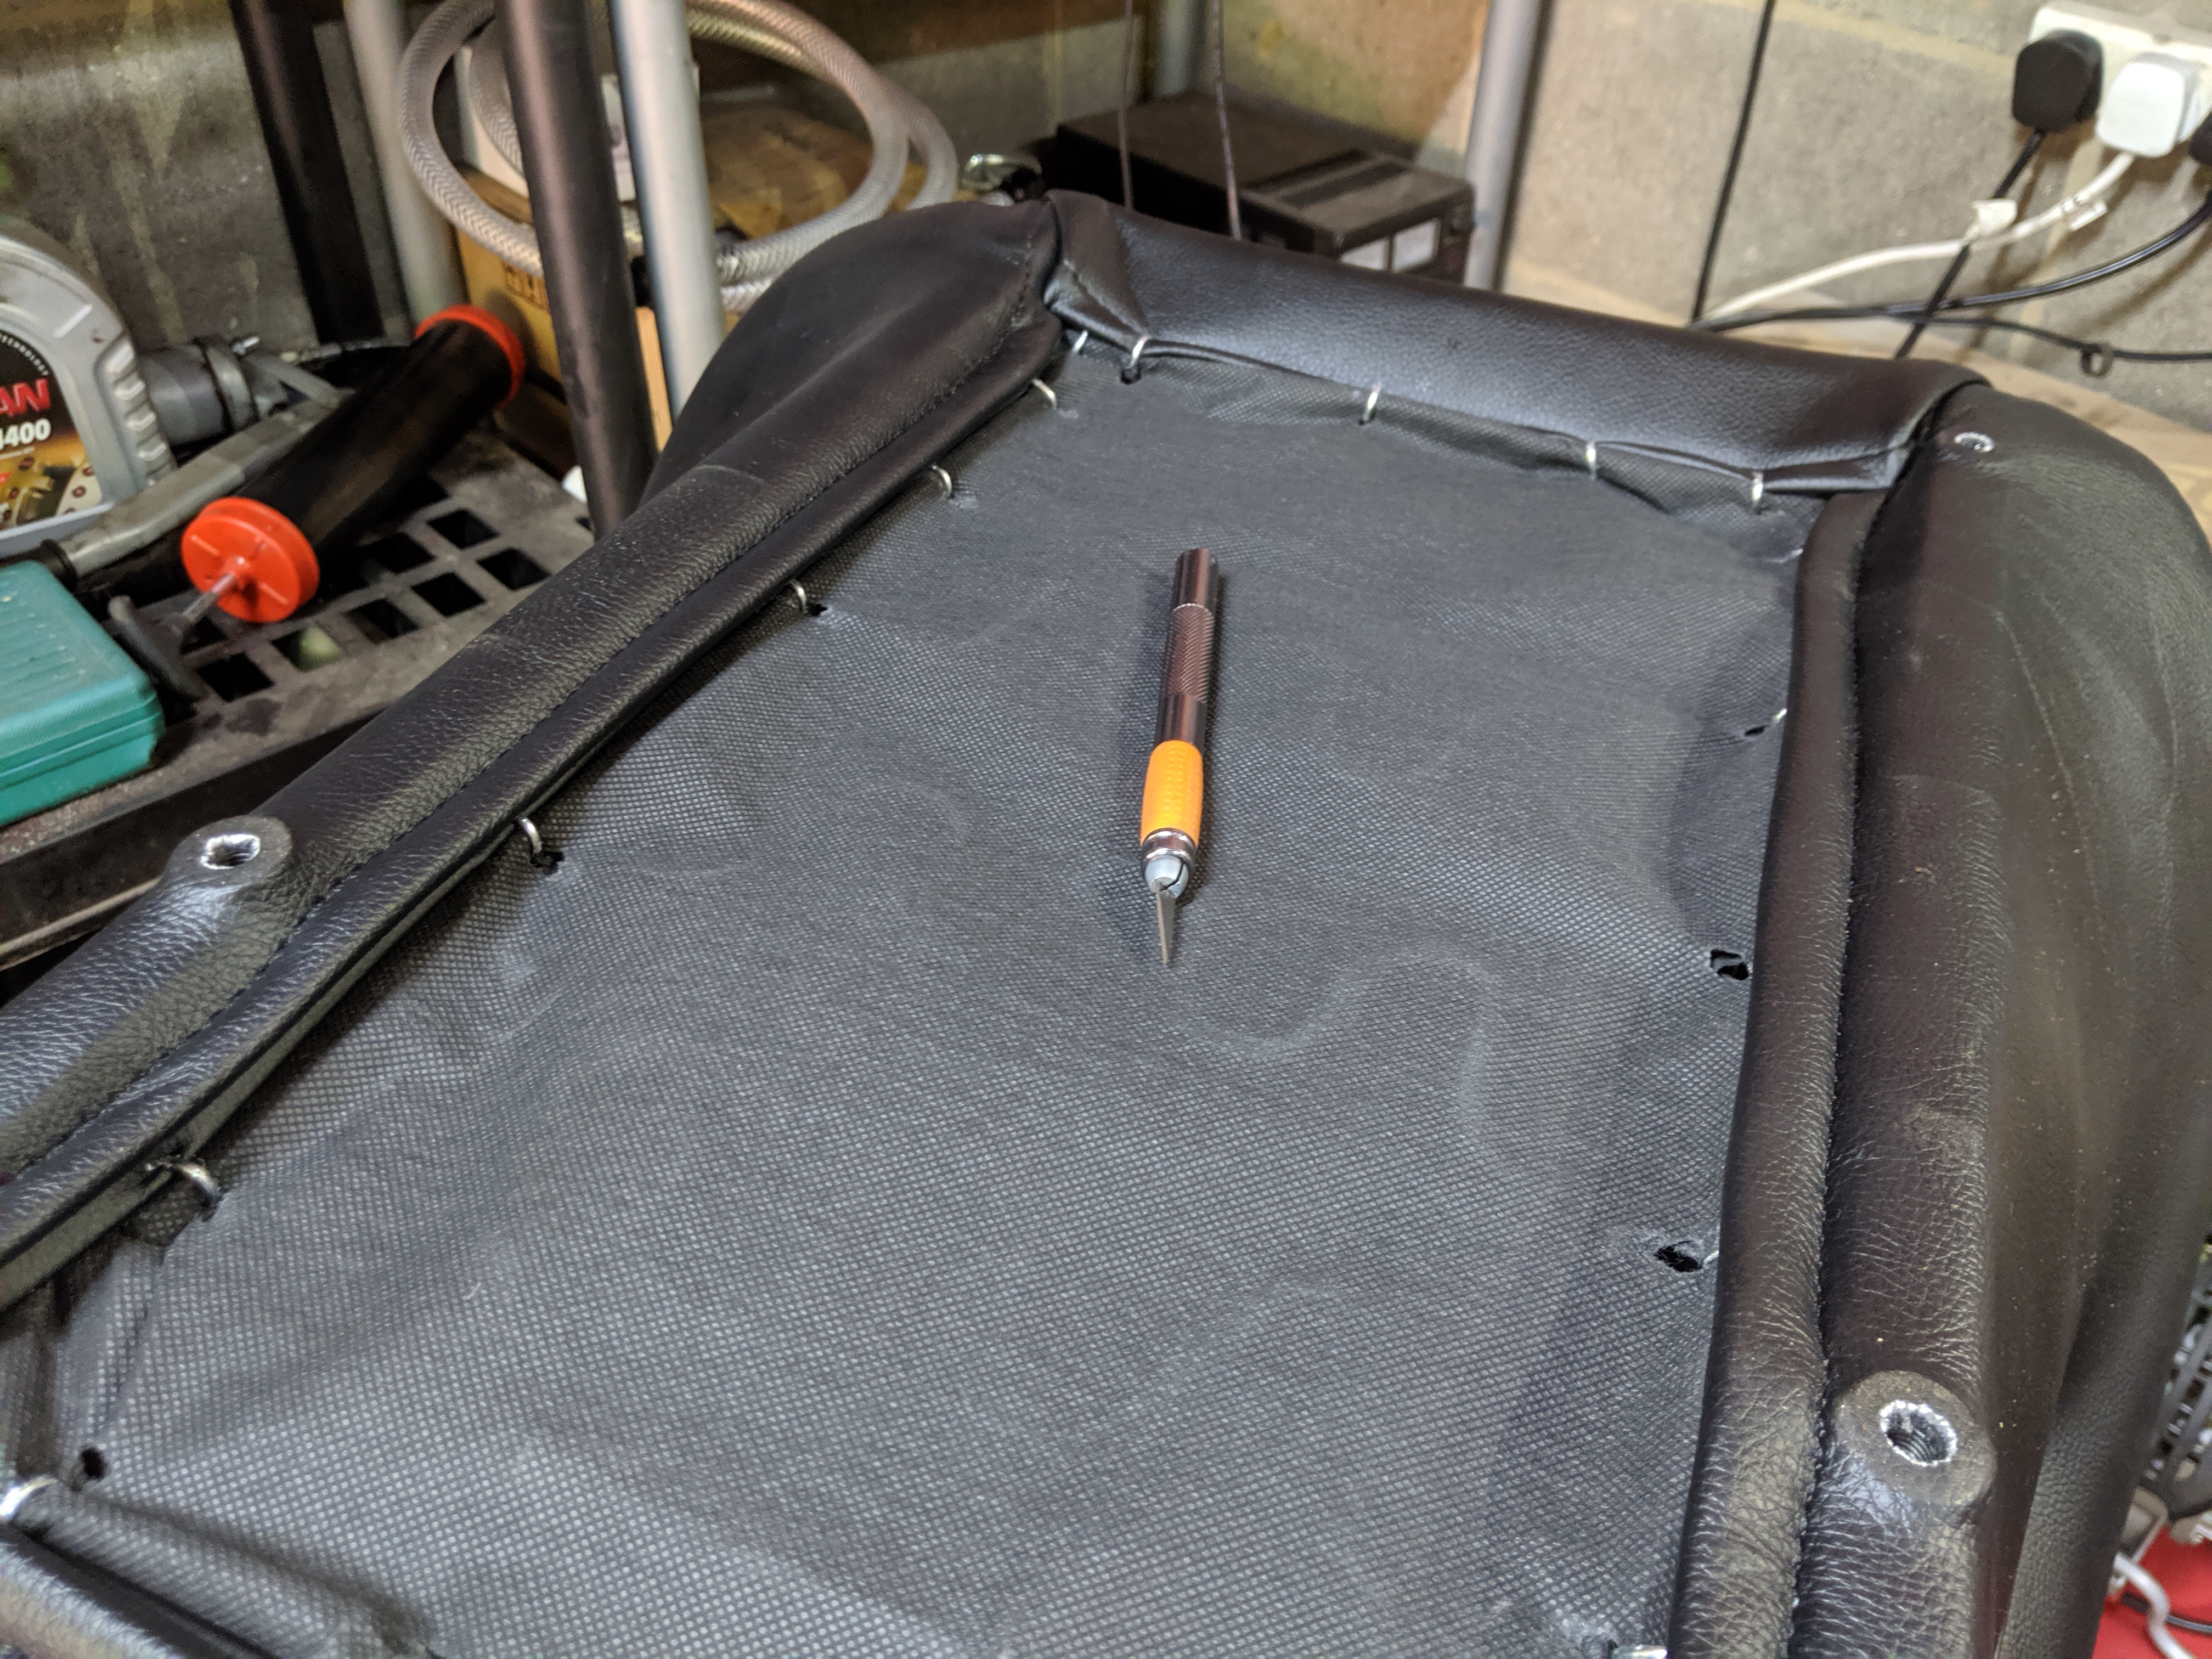
Its not that difficult to do as it stands (although i do recommend breathing apparatus as you get very dizzy very quickly!). Just pop the staples off the bottom on one end, remove the foam seat base, heat the knife, slice (like butter) through the foam, then reinstall the foam, glue back on the cover, staple the excess material out of sight and your back in business… all be it a lot lower to the ground! Its not perfect, but I do plan on a major rebuild this winter, and I am likely to be looking for some better / more modern low profile buckets as part of that so this is just for the summer.
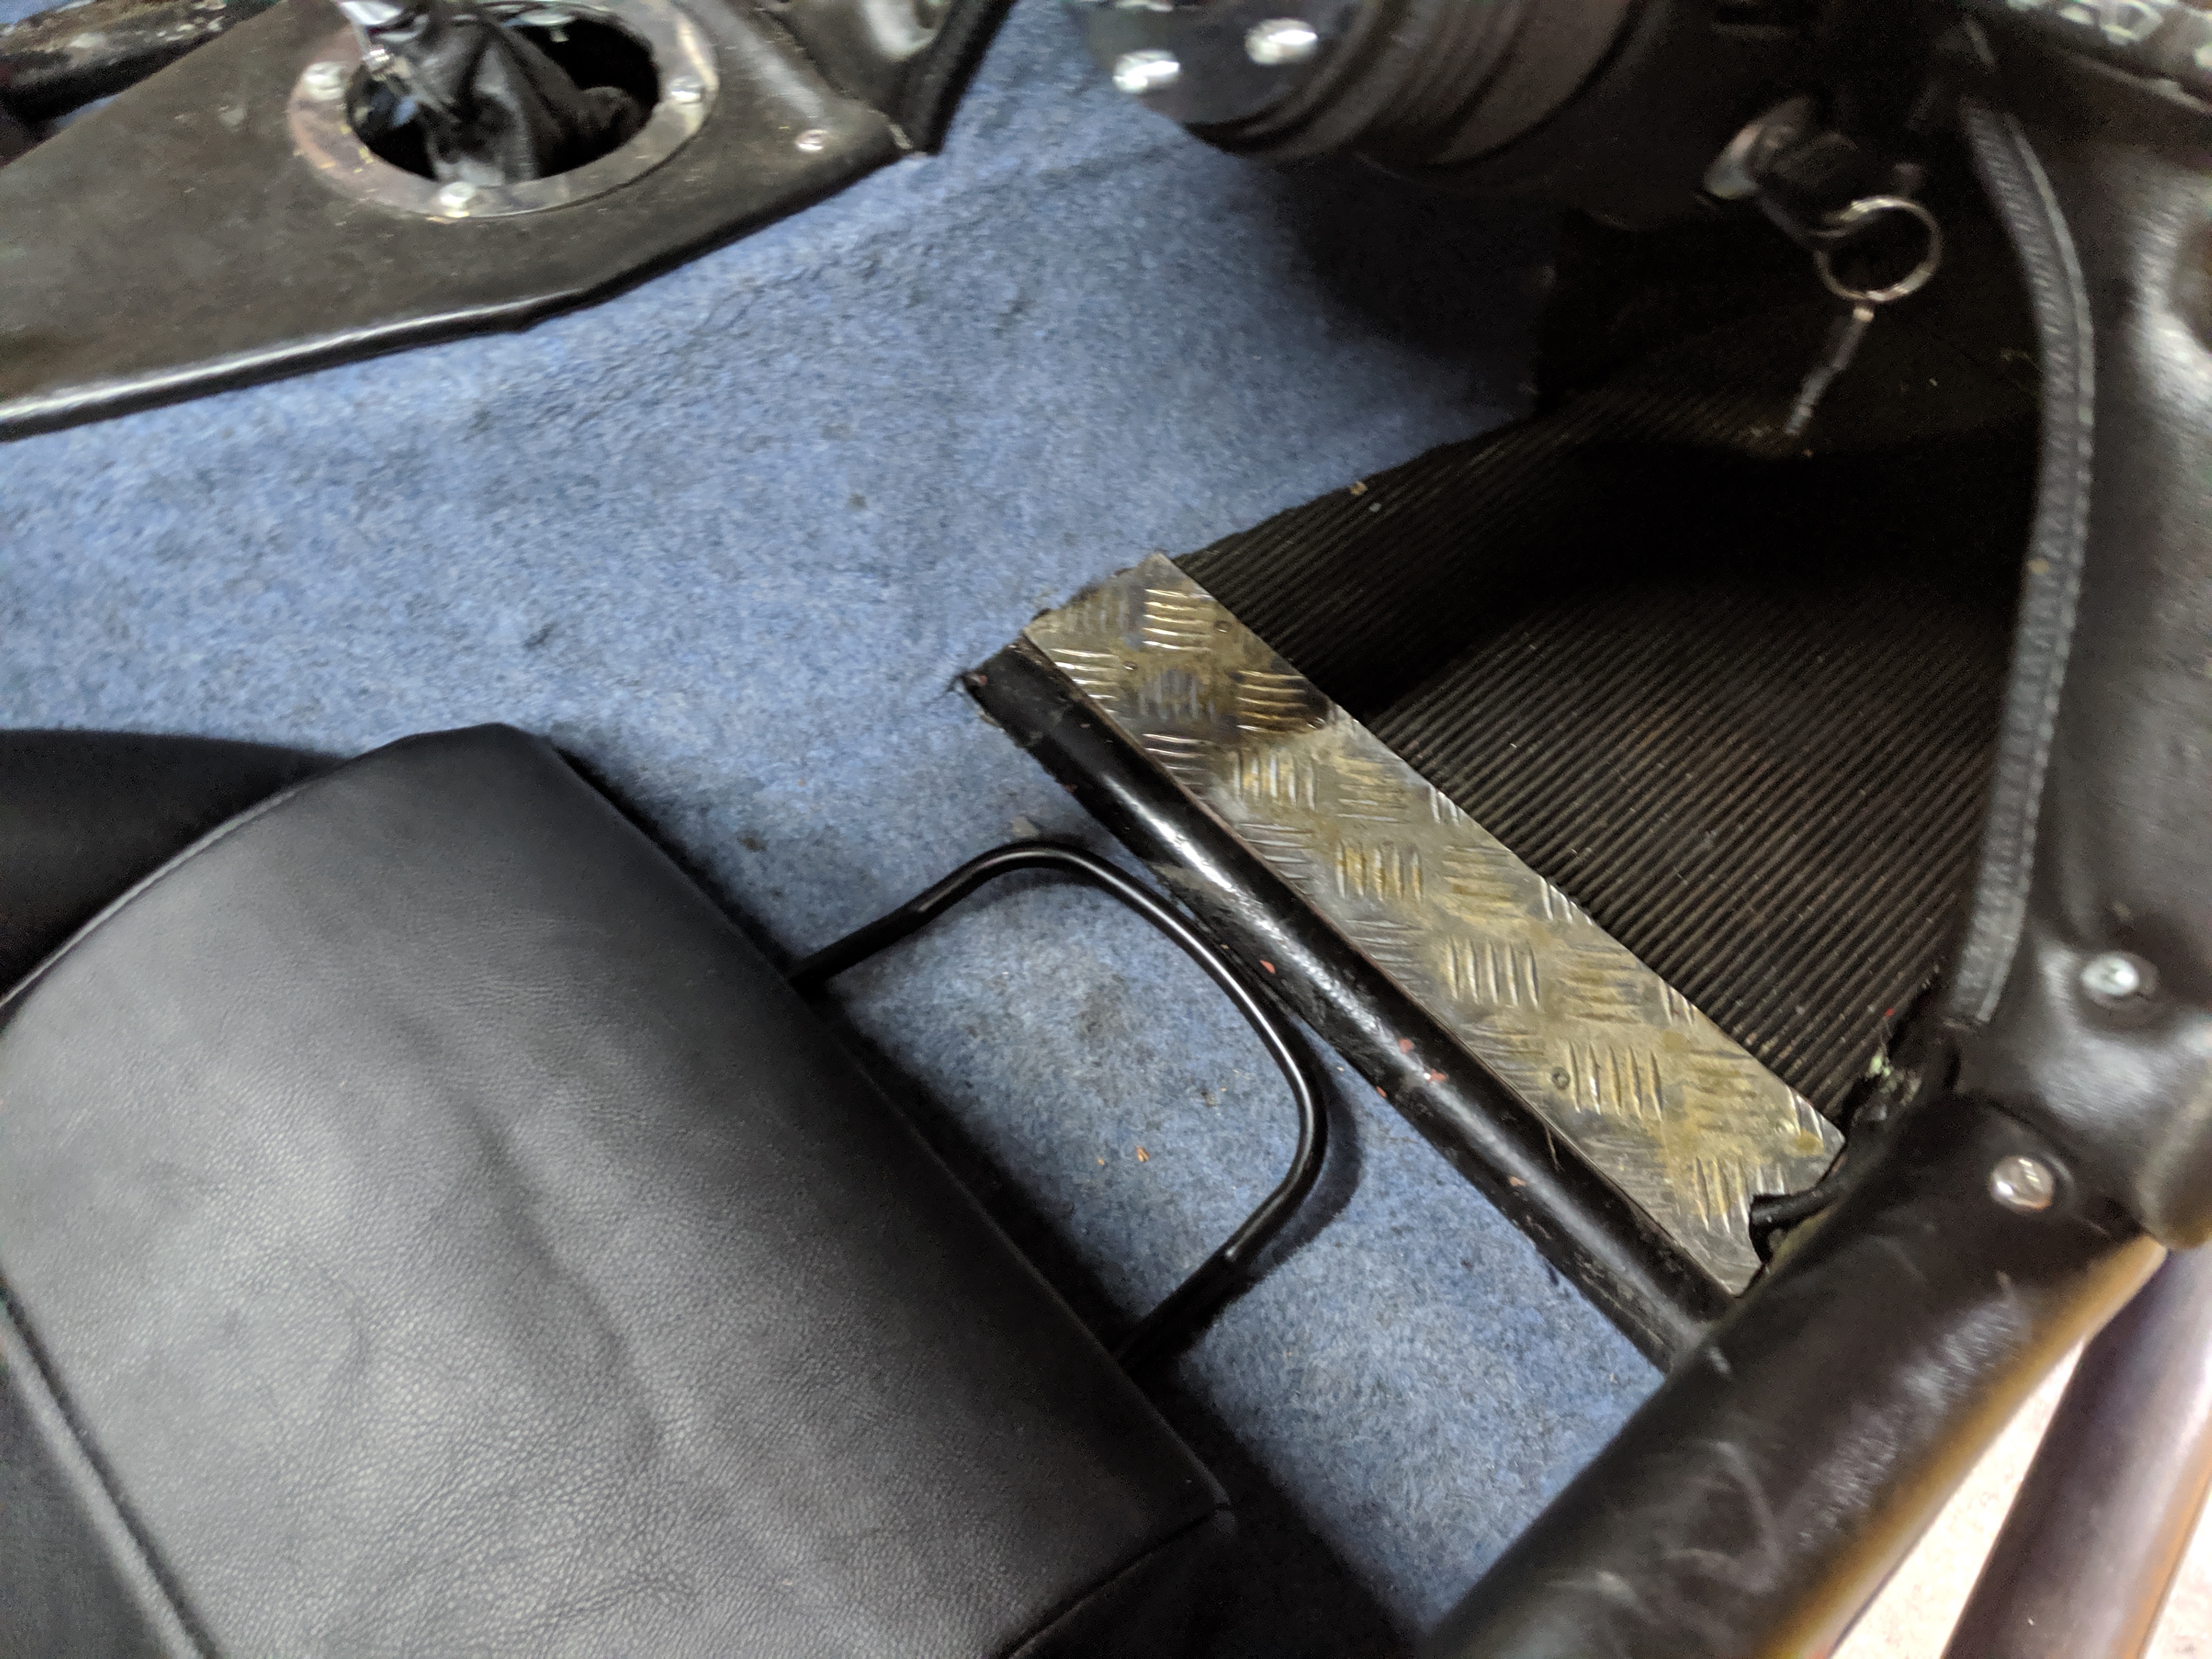
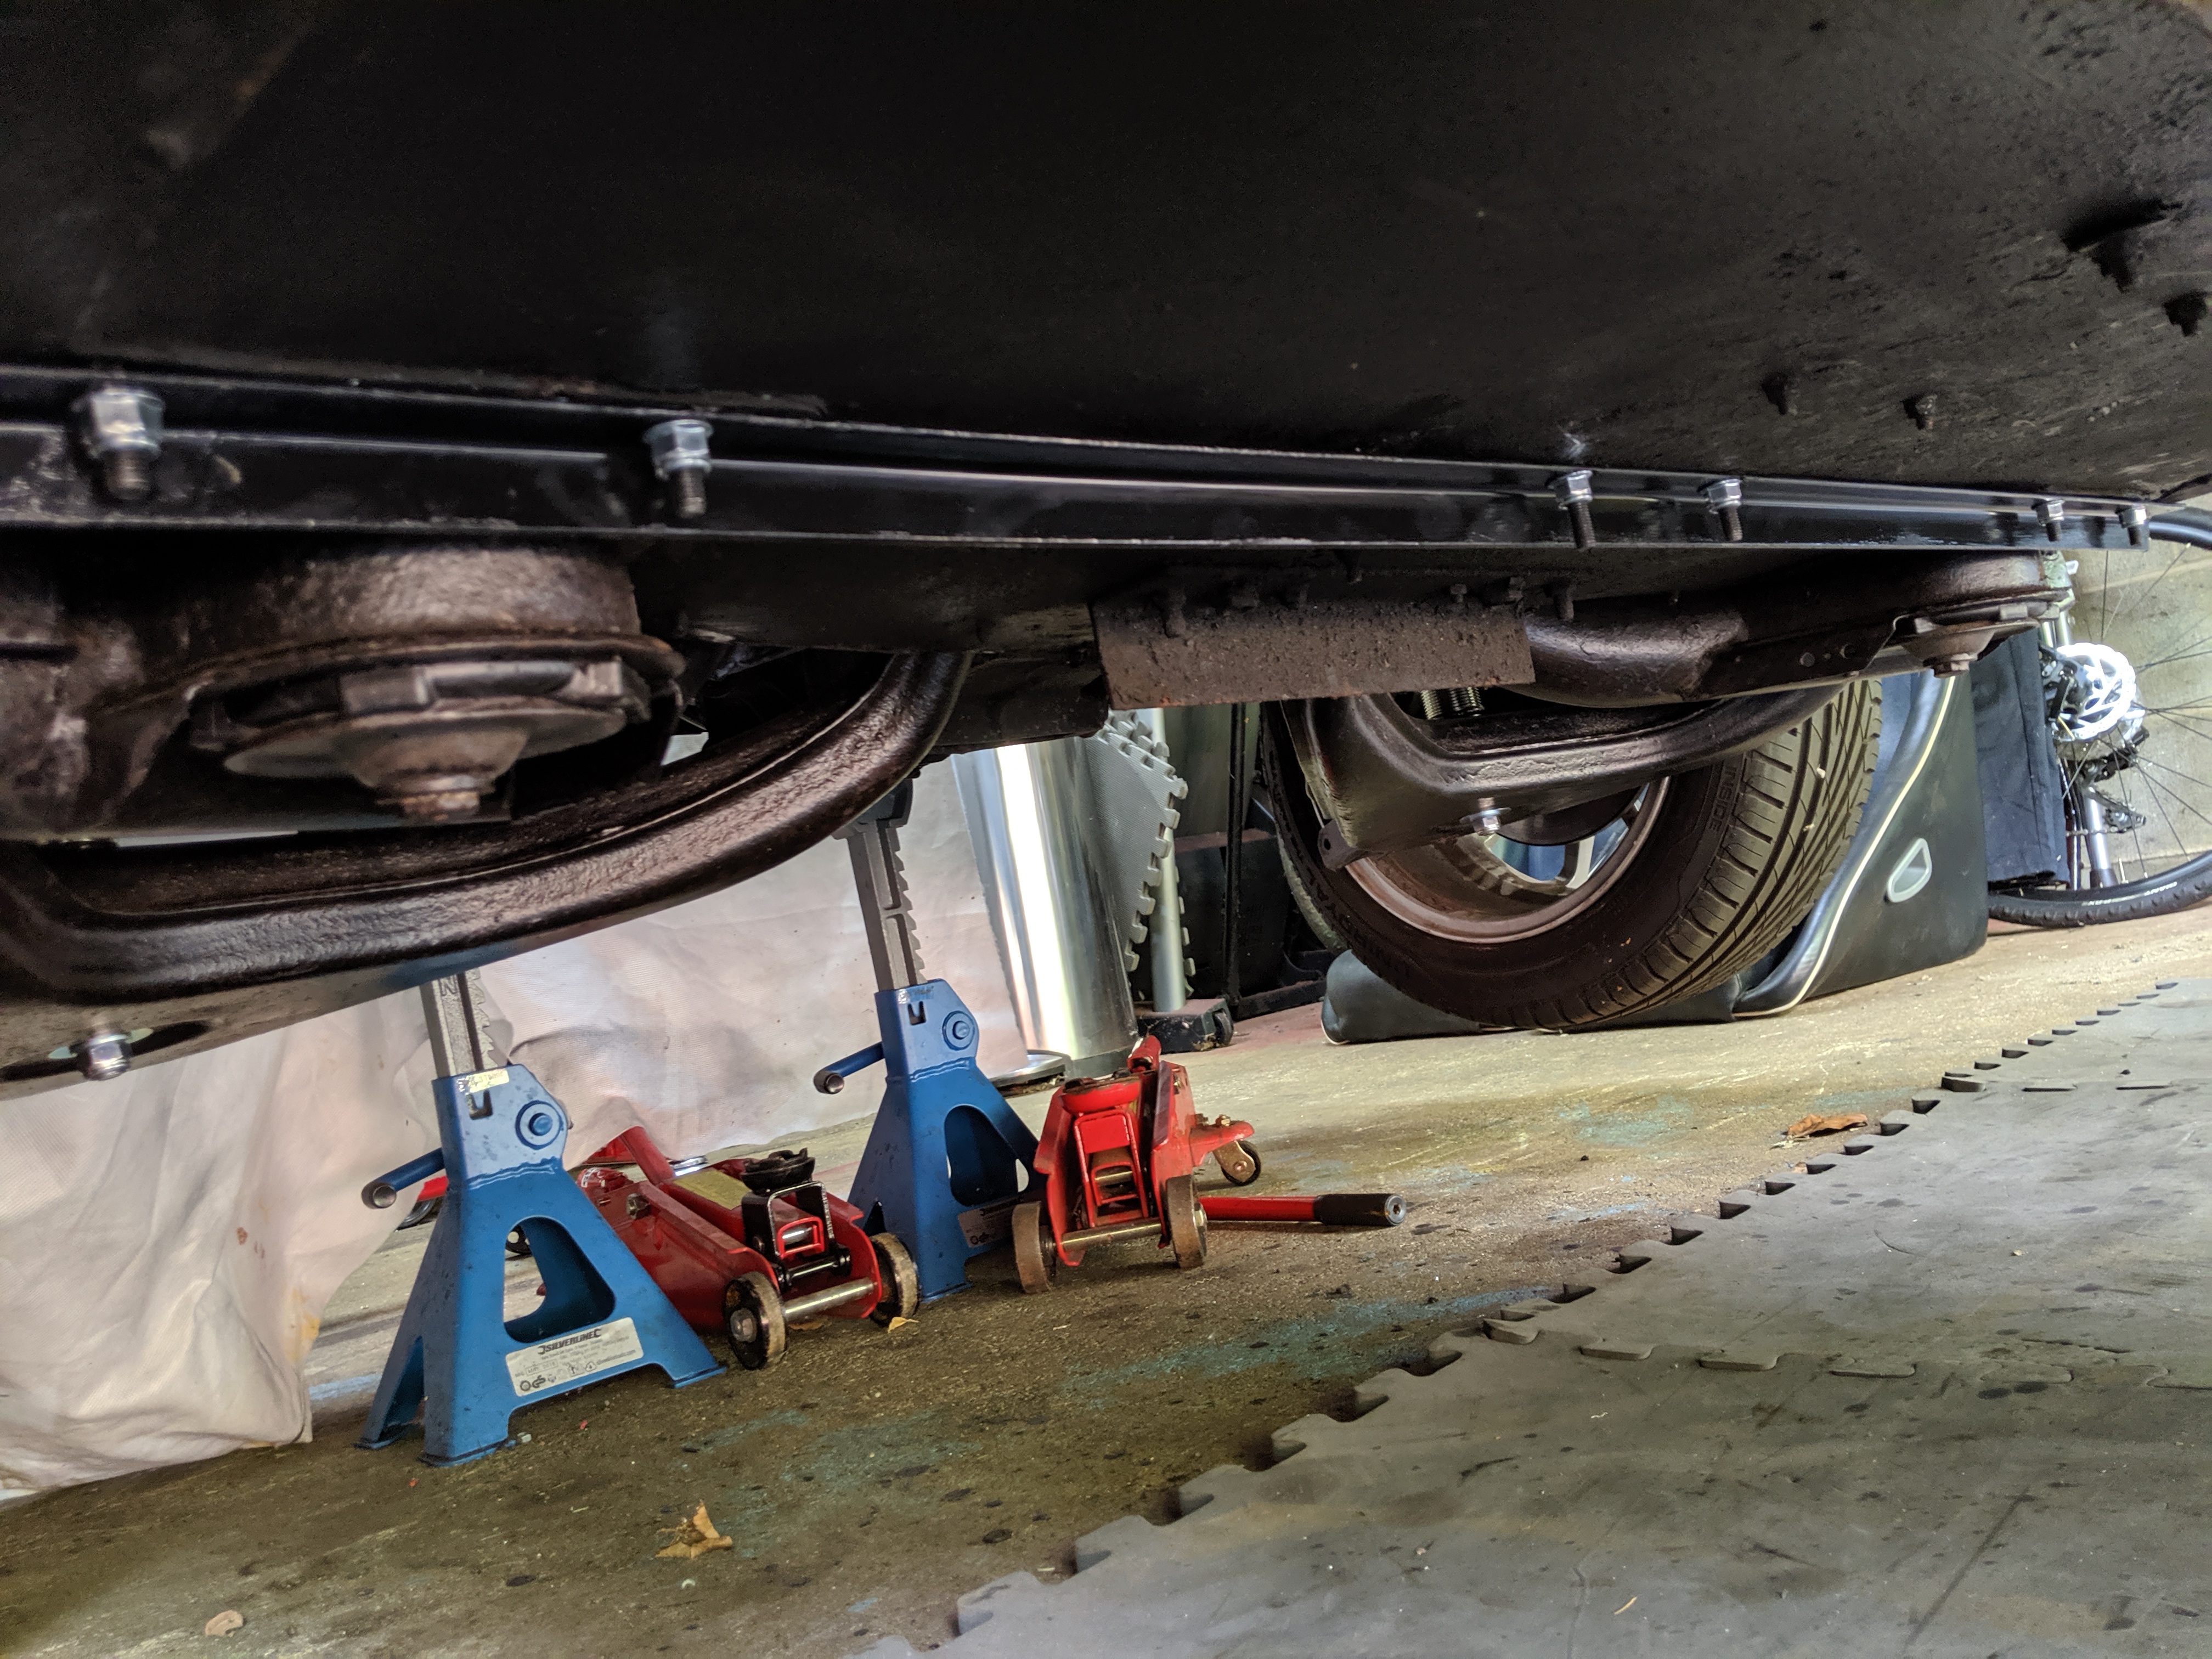
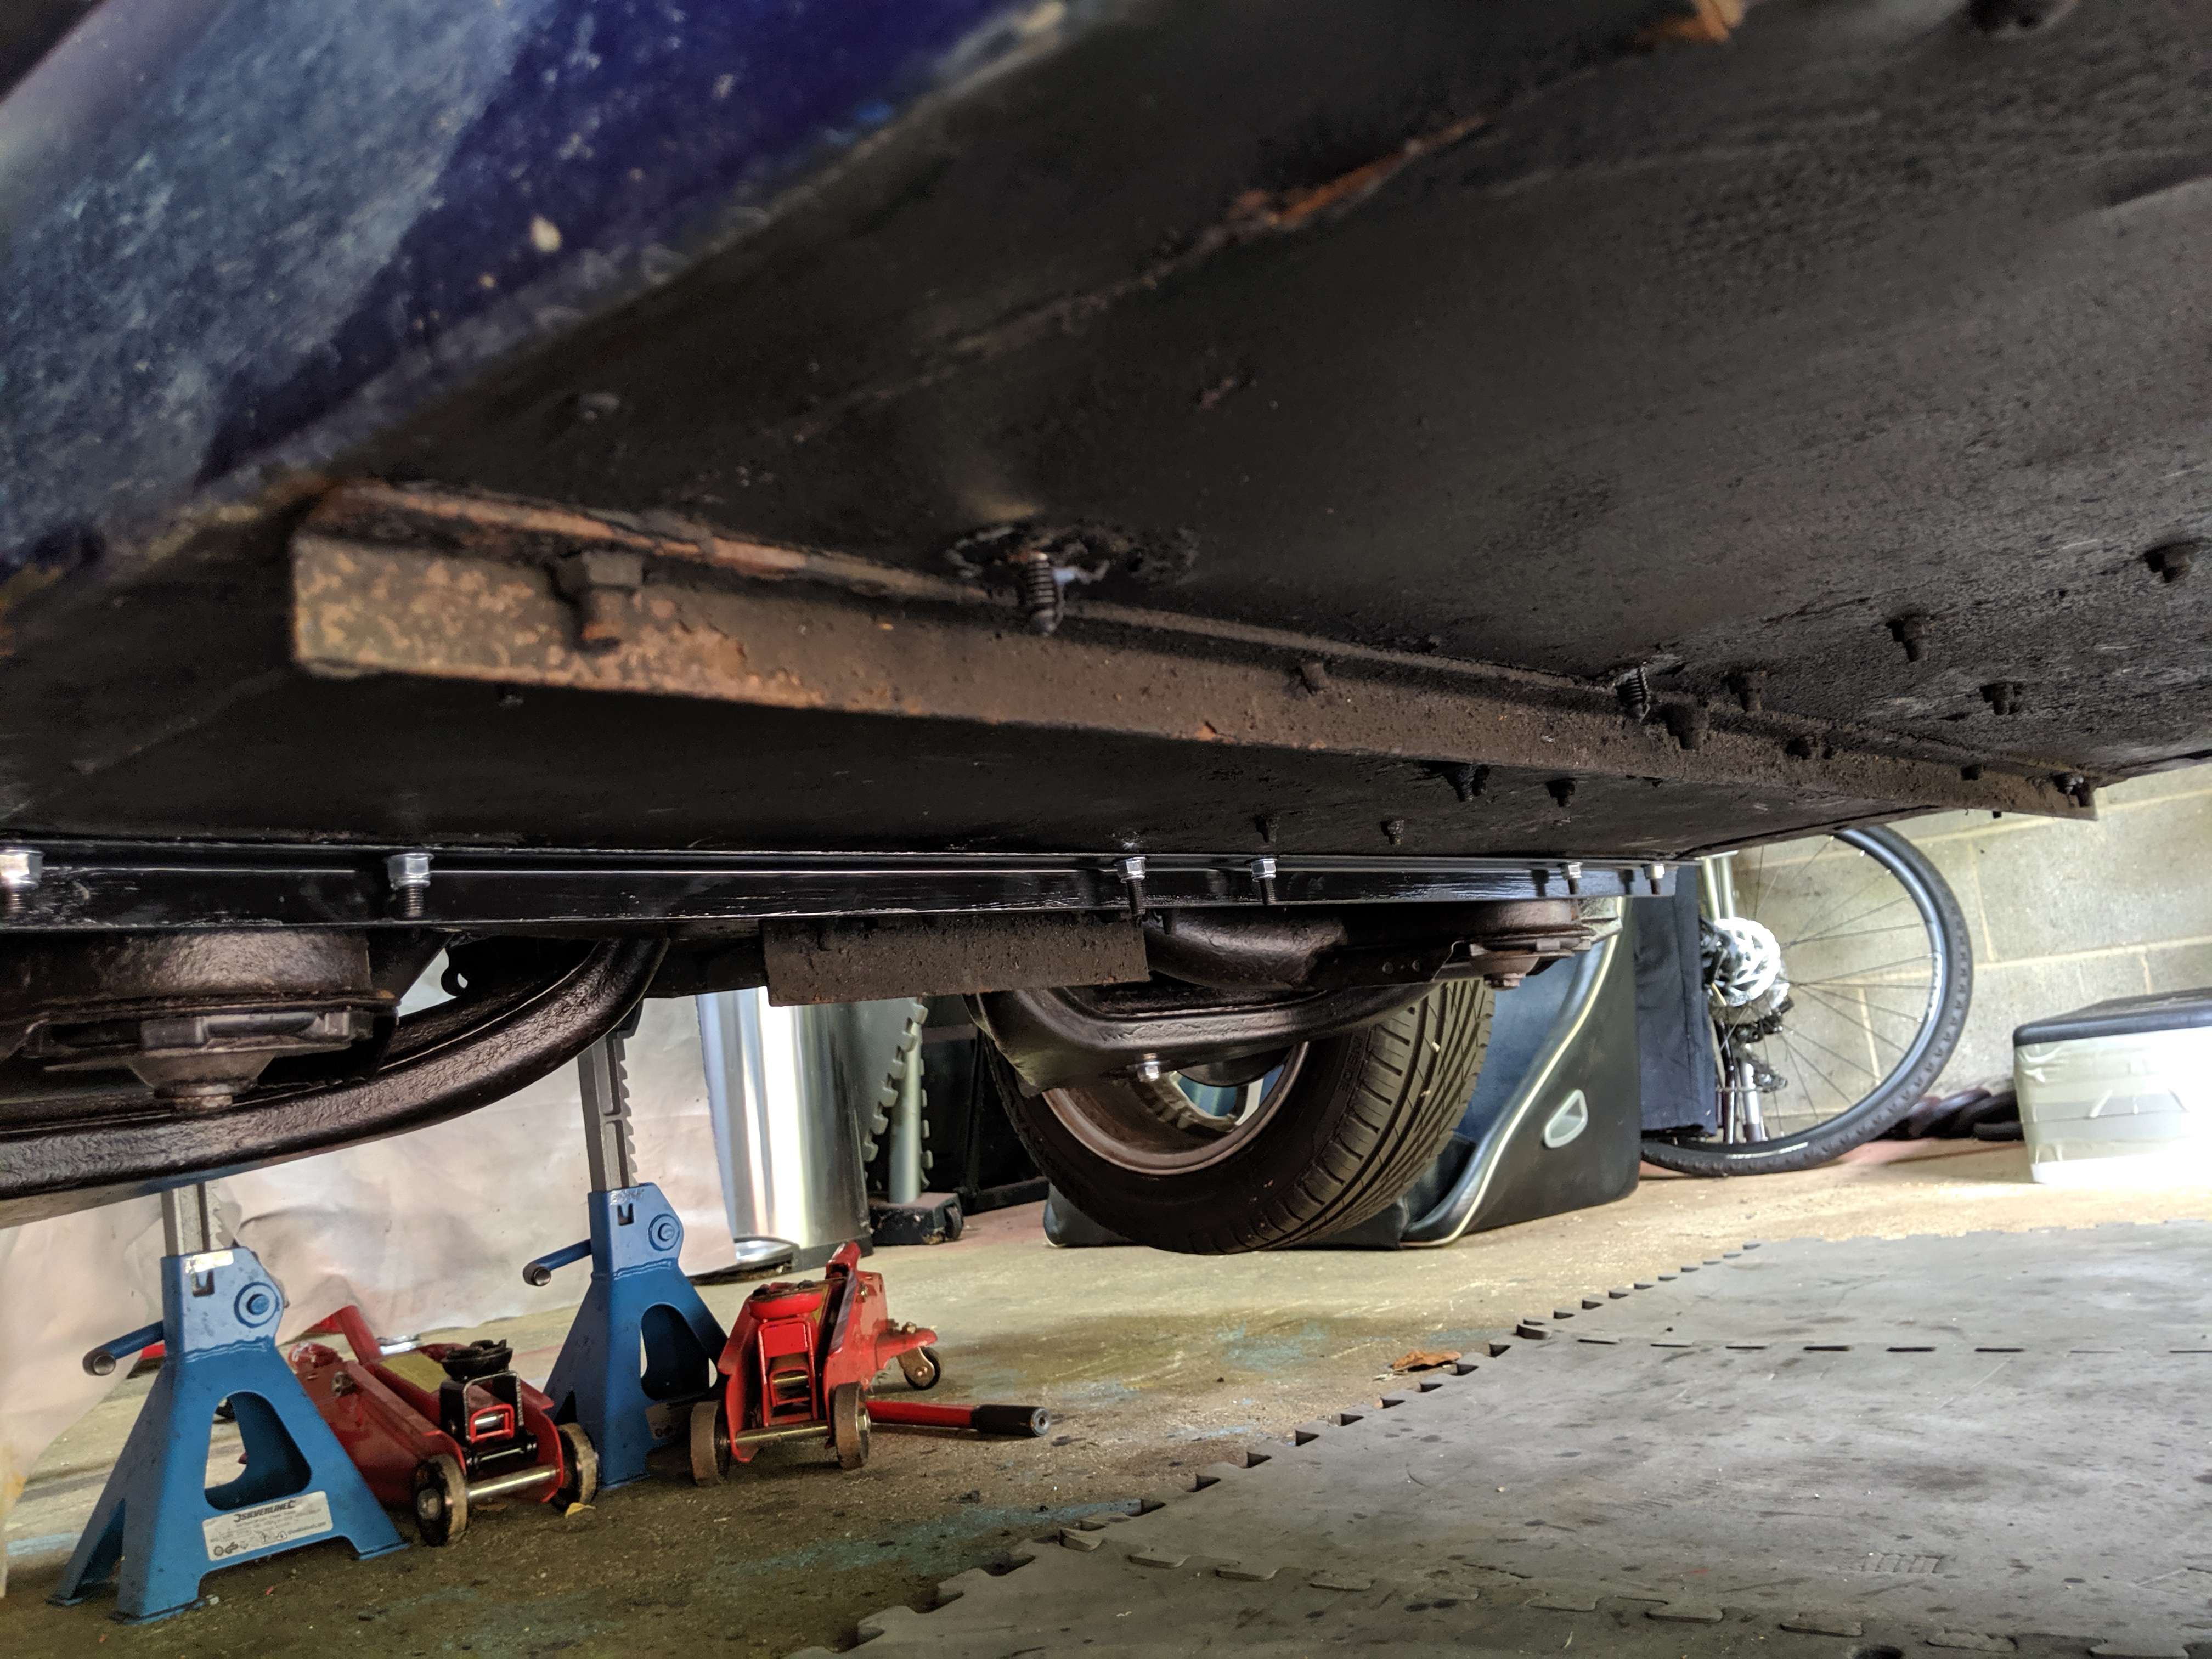
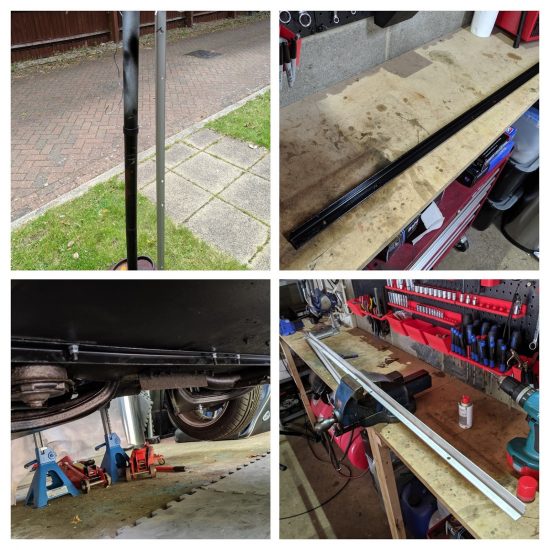
Once I had the seats ready for install it was onto the floor. I wanted to reinforce the floor where the seats mounted to as the floor had developed flex in one corner of the seat mounting position whcih made the seat seem loose and rock. To solve this I decided to replicate what the builder had already done to reinforce the floor in the front seat mounting location. Essentially adding a 25X25x3mm angle iron from side to side. Again, this was a seasonal fix as come the winter I want to weld in a lowered floor to gain an inch of height inside the cabin.

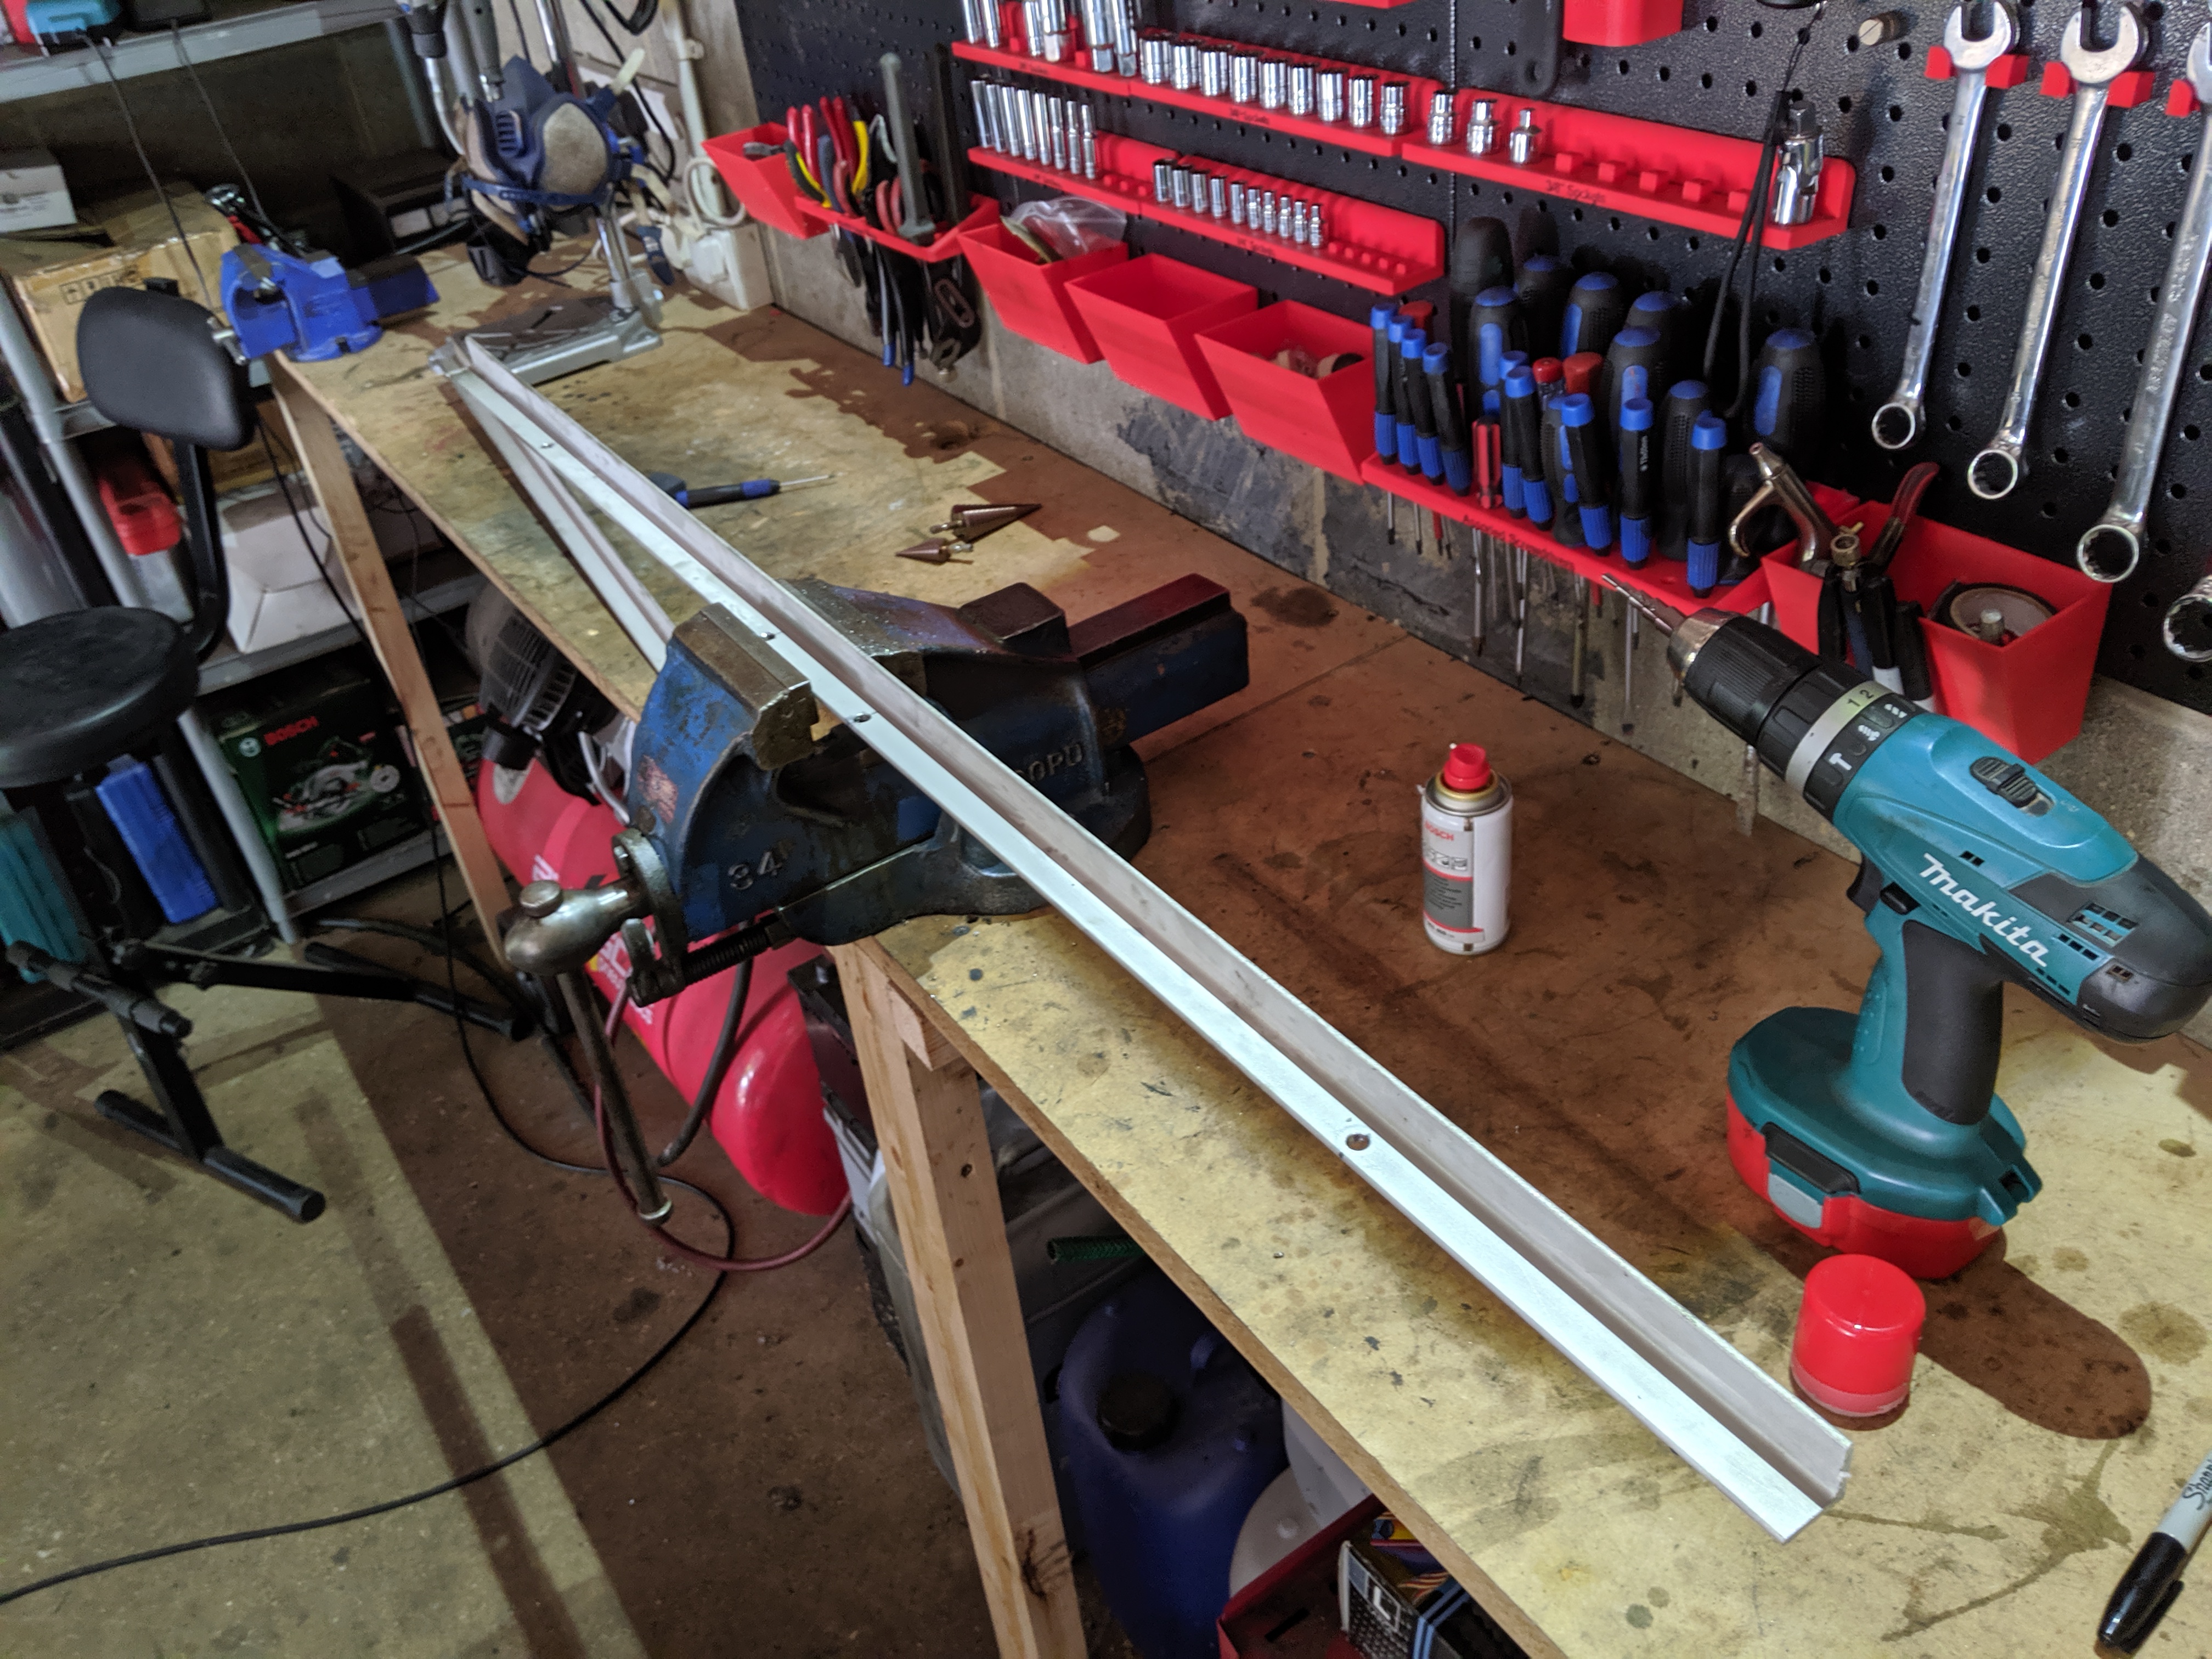
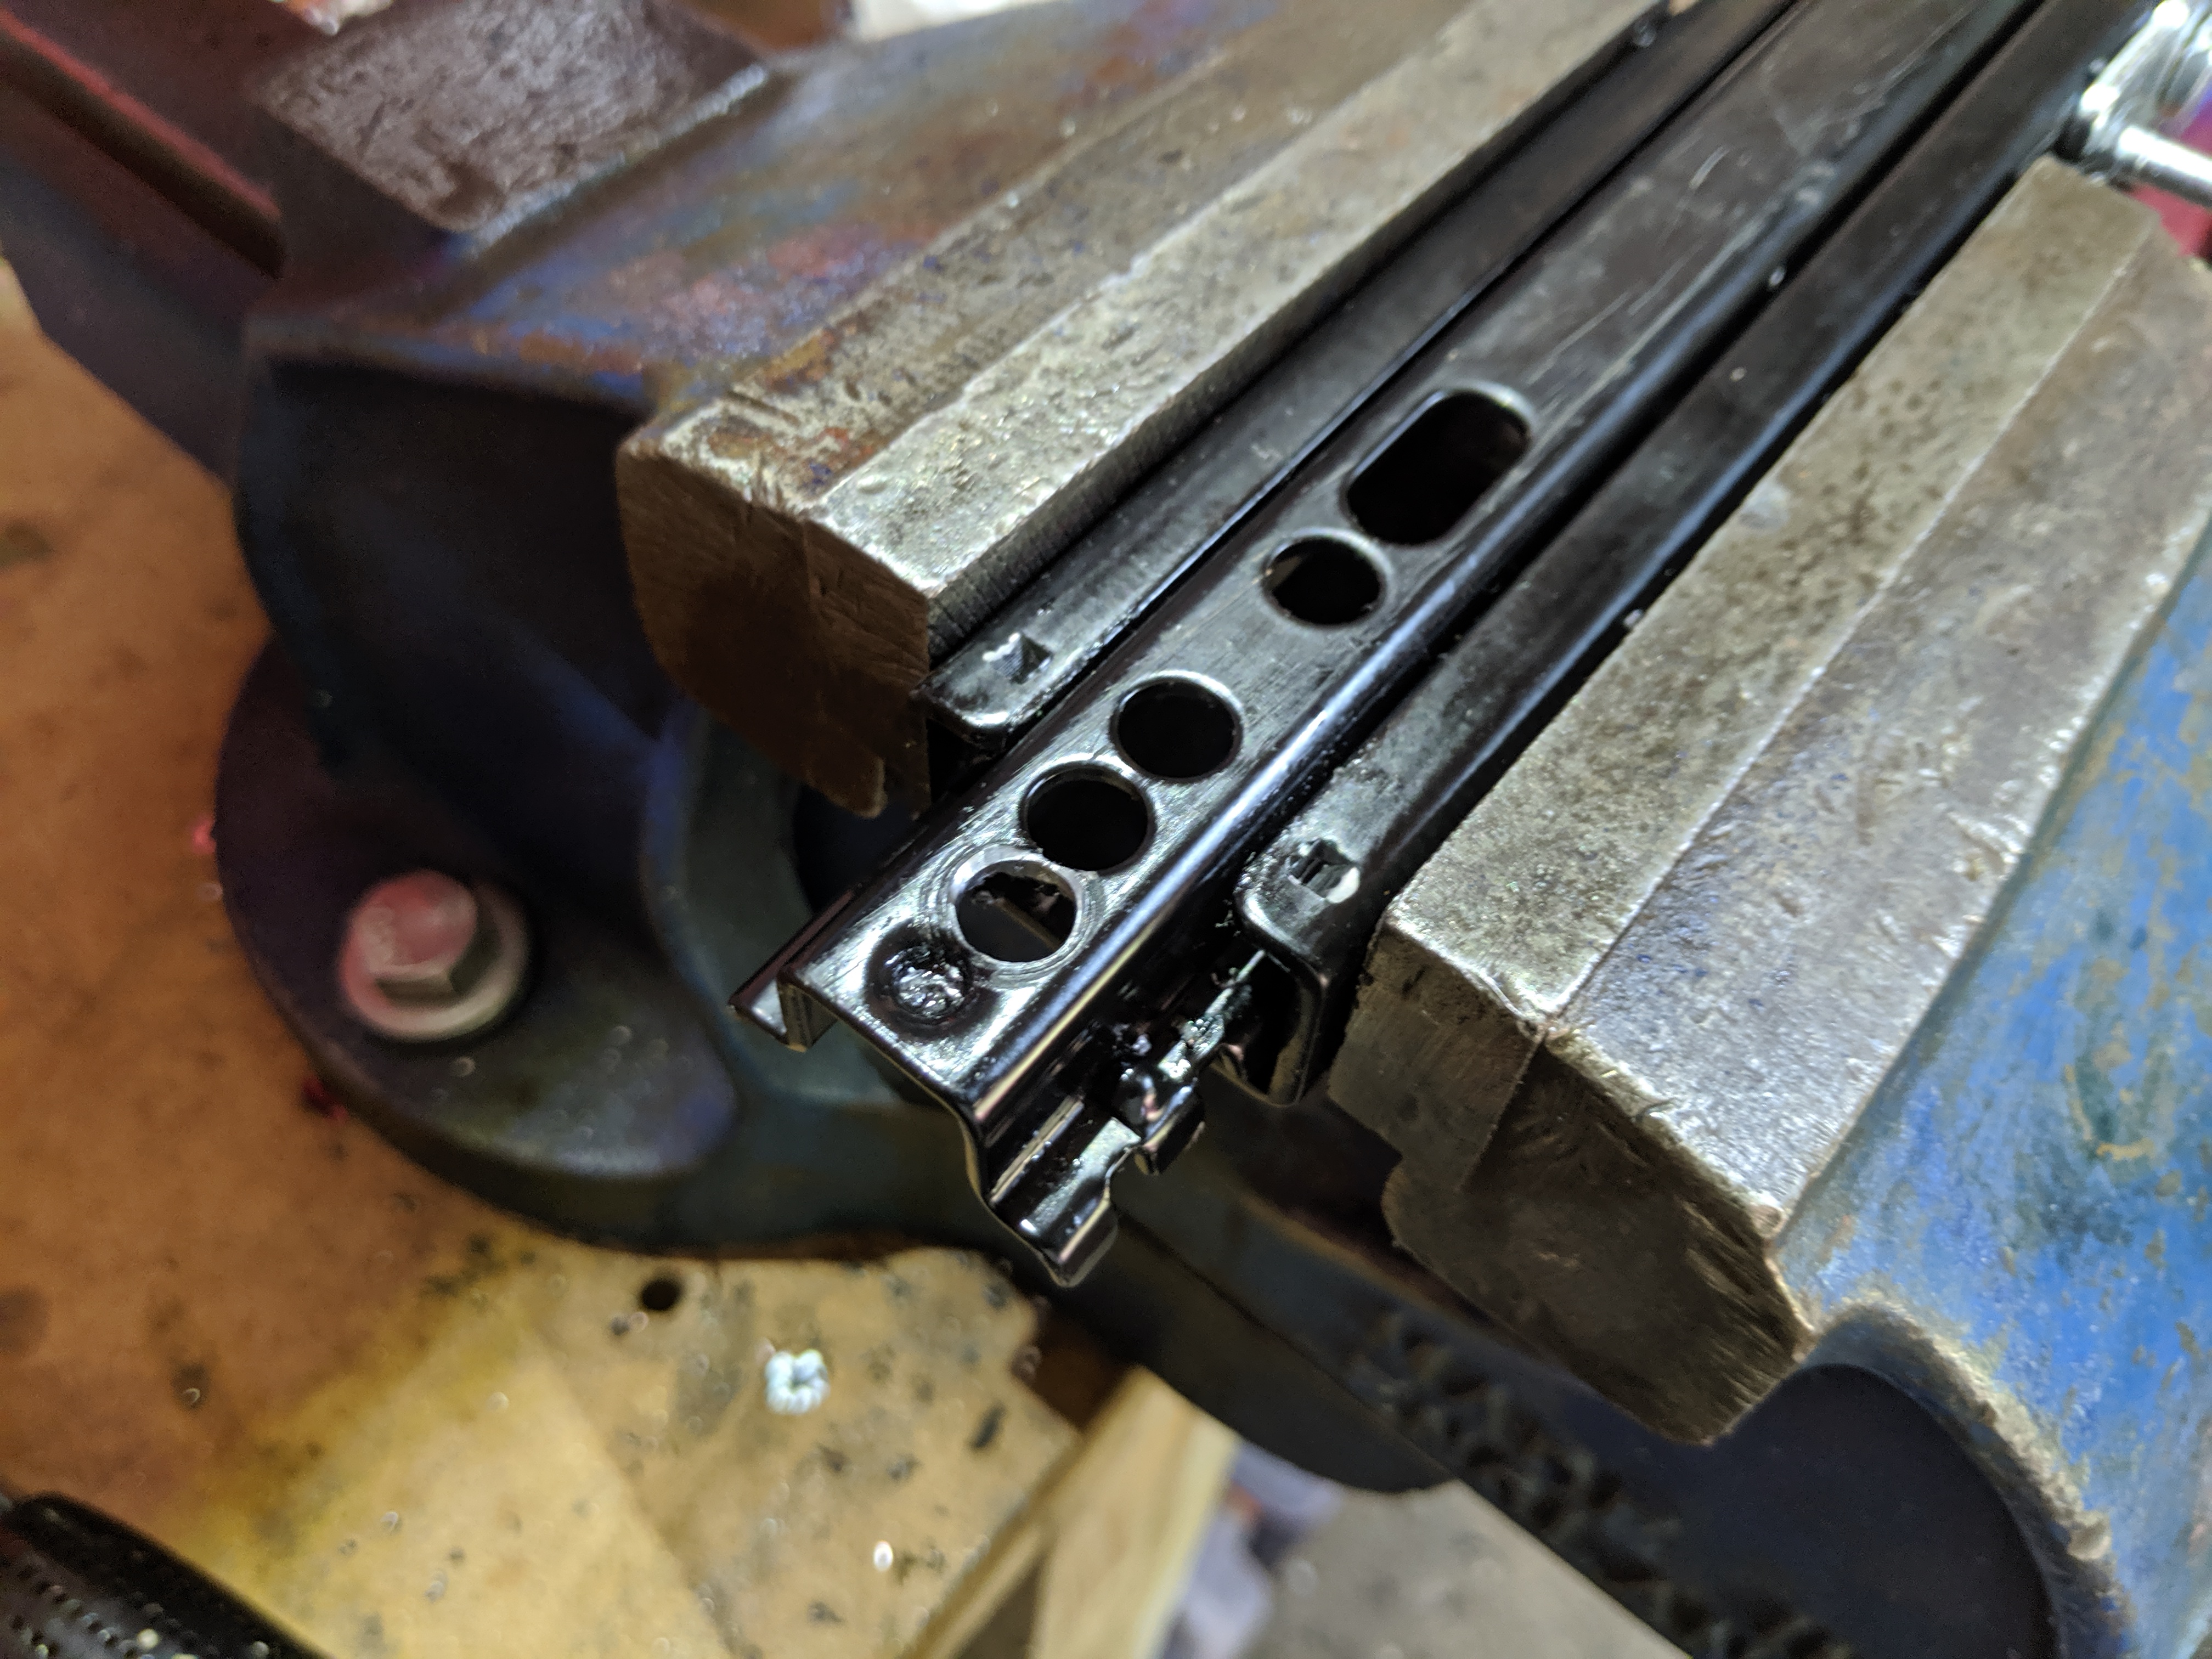
A purchased a 25x25x3mm 2m length of stainless steel angle iron and cut it to size. I then mounted it on the front edge of the 3mm steel subframe mounts in the rear floor location whcih was the right daytum to provide me a straight line side to side I could use as the rear seat mount. After measuring, cutting, drilling several holes, painting and bolting it all in with M8 stainless bolts, I had the perfect strengthening part that meant the weight of the passengers was spread evenly across the chassis on both sides via the subframe mounts and in the middle via the tunnel mounts, so therefore would not move.
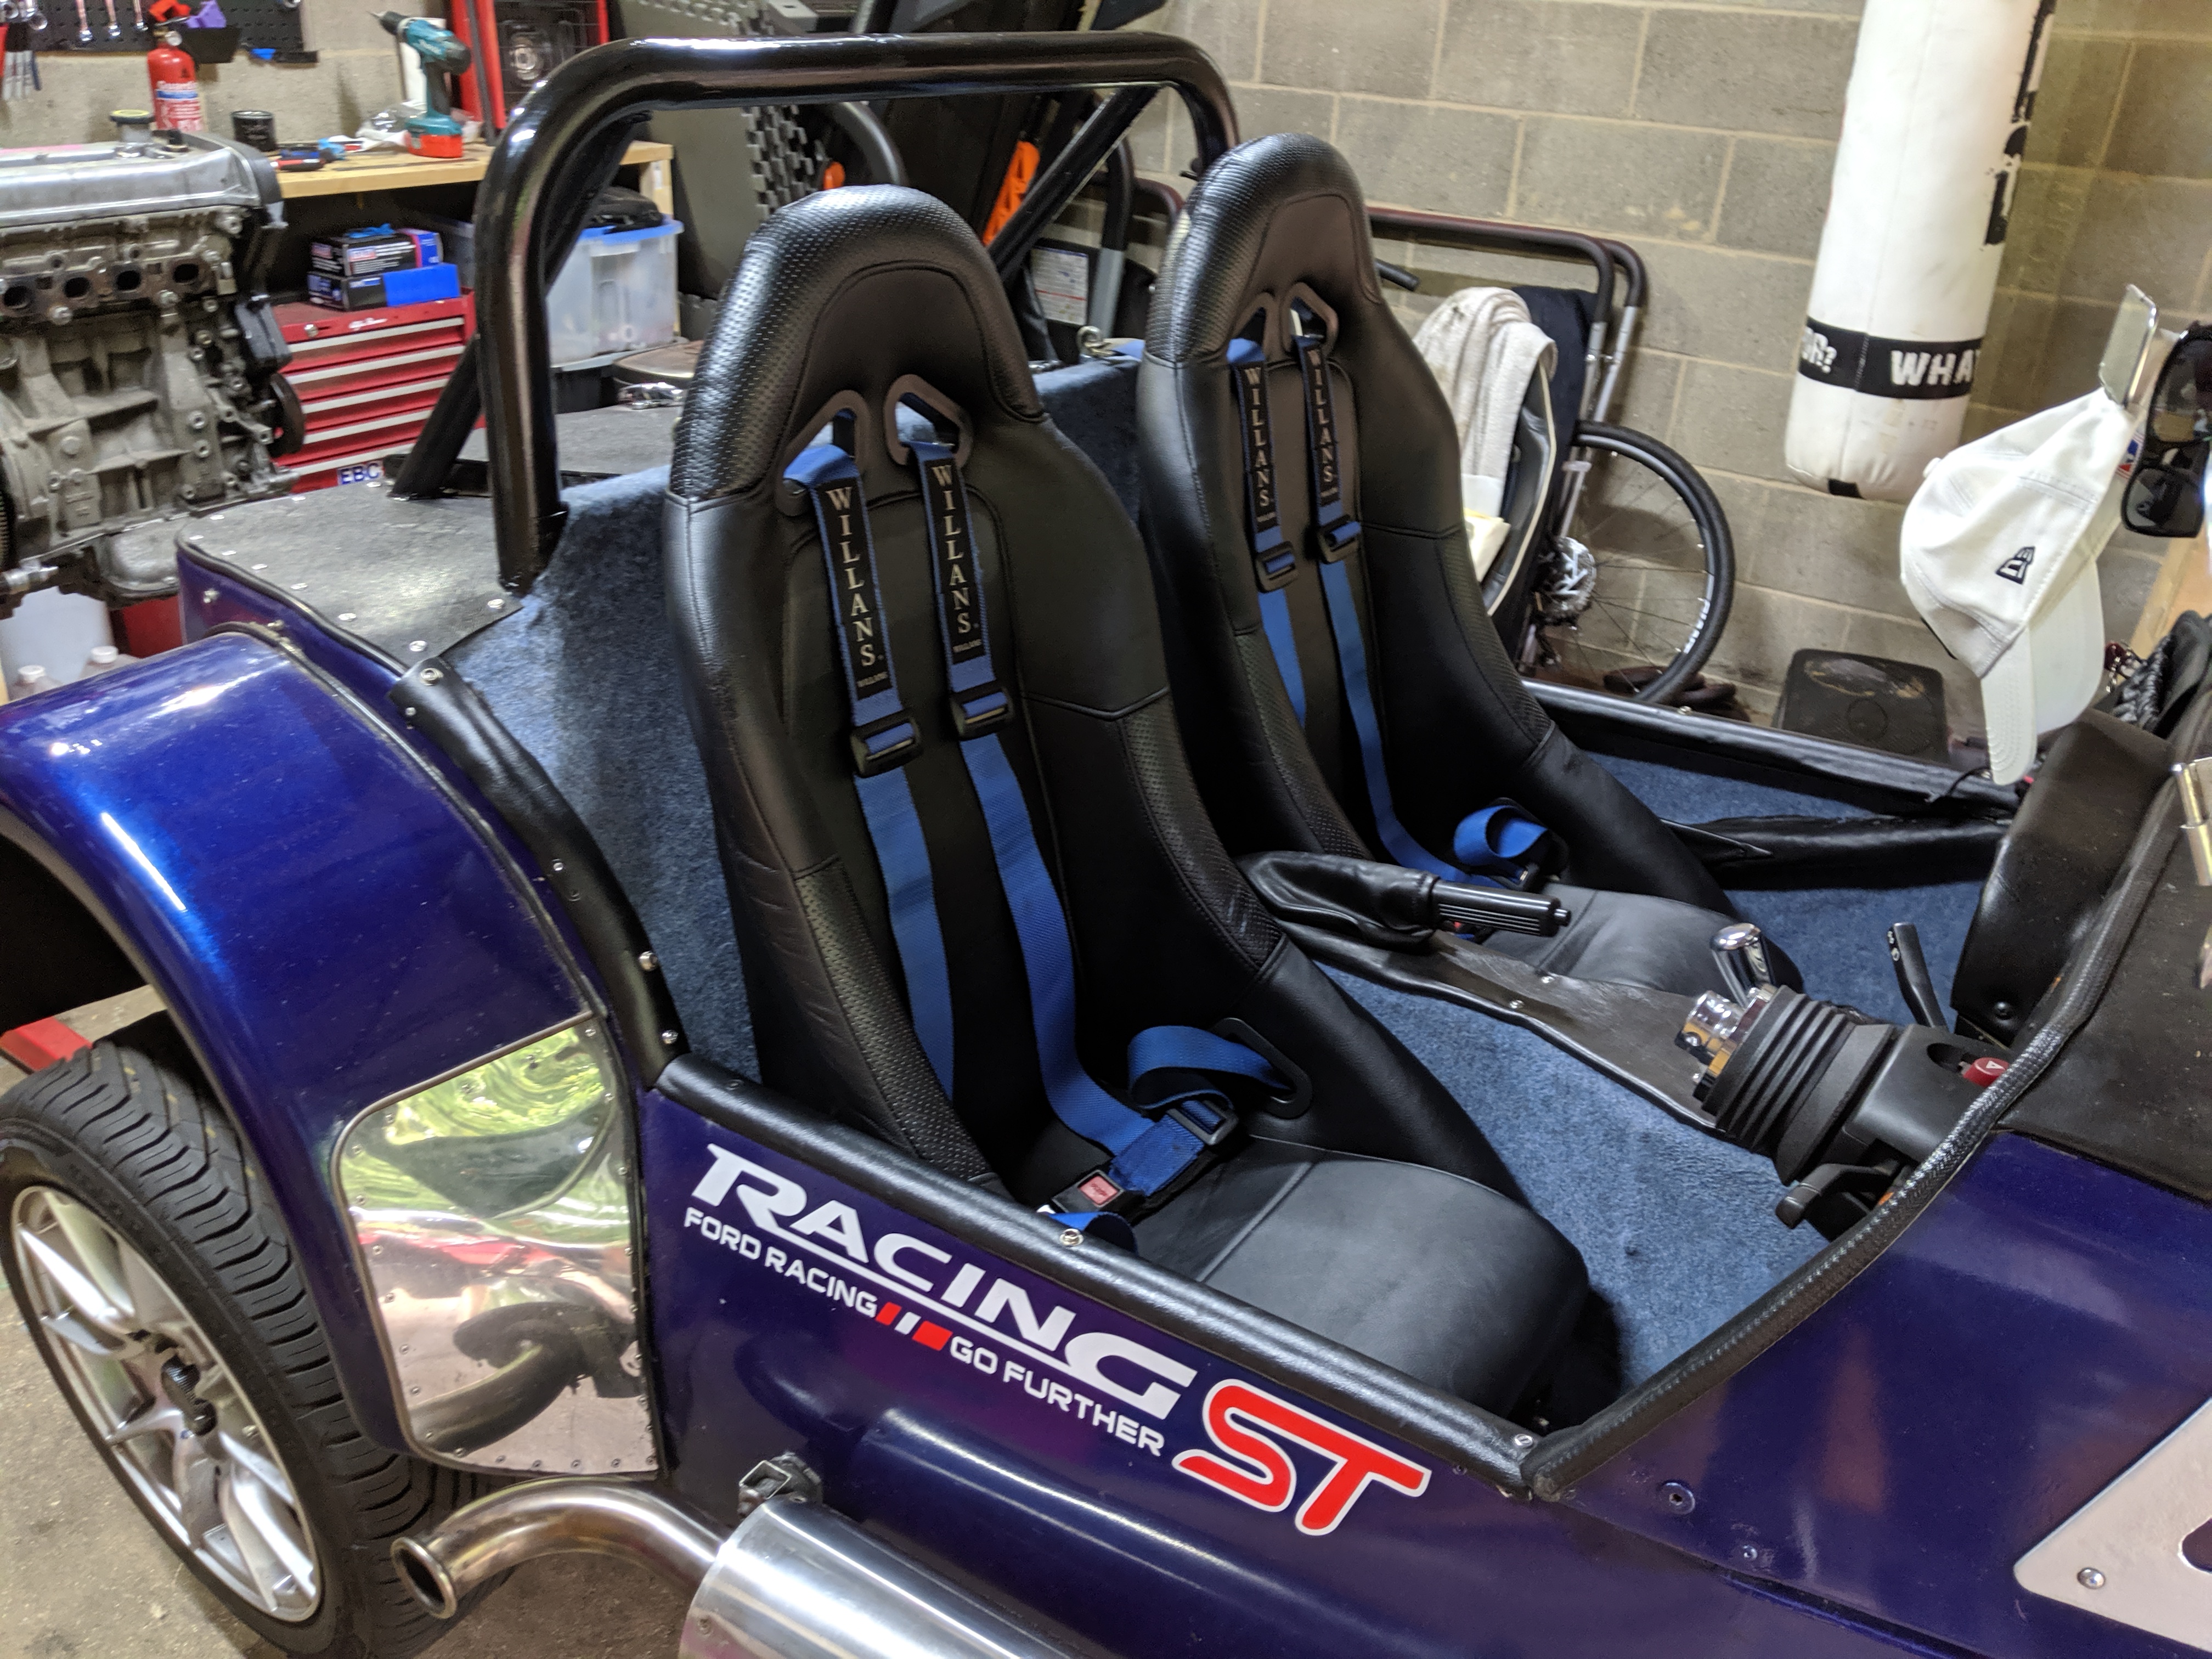
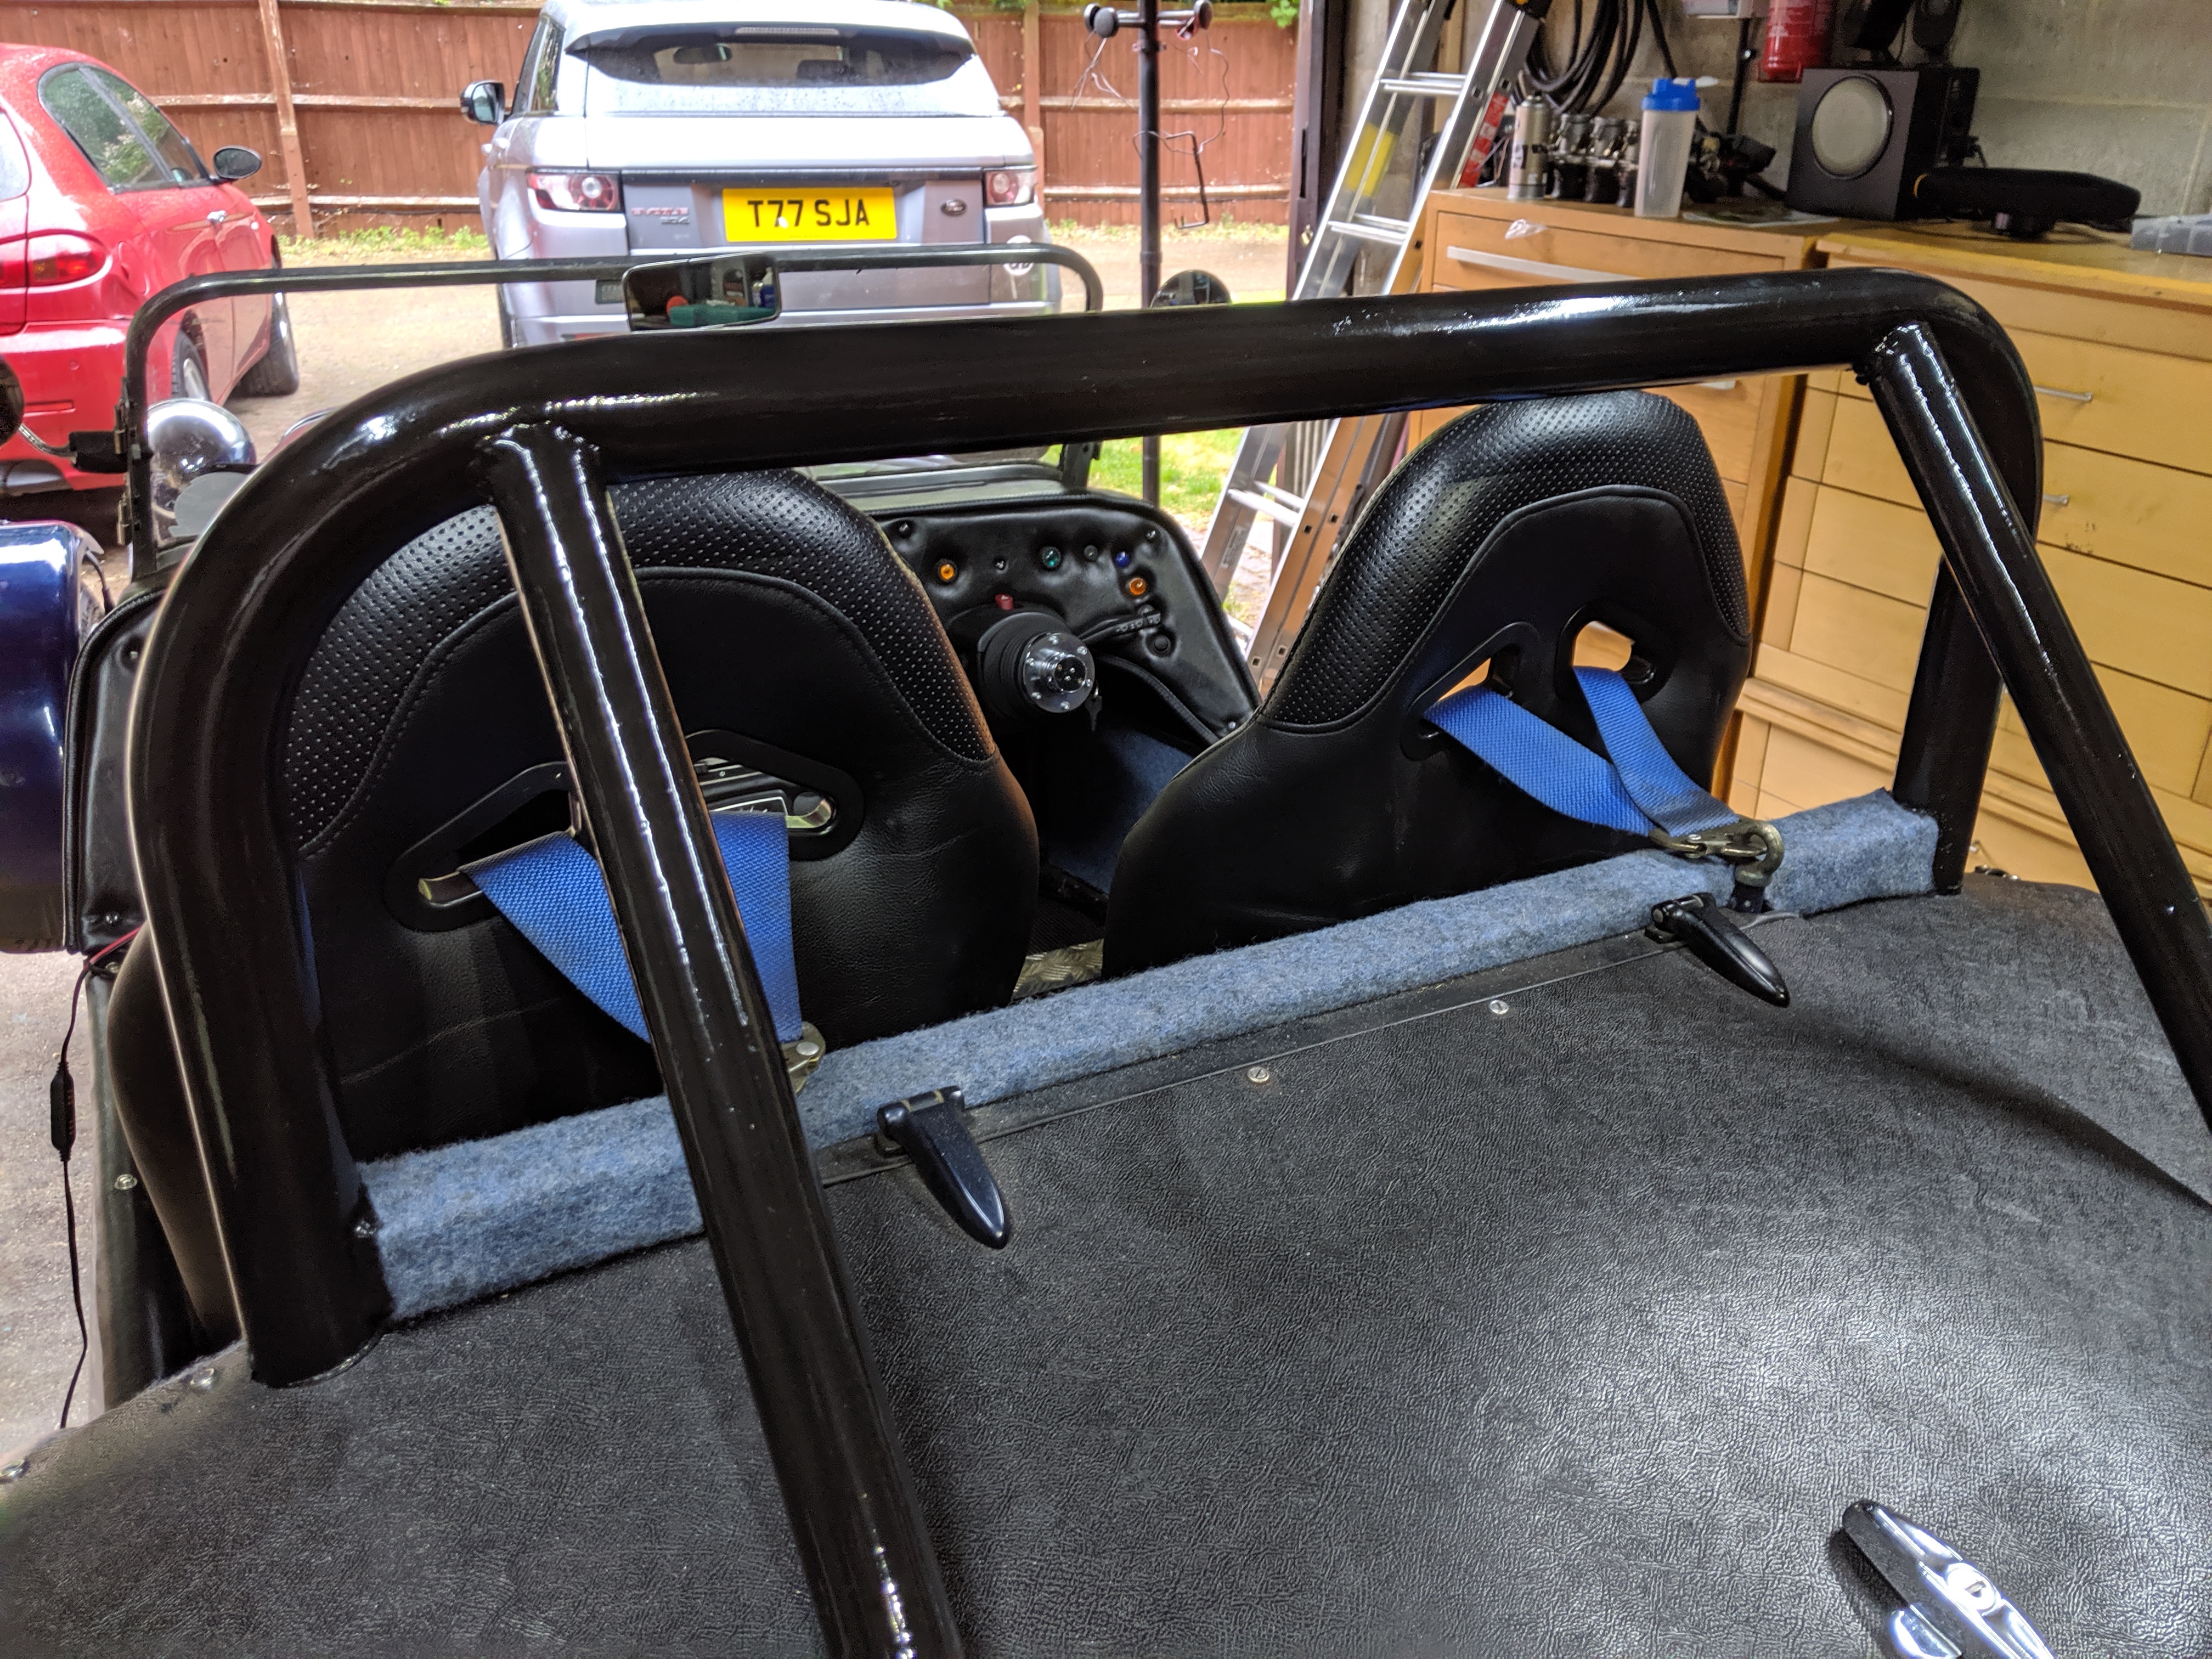
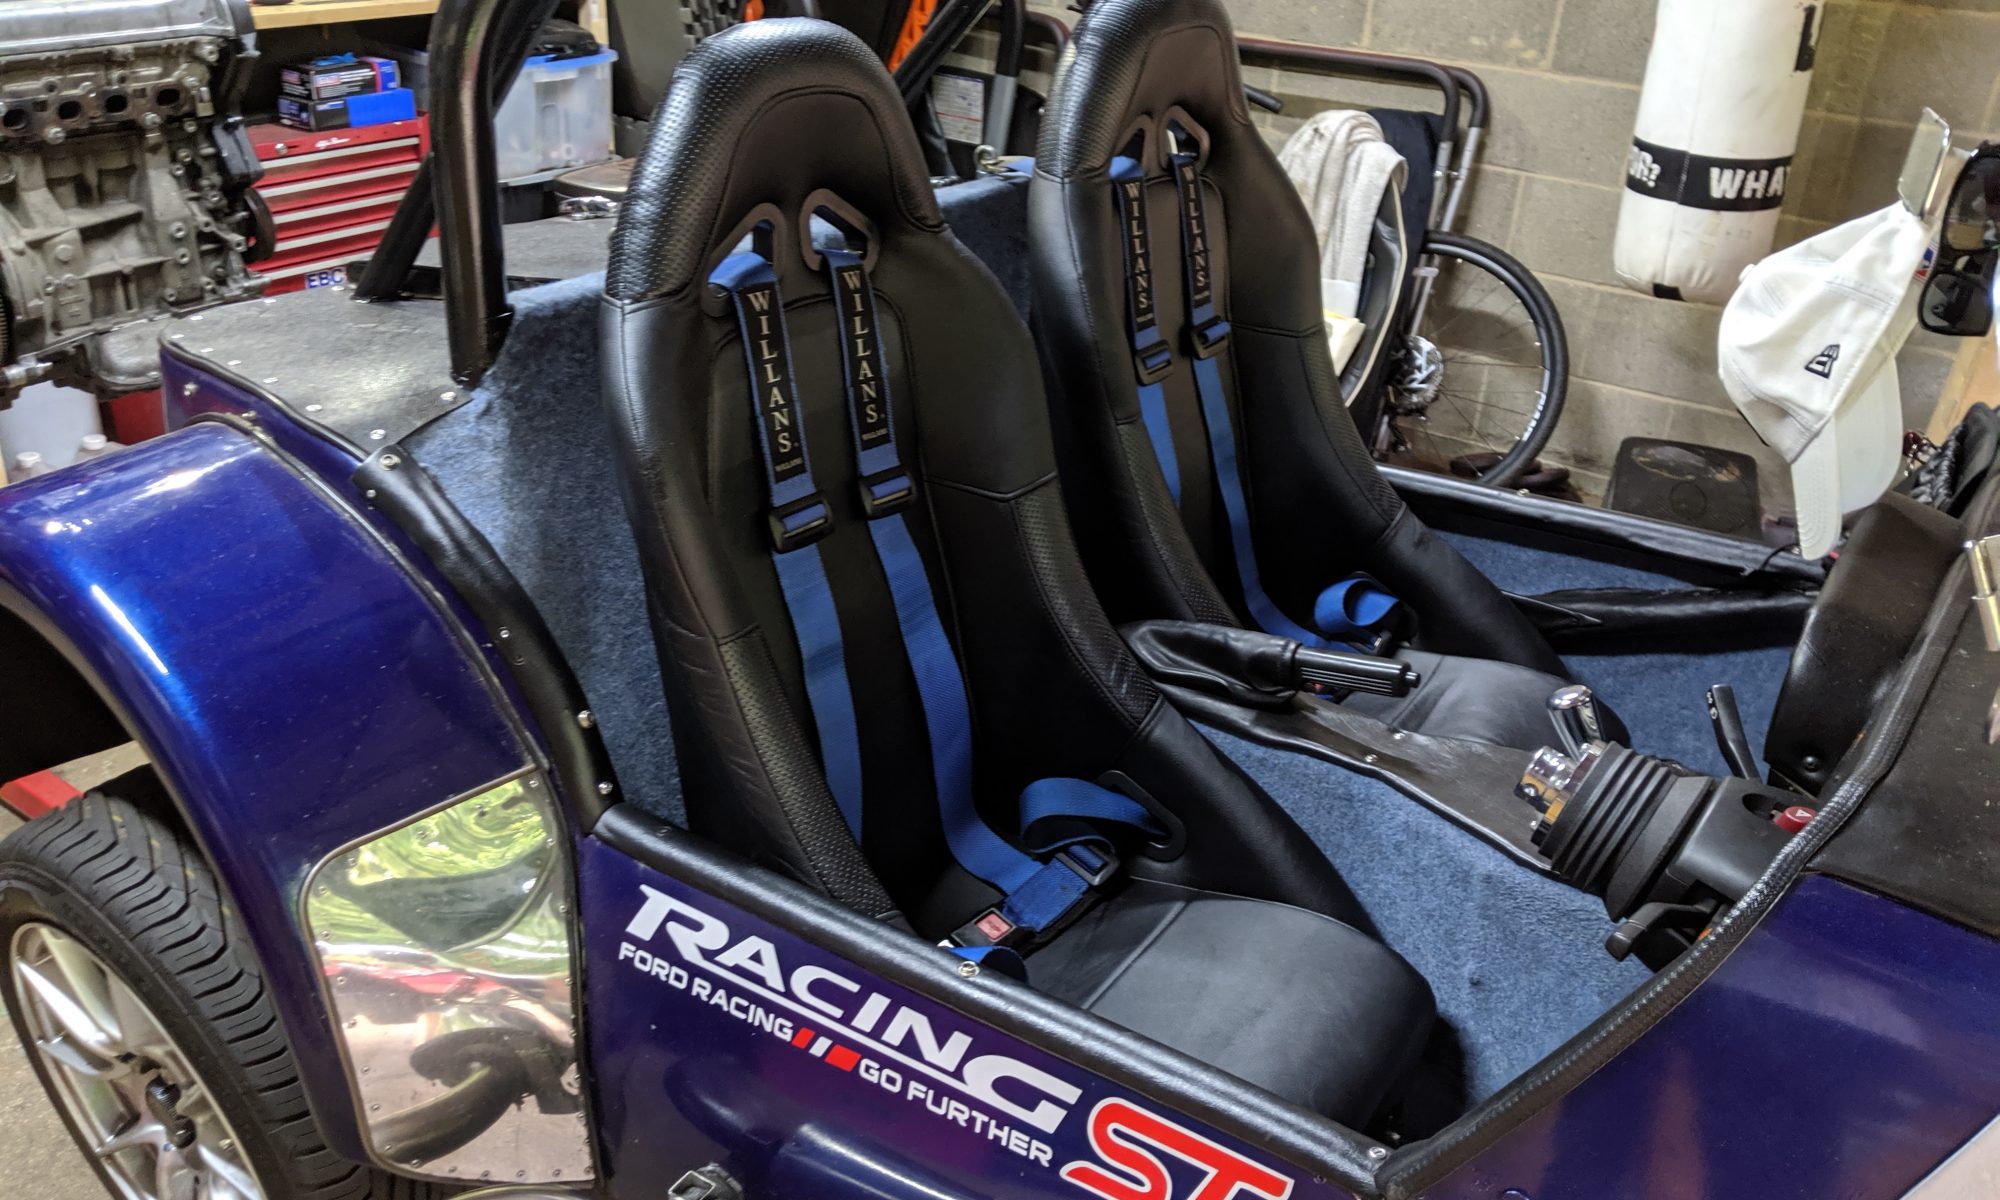
Now the seats, floor and seat runners were all ready, it was just a case of making a cardboard template, measuring, drilling, and then bolting it all together with M8 Stainless bolts. The finished article is great IMO. they look period to the car and are much less garish that the ones that came out, which had some interesting colours and the word “dubollox” embroidered in….