In the dash of the hoody was a previously installed large cubby holder. This had been damaged at some point and one of the previous owners had used a stick on faux leather pocket to hide the damage. As you can guess, this was not going to do for me and I thought I would put my 3d printer to good use and make something a little more useful!
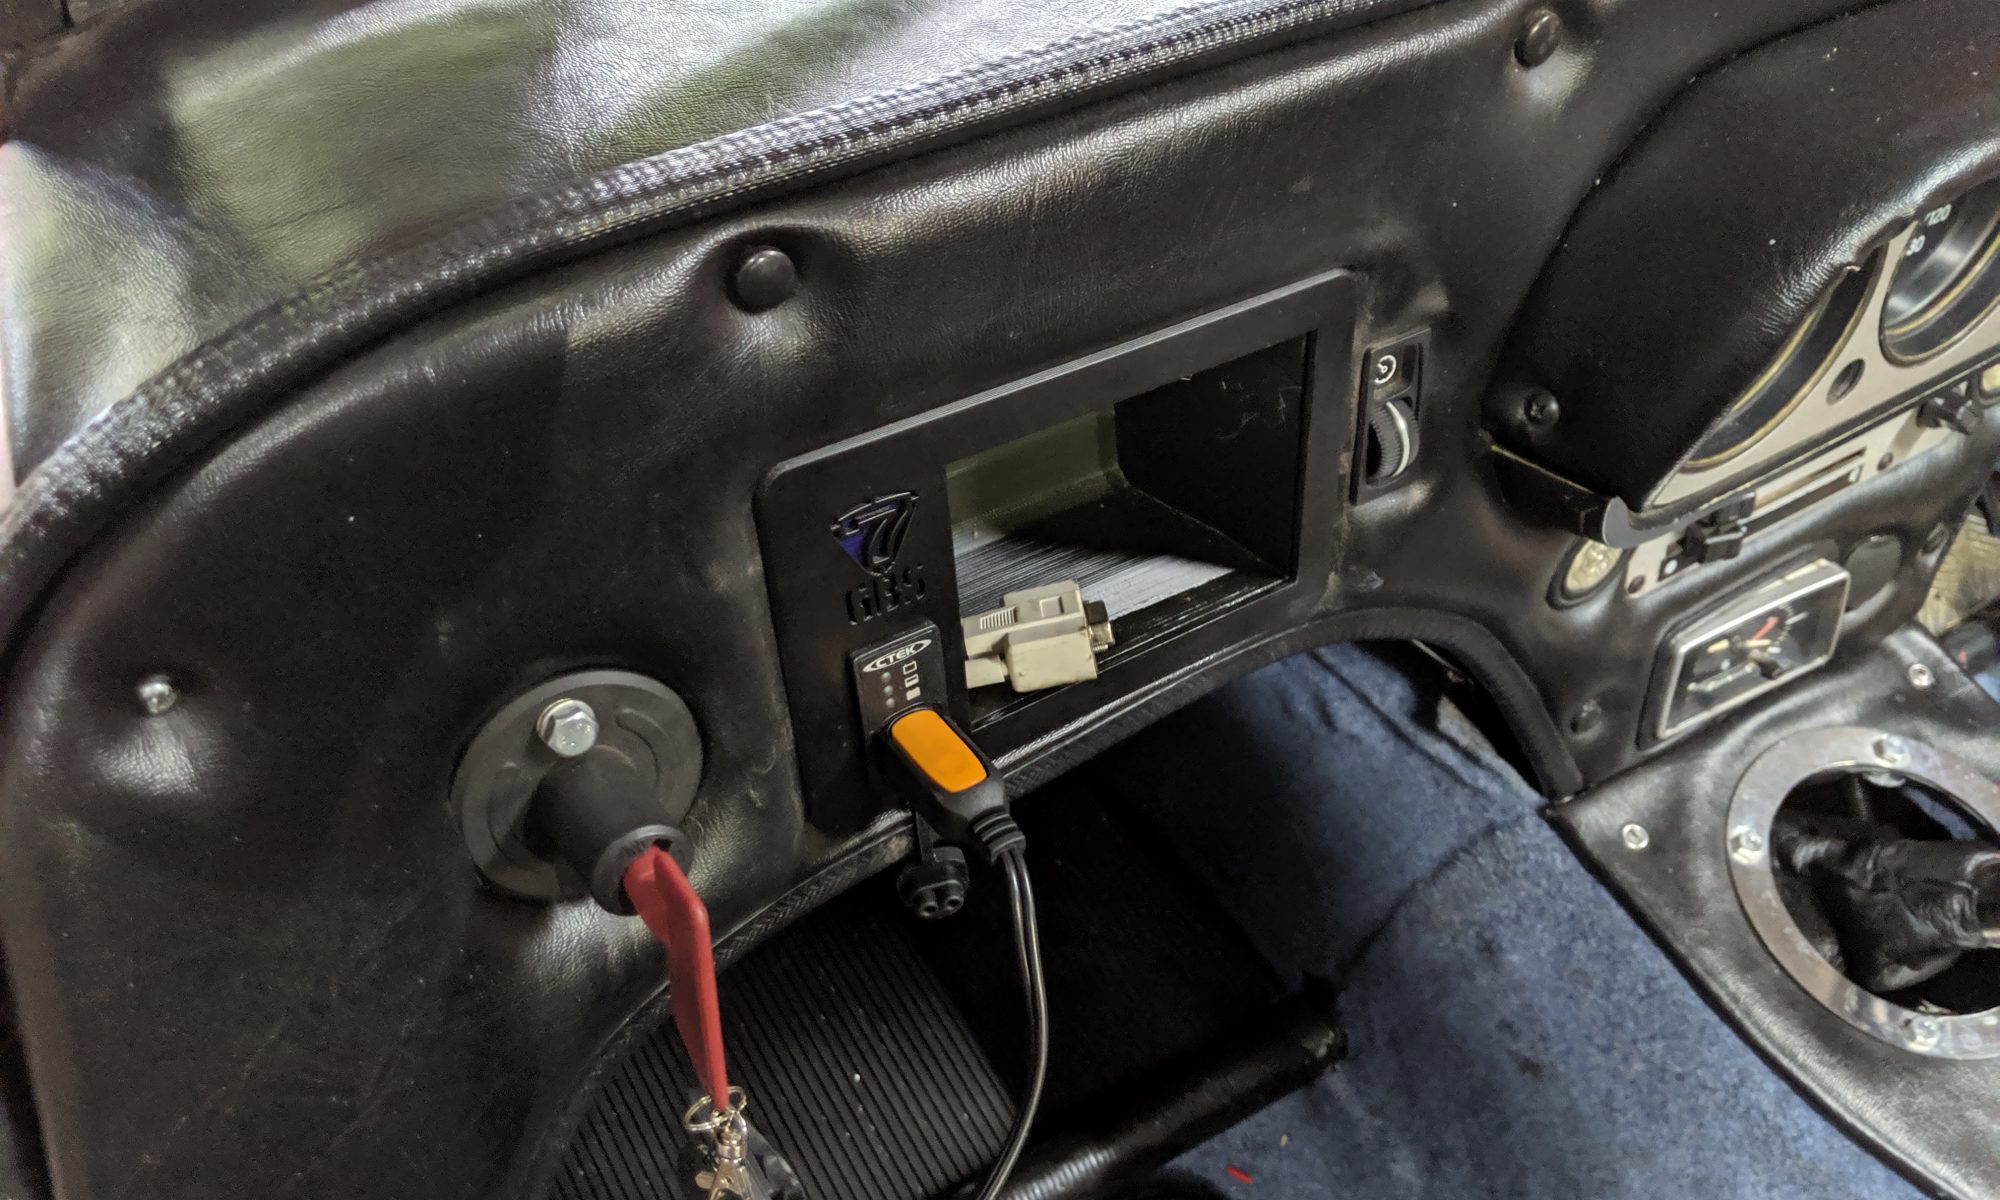
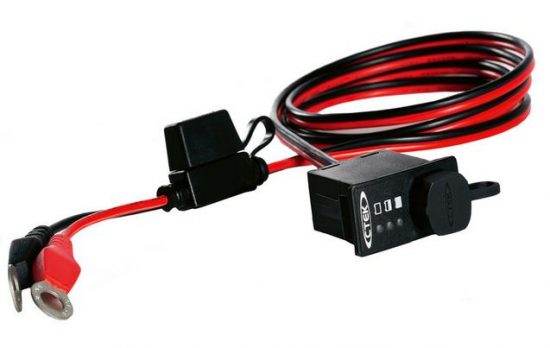
Aside from the damaged cubby, I had a few cables dangling in the passenger foot well that I needed to do something with. Firstly I had the CTEK charge cable that I added for ease of keeping the battery tip top, then I had the ECU programming cable that I also needed to be able to easily access. Both of these needed a new home and they needed to be out of the way of a passengers feet!
The combination of broken plastic part + need to tidy cables & access to a 3D printer led me straight to Fusion 360 where I set about designing a new solution. The first design was an “all in one” unit that had to be printed with lots of supports and with the rear face on the bed. This left a less than desirable finish and was simply not going to do. This led me to my first “multi-part” design and print.
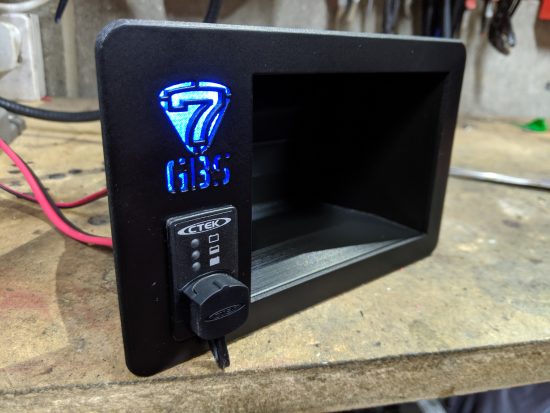
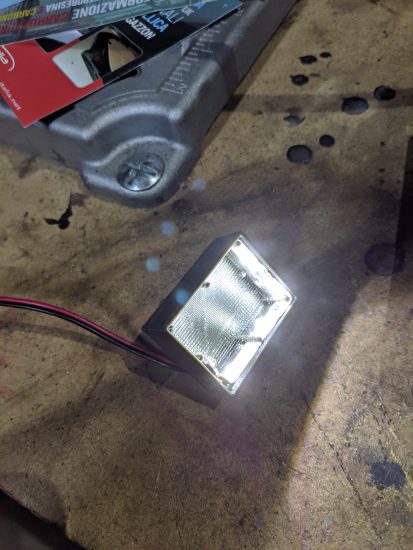
Utilizing Fusions component feature I was able to design the face and all parts that connect to it as separate objects that could then be printed individually. In total the final design had 4 parts. A face, a cubby, a light box and a lens. Yes, that’s right, I added LED’s 🙂 The idea was to have the Lotus Super 7 logo as well as the letters GBS (Great British Sportscars) cut through the face and an LED behind them so that it illuminated when the ignition was on.

The face I decided to paint, which is a first for me, but I thought given it was on display and a large flat area, it could benefit from some paint. I used Plasti-Kote primer and black satin paint after some light sanding and the finish was truly impressive.
Once all the components were ready for assembly, I installed a small strip of 12v LED’s into the light box and painted the clear PLA diffuser lens in the same body paint that the car is painted in. This actually turned out better than I hoped for and was a very easy thing to do.
The final product looks pretty cool and holds the parts I needed it to perfectly. Everything is neat and there is a more functional, better looking solution to a problem that was part my own doing and part legacy 🙂