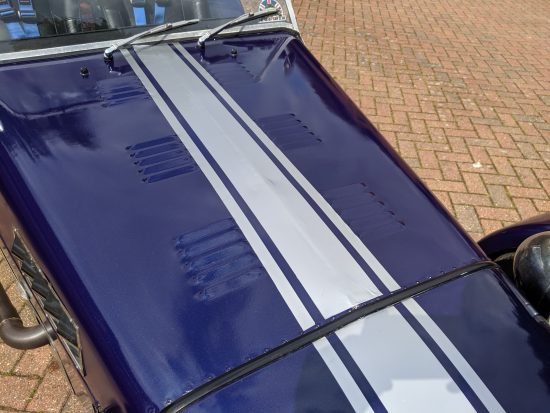
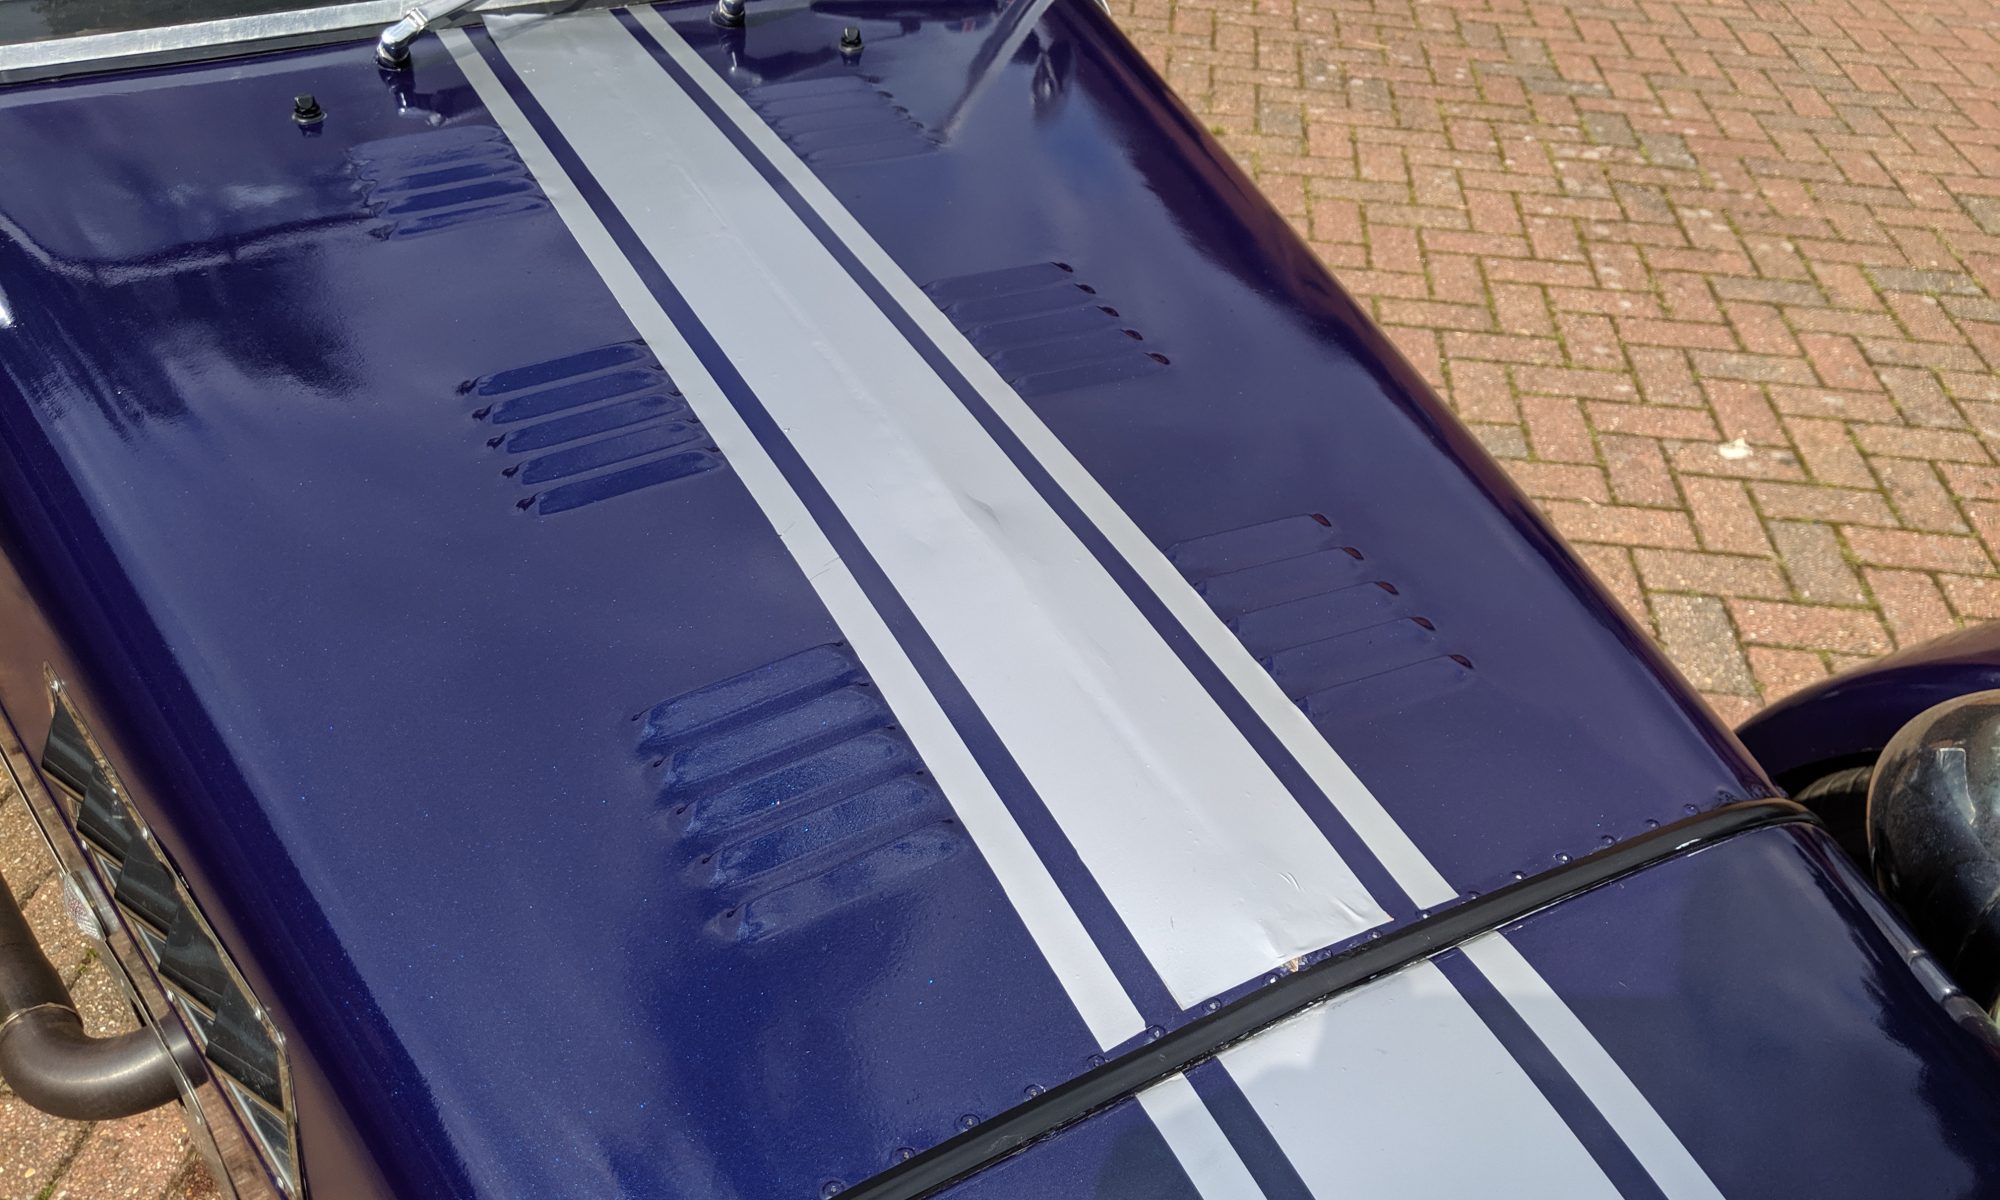
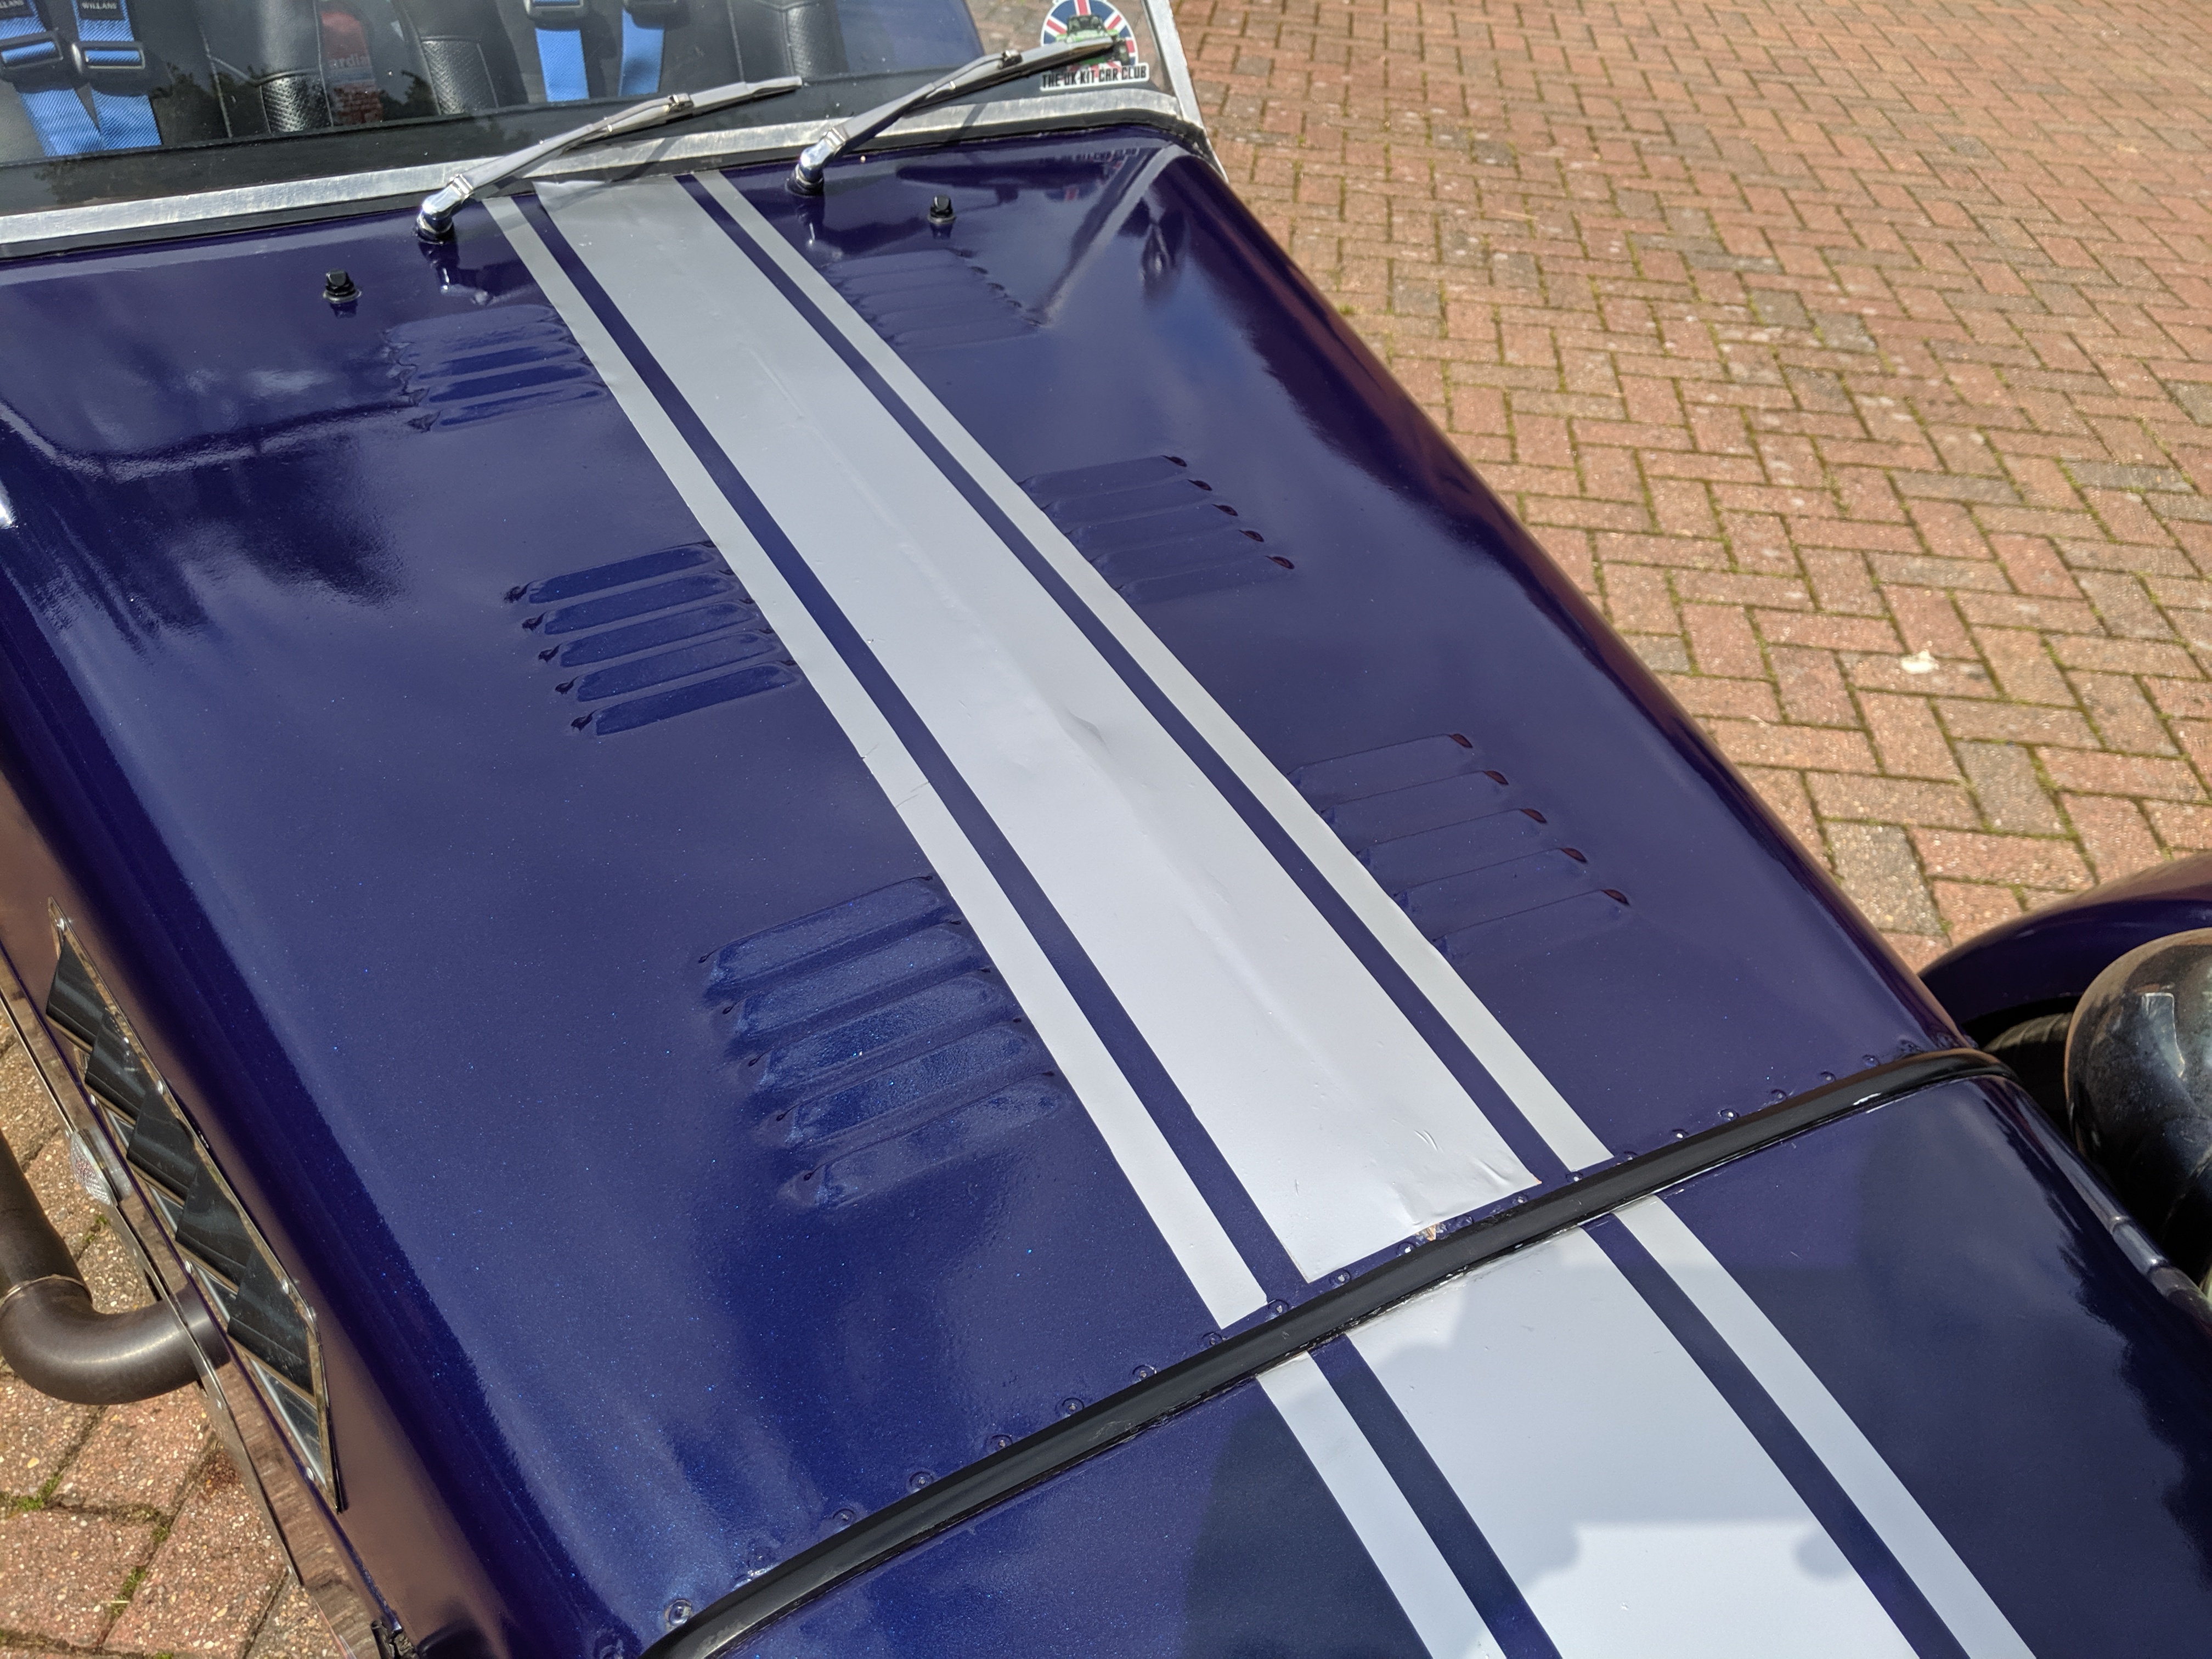
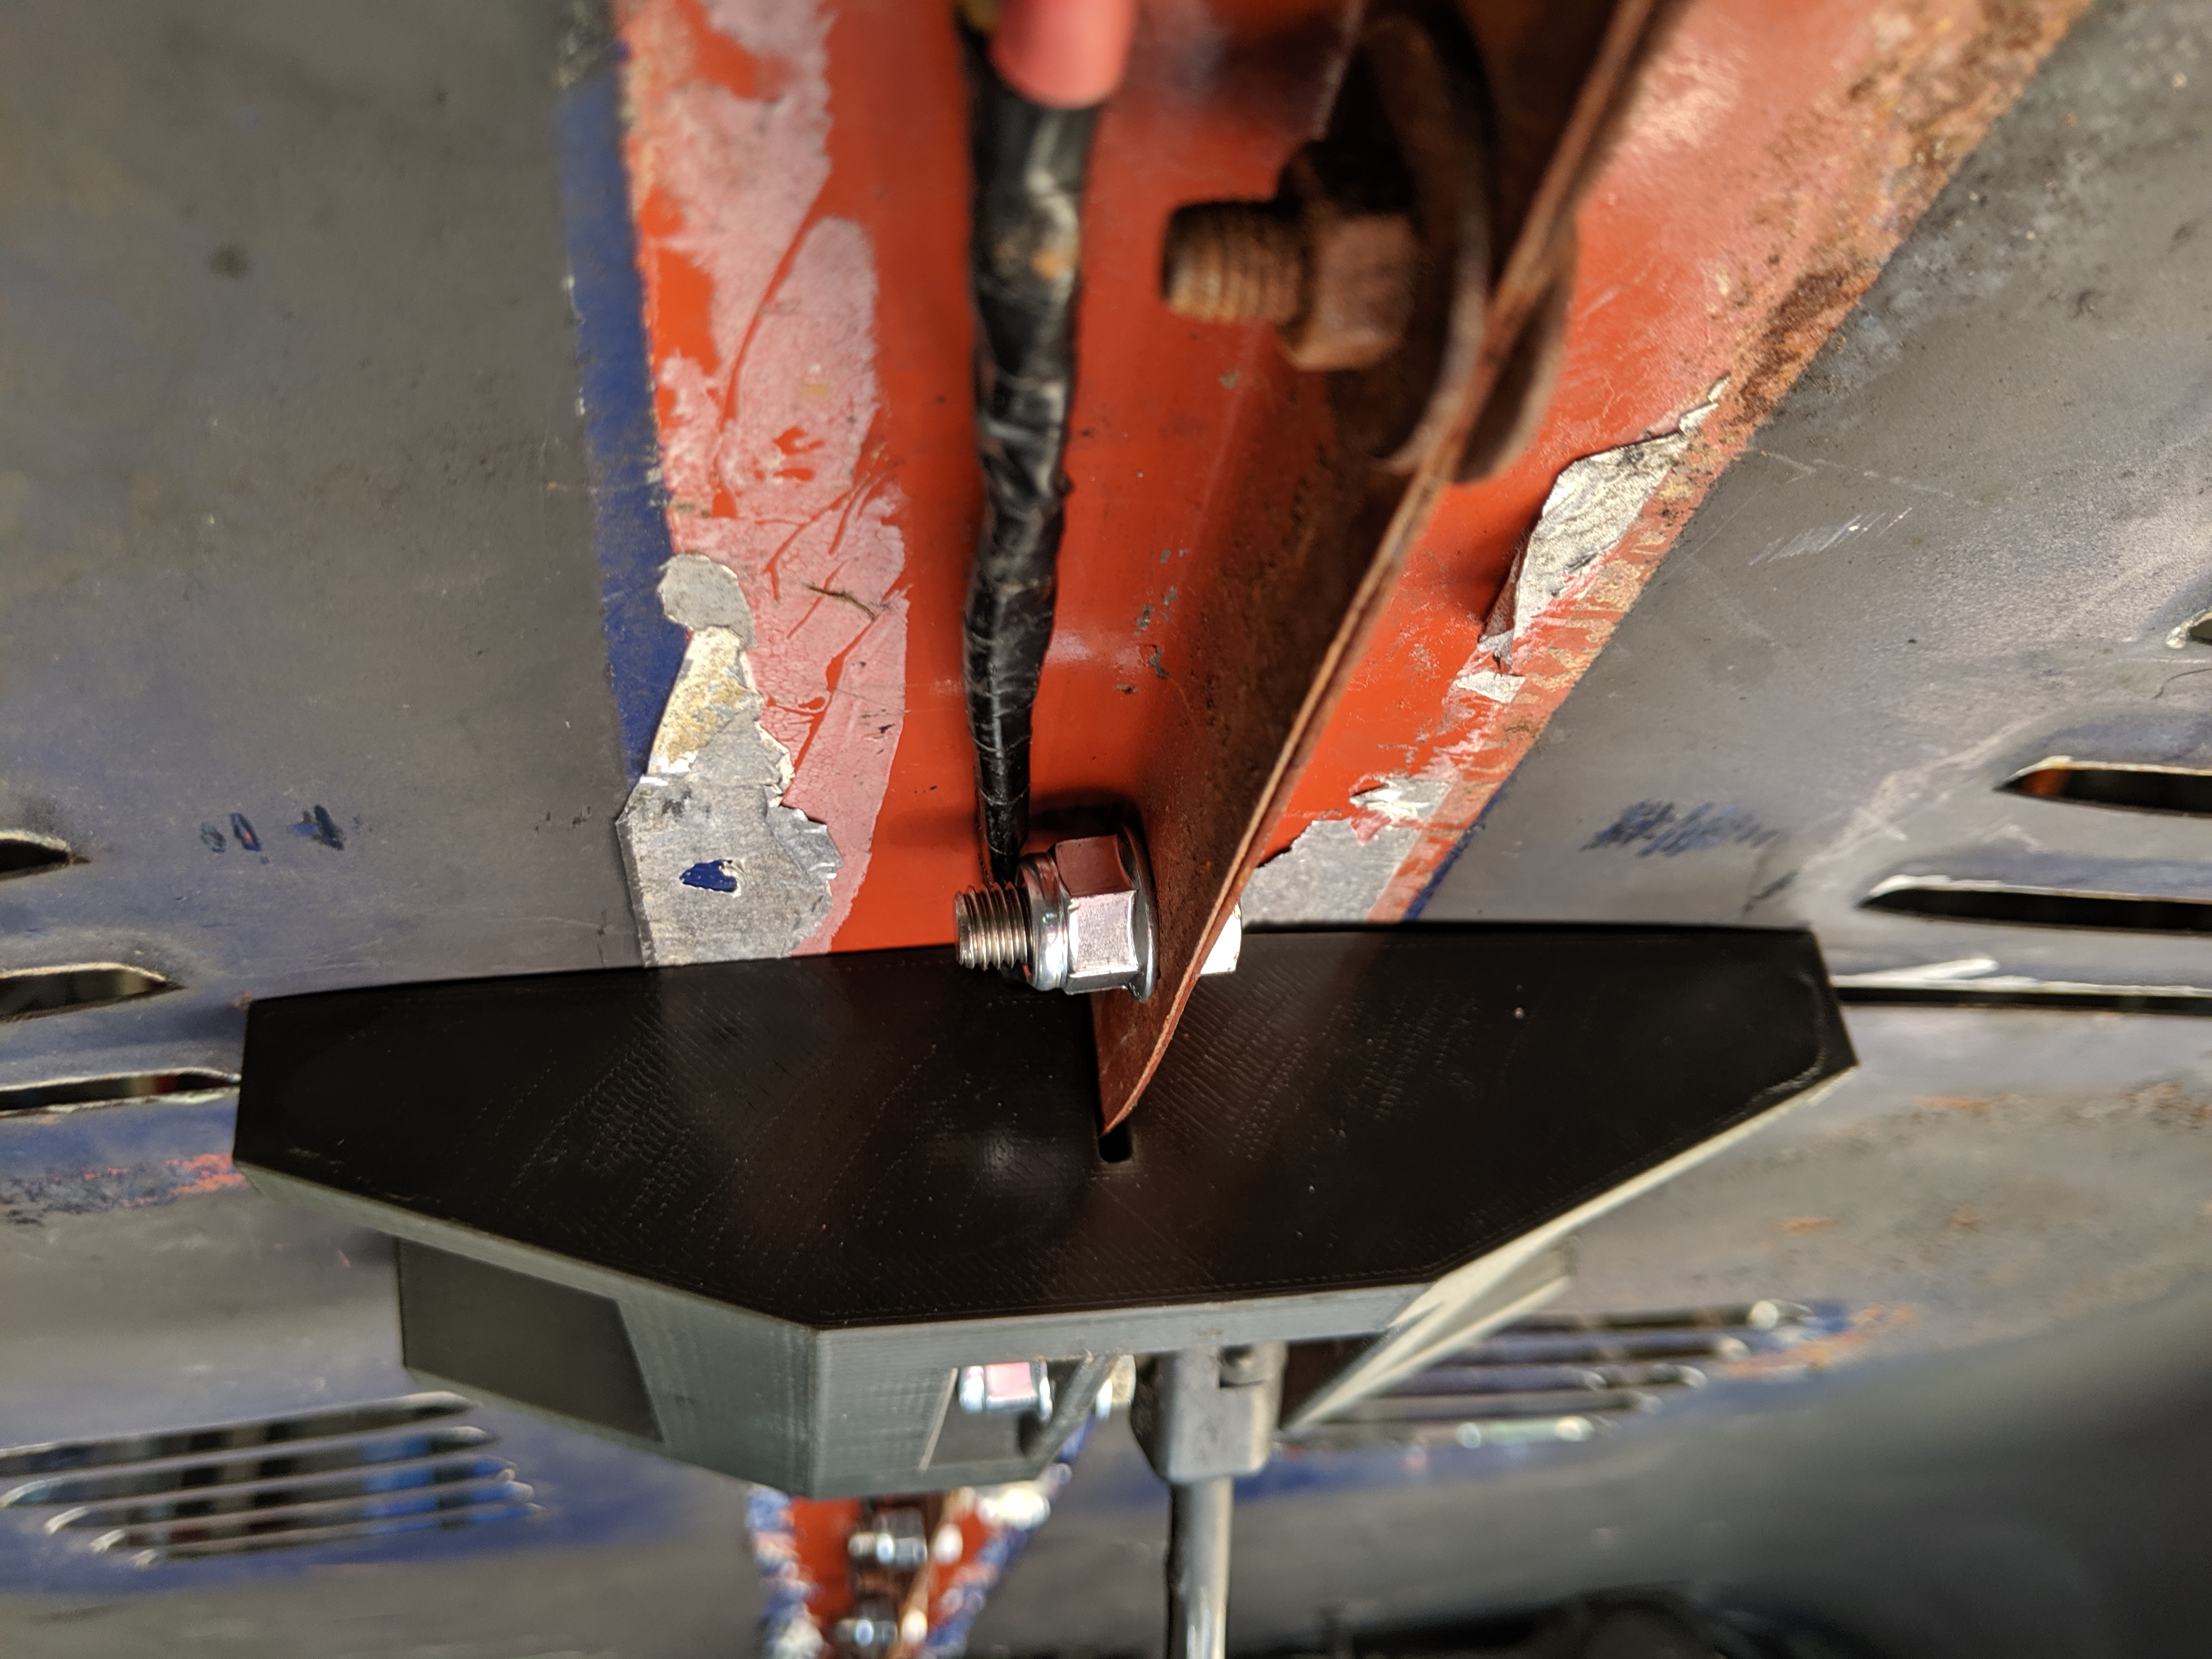
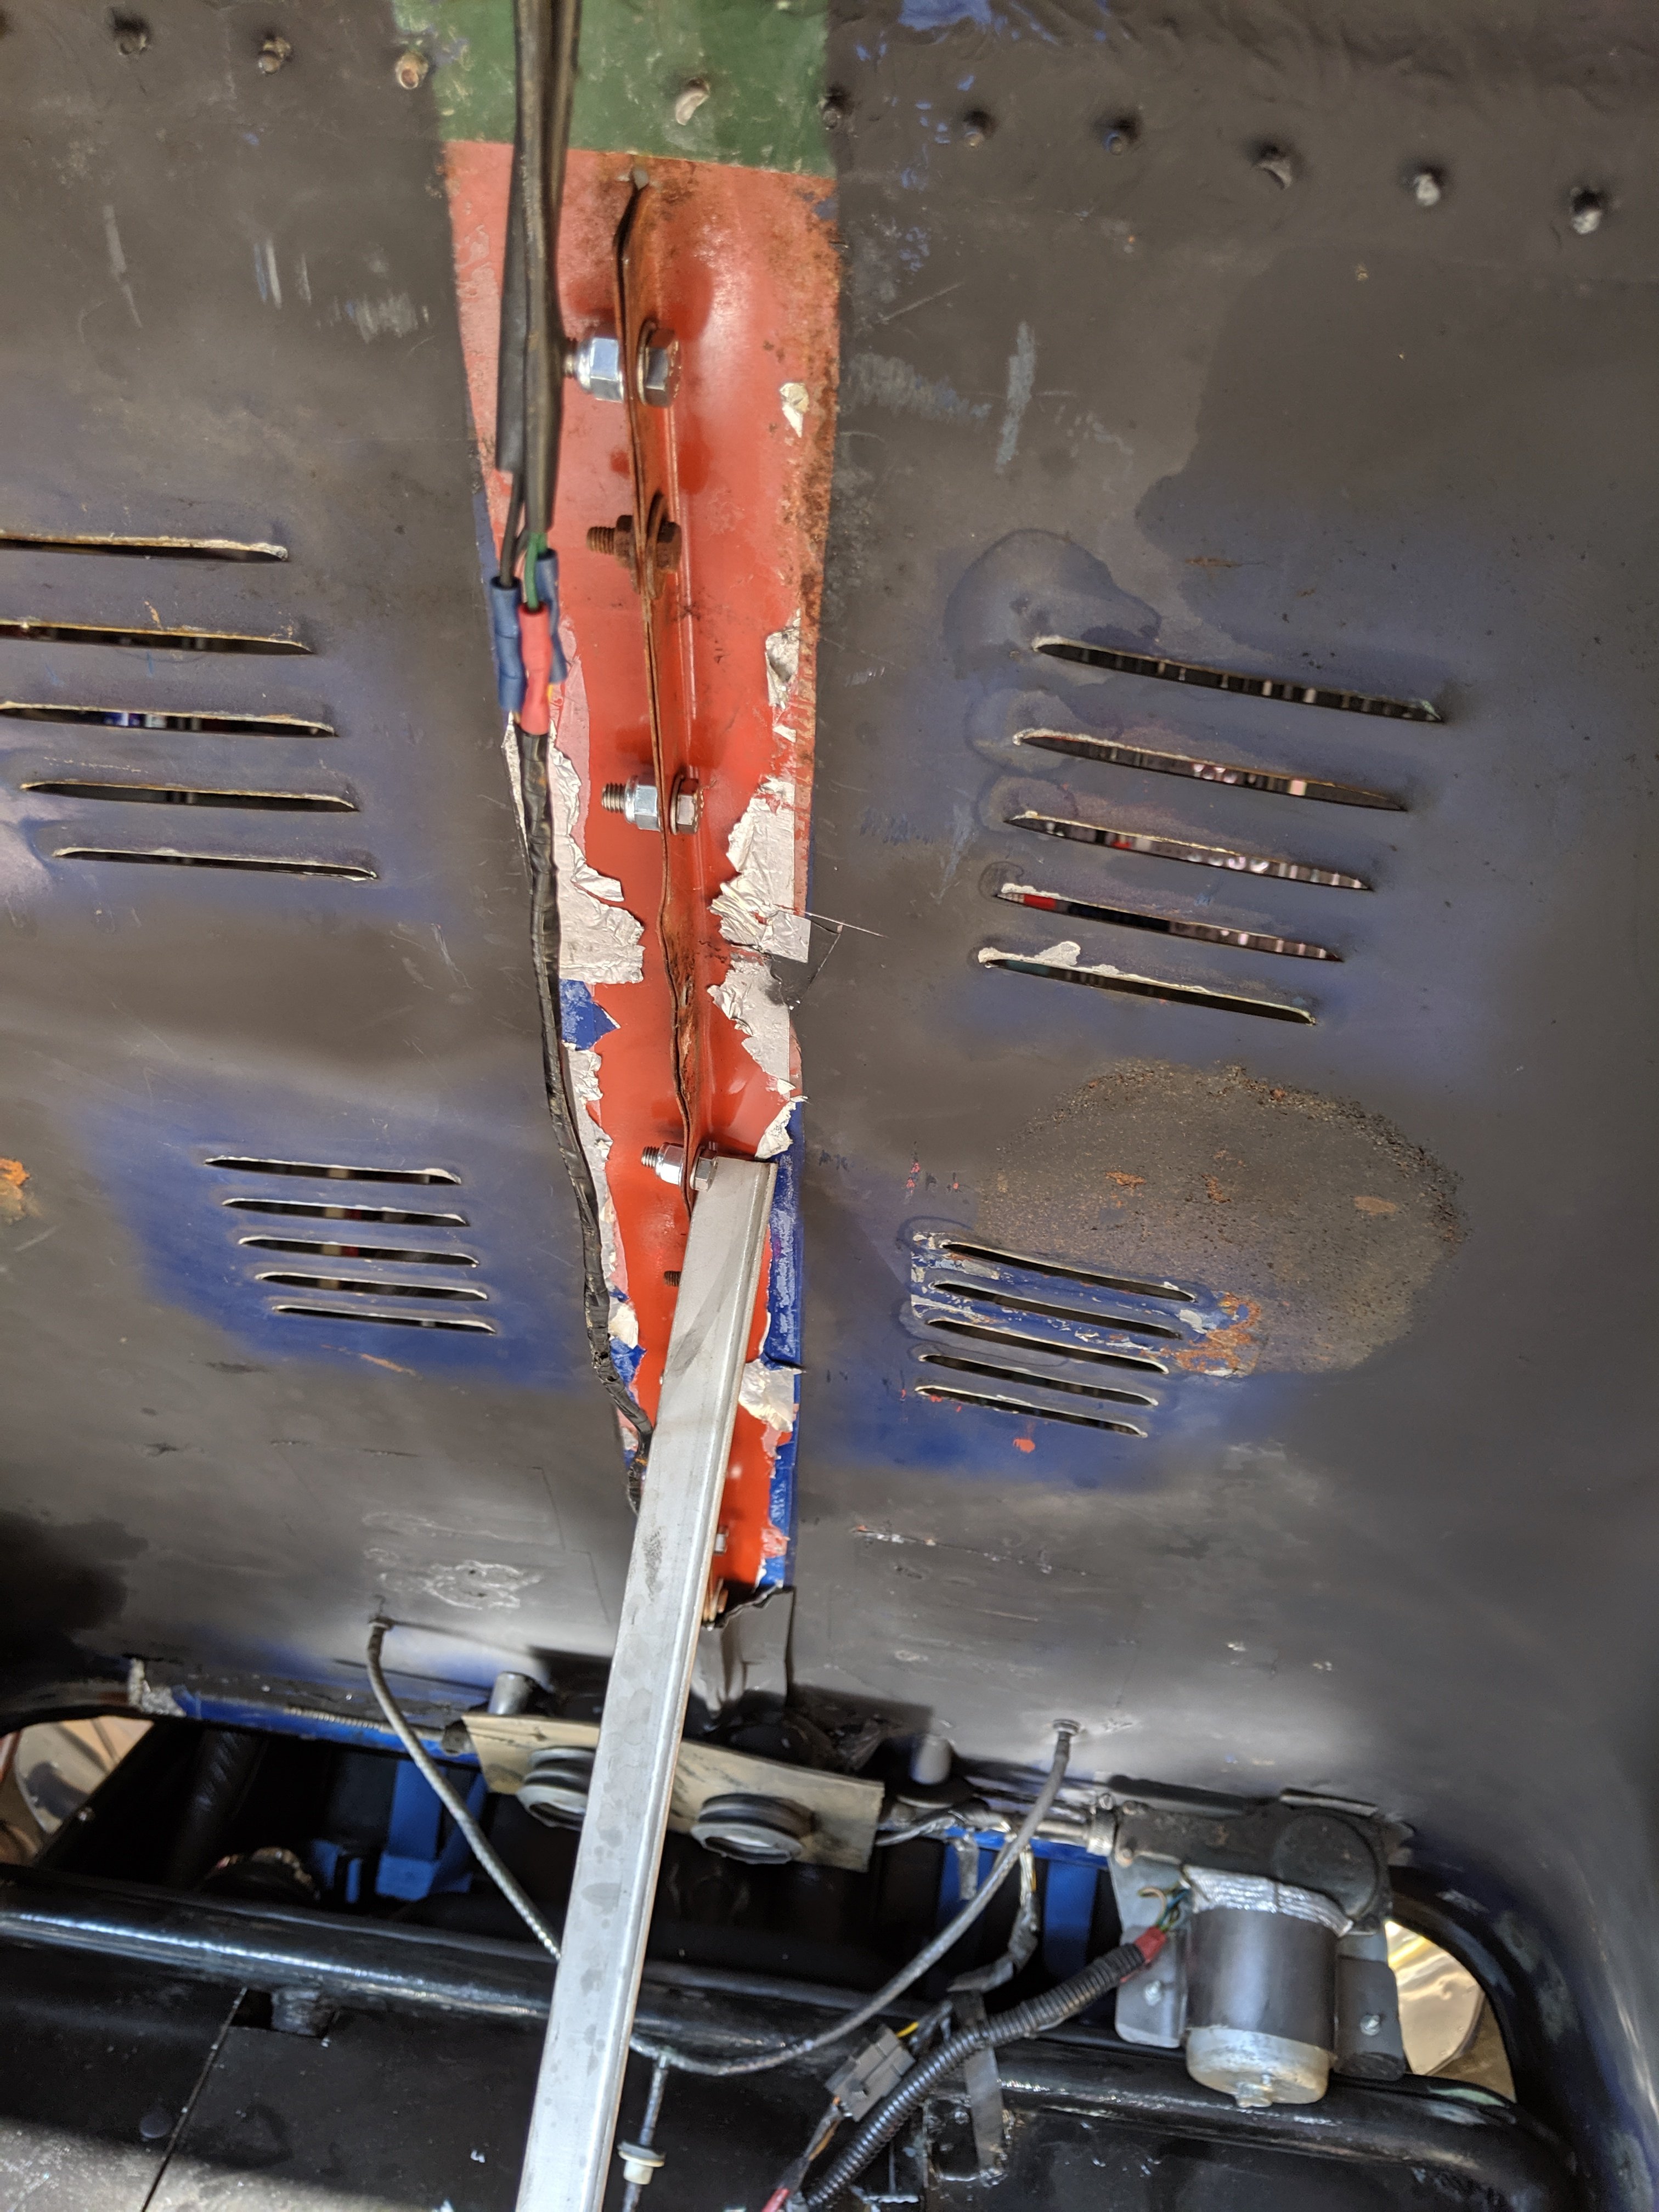
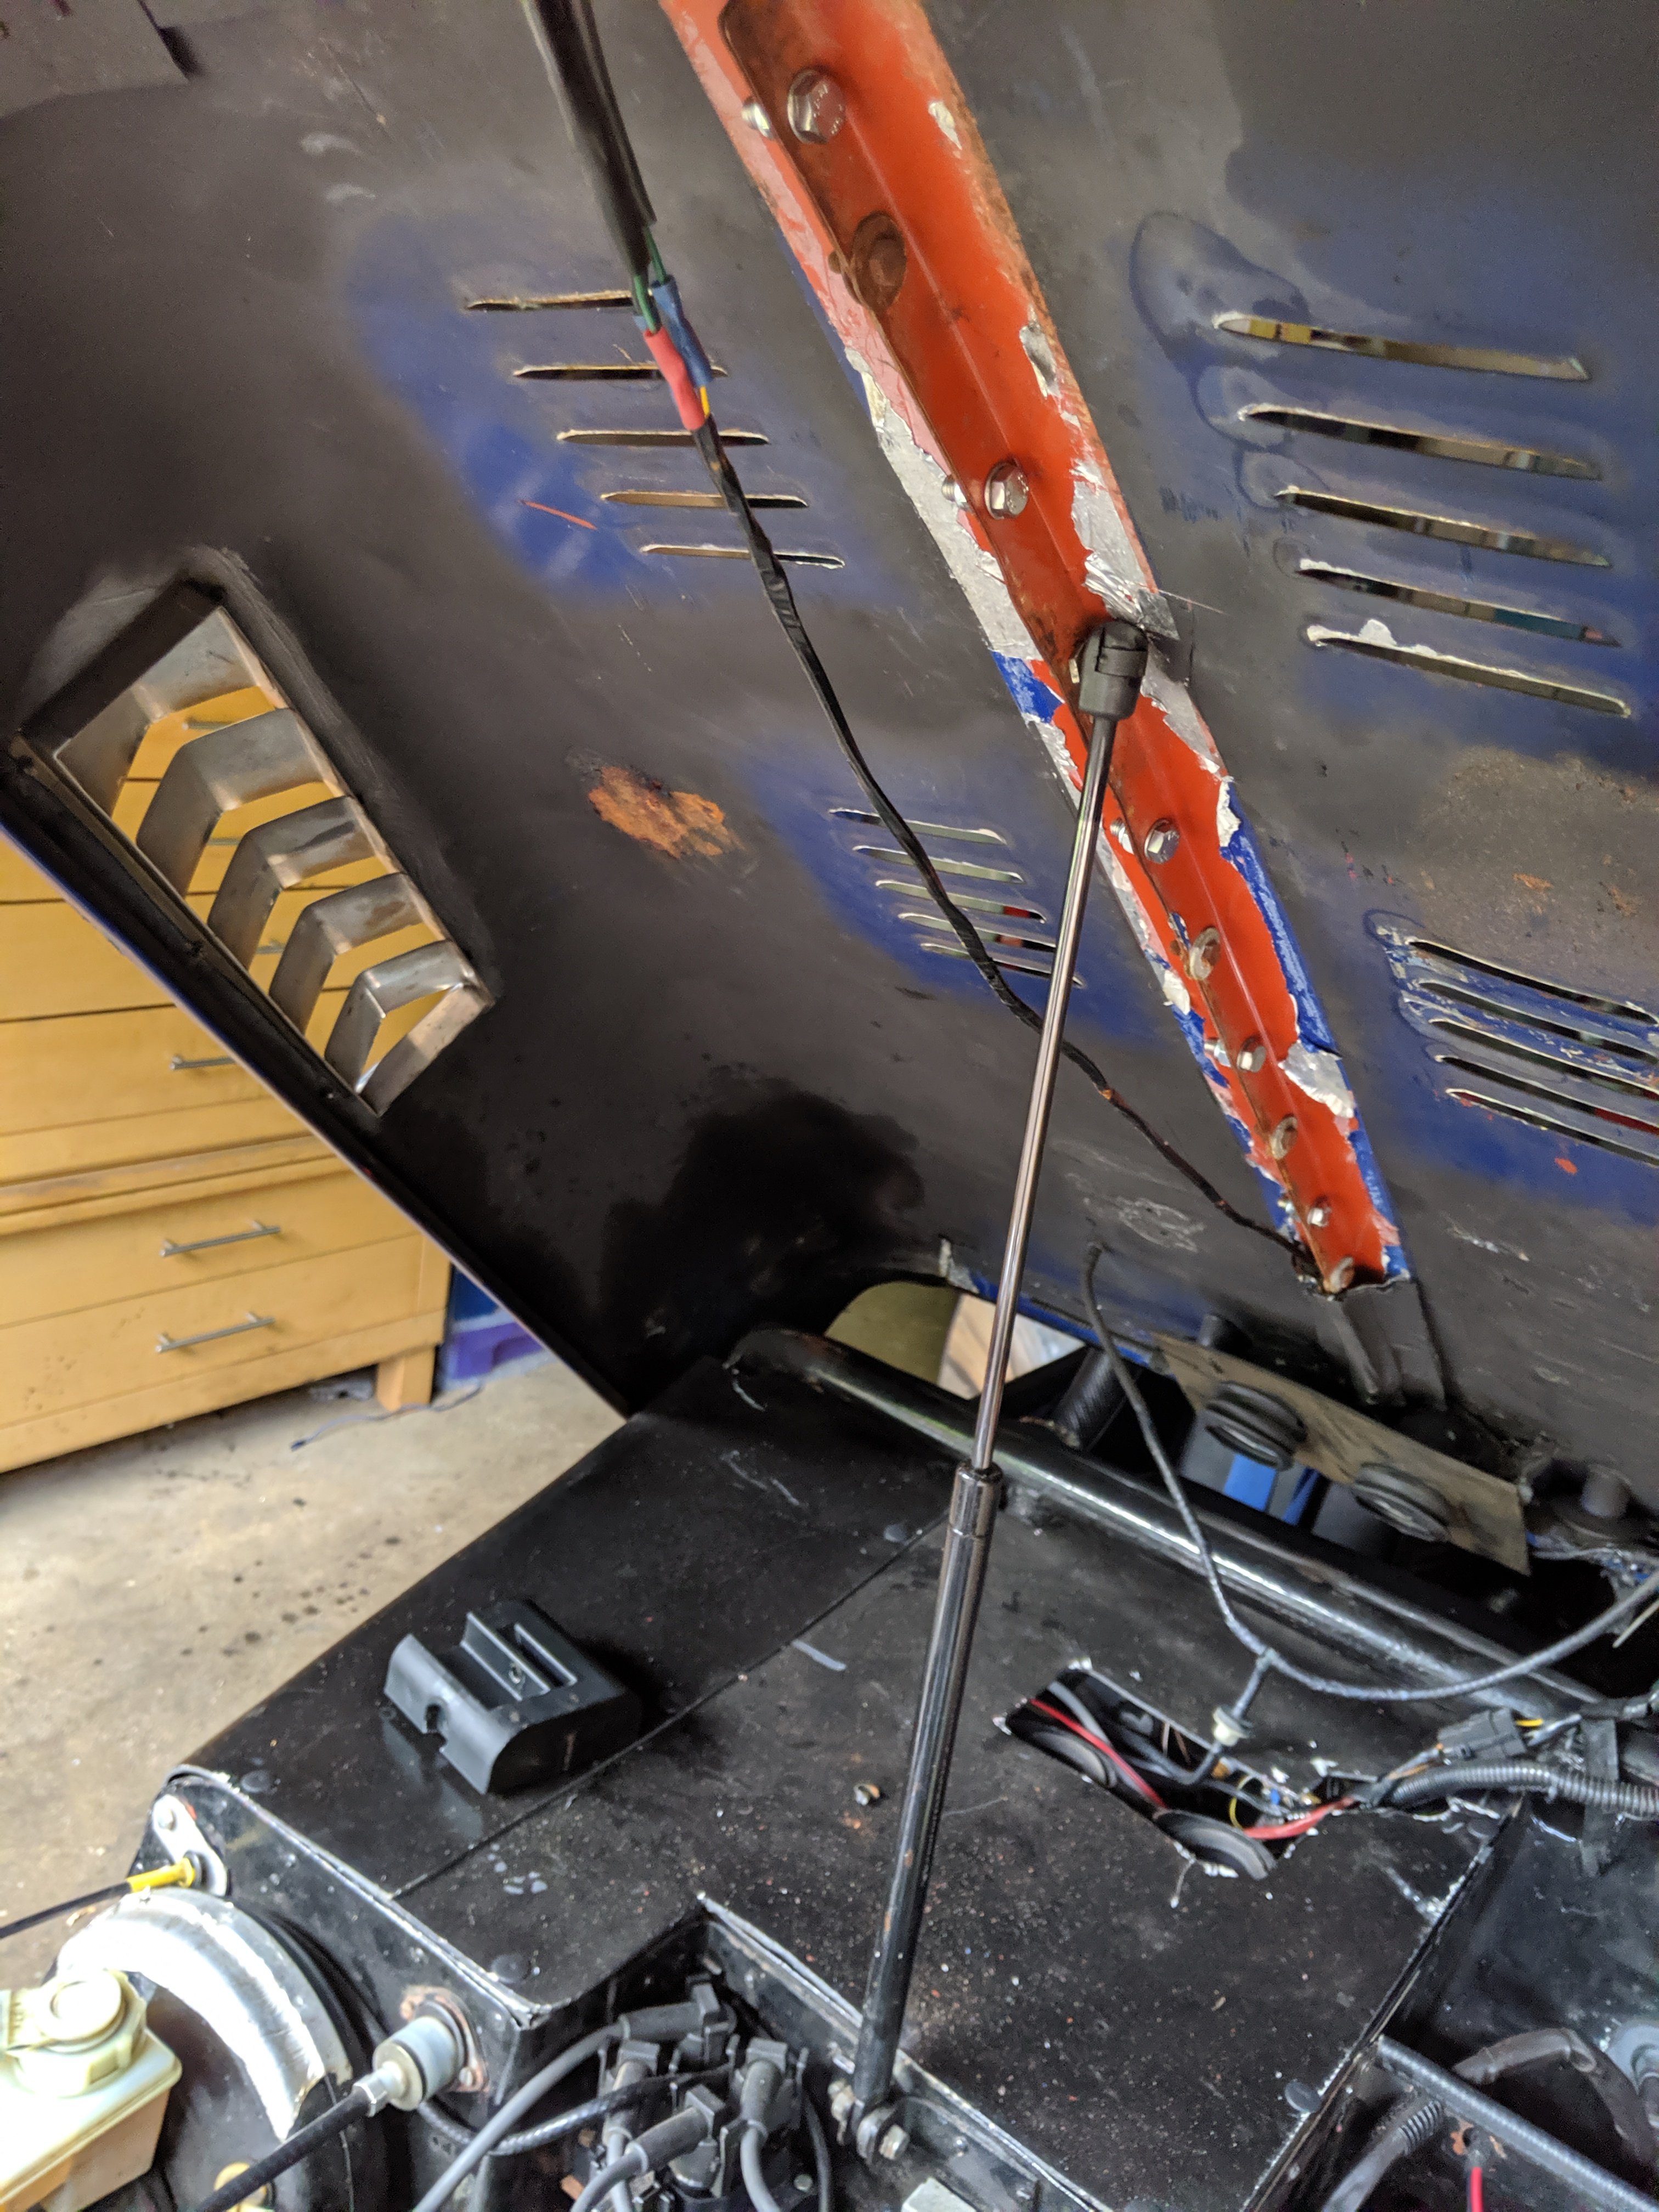
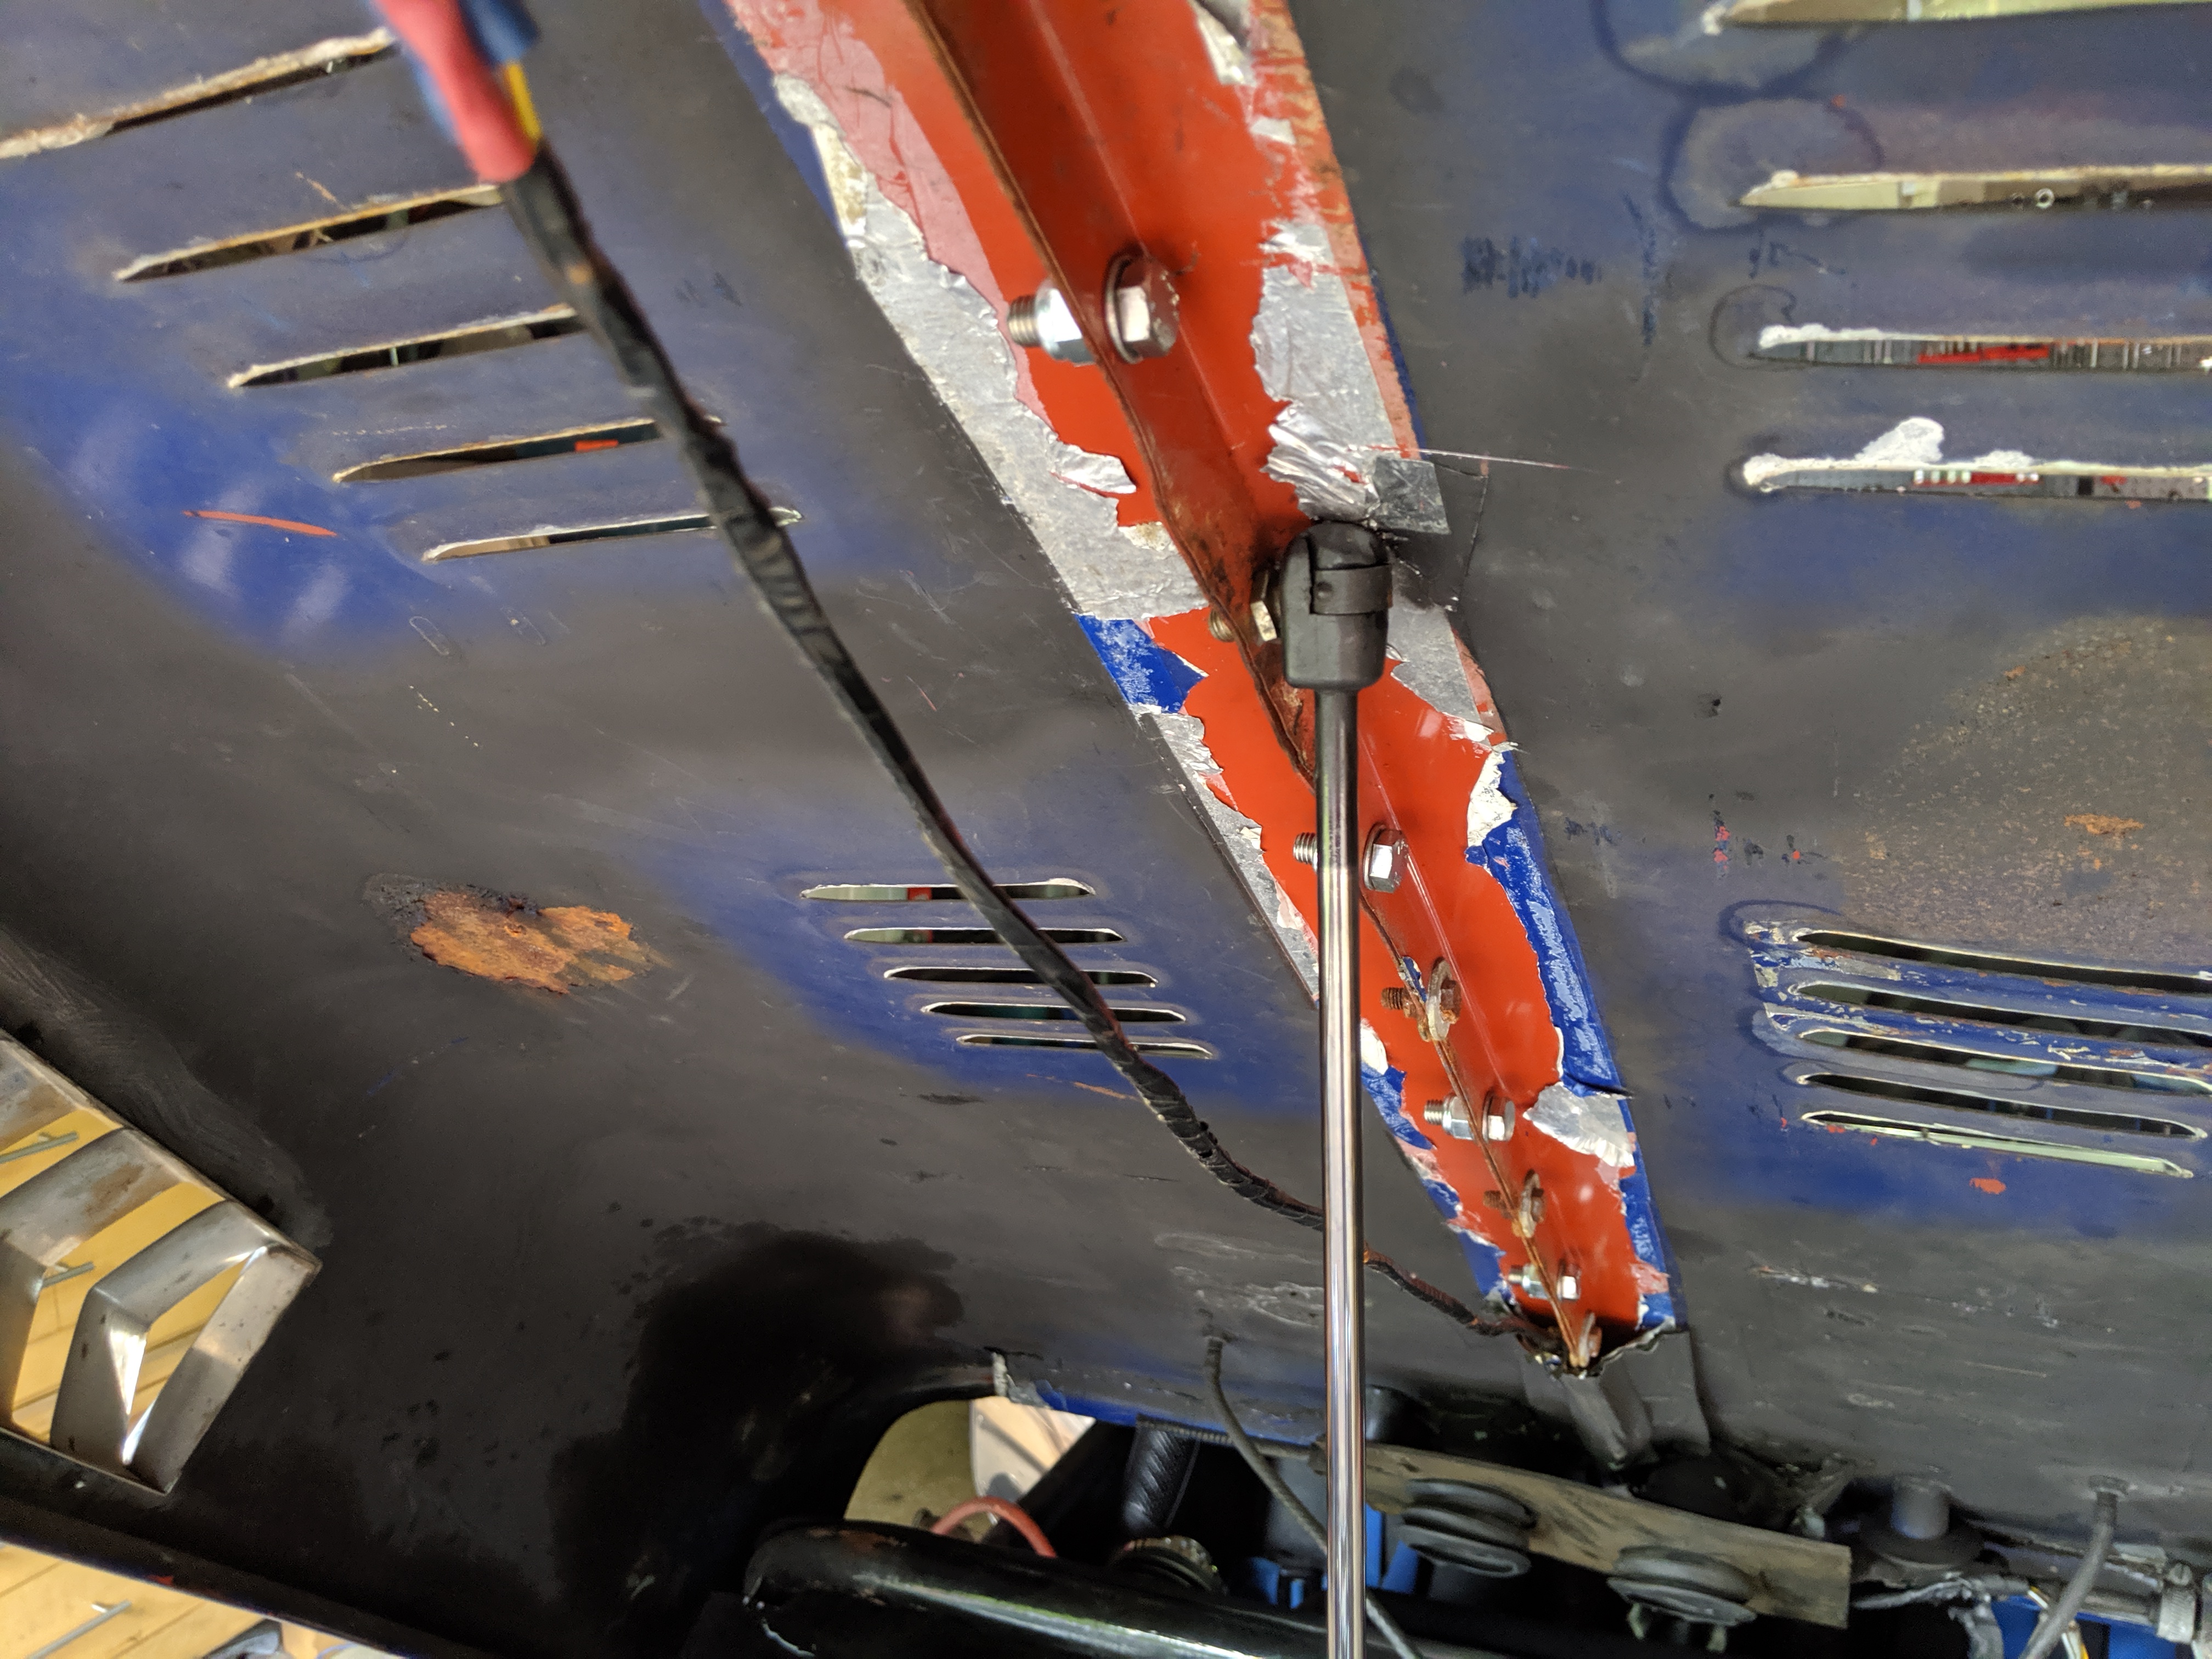
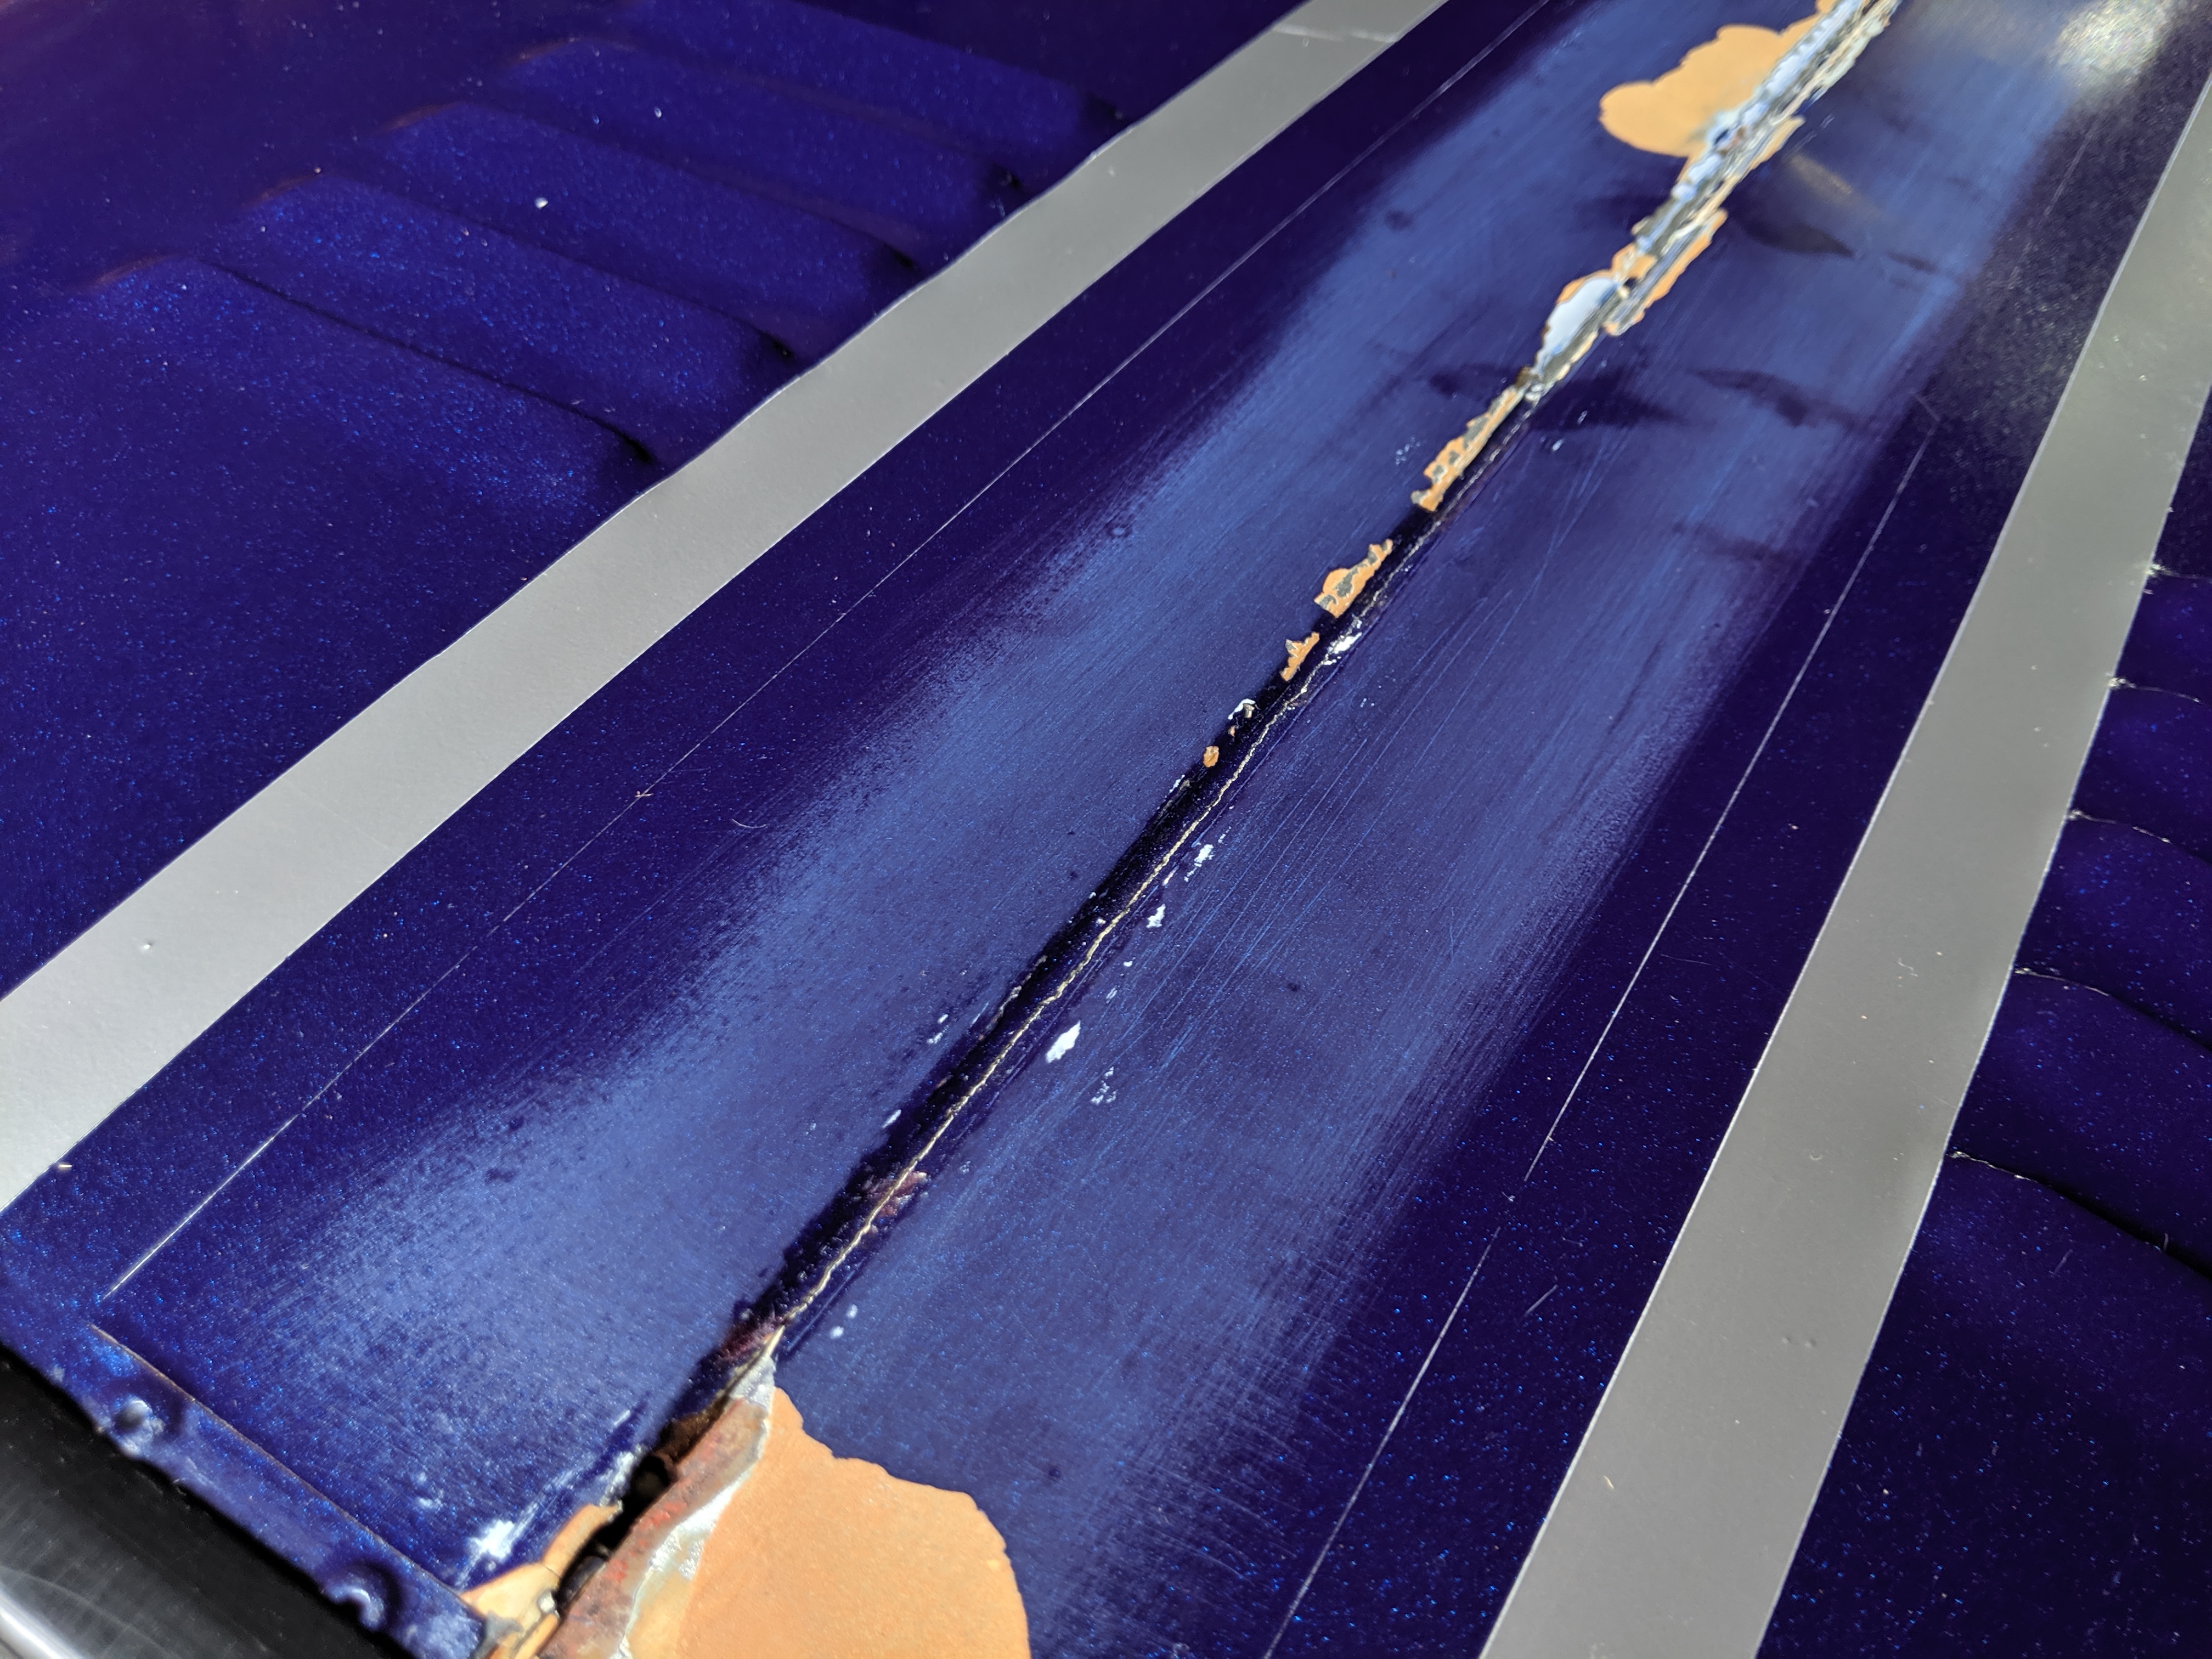
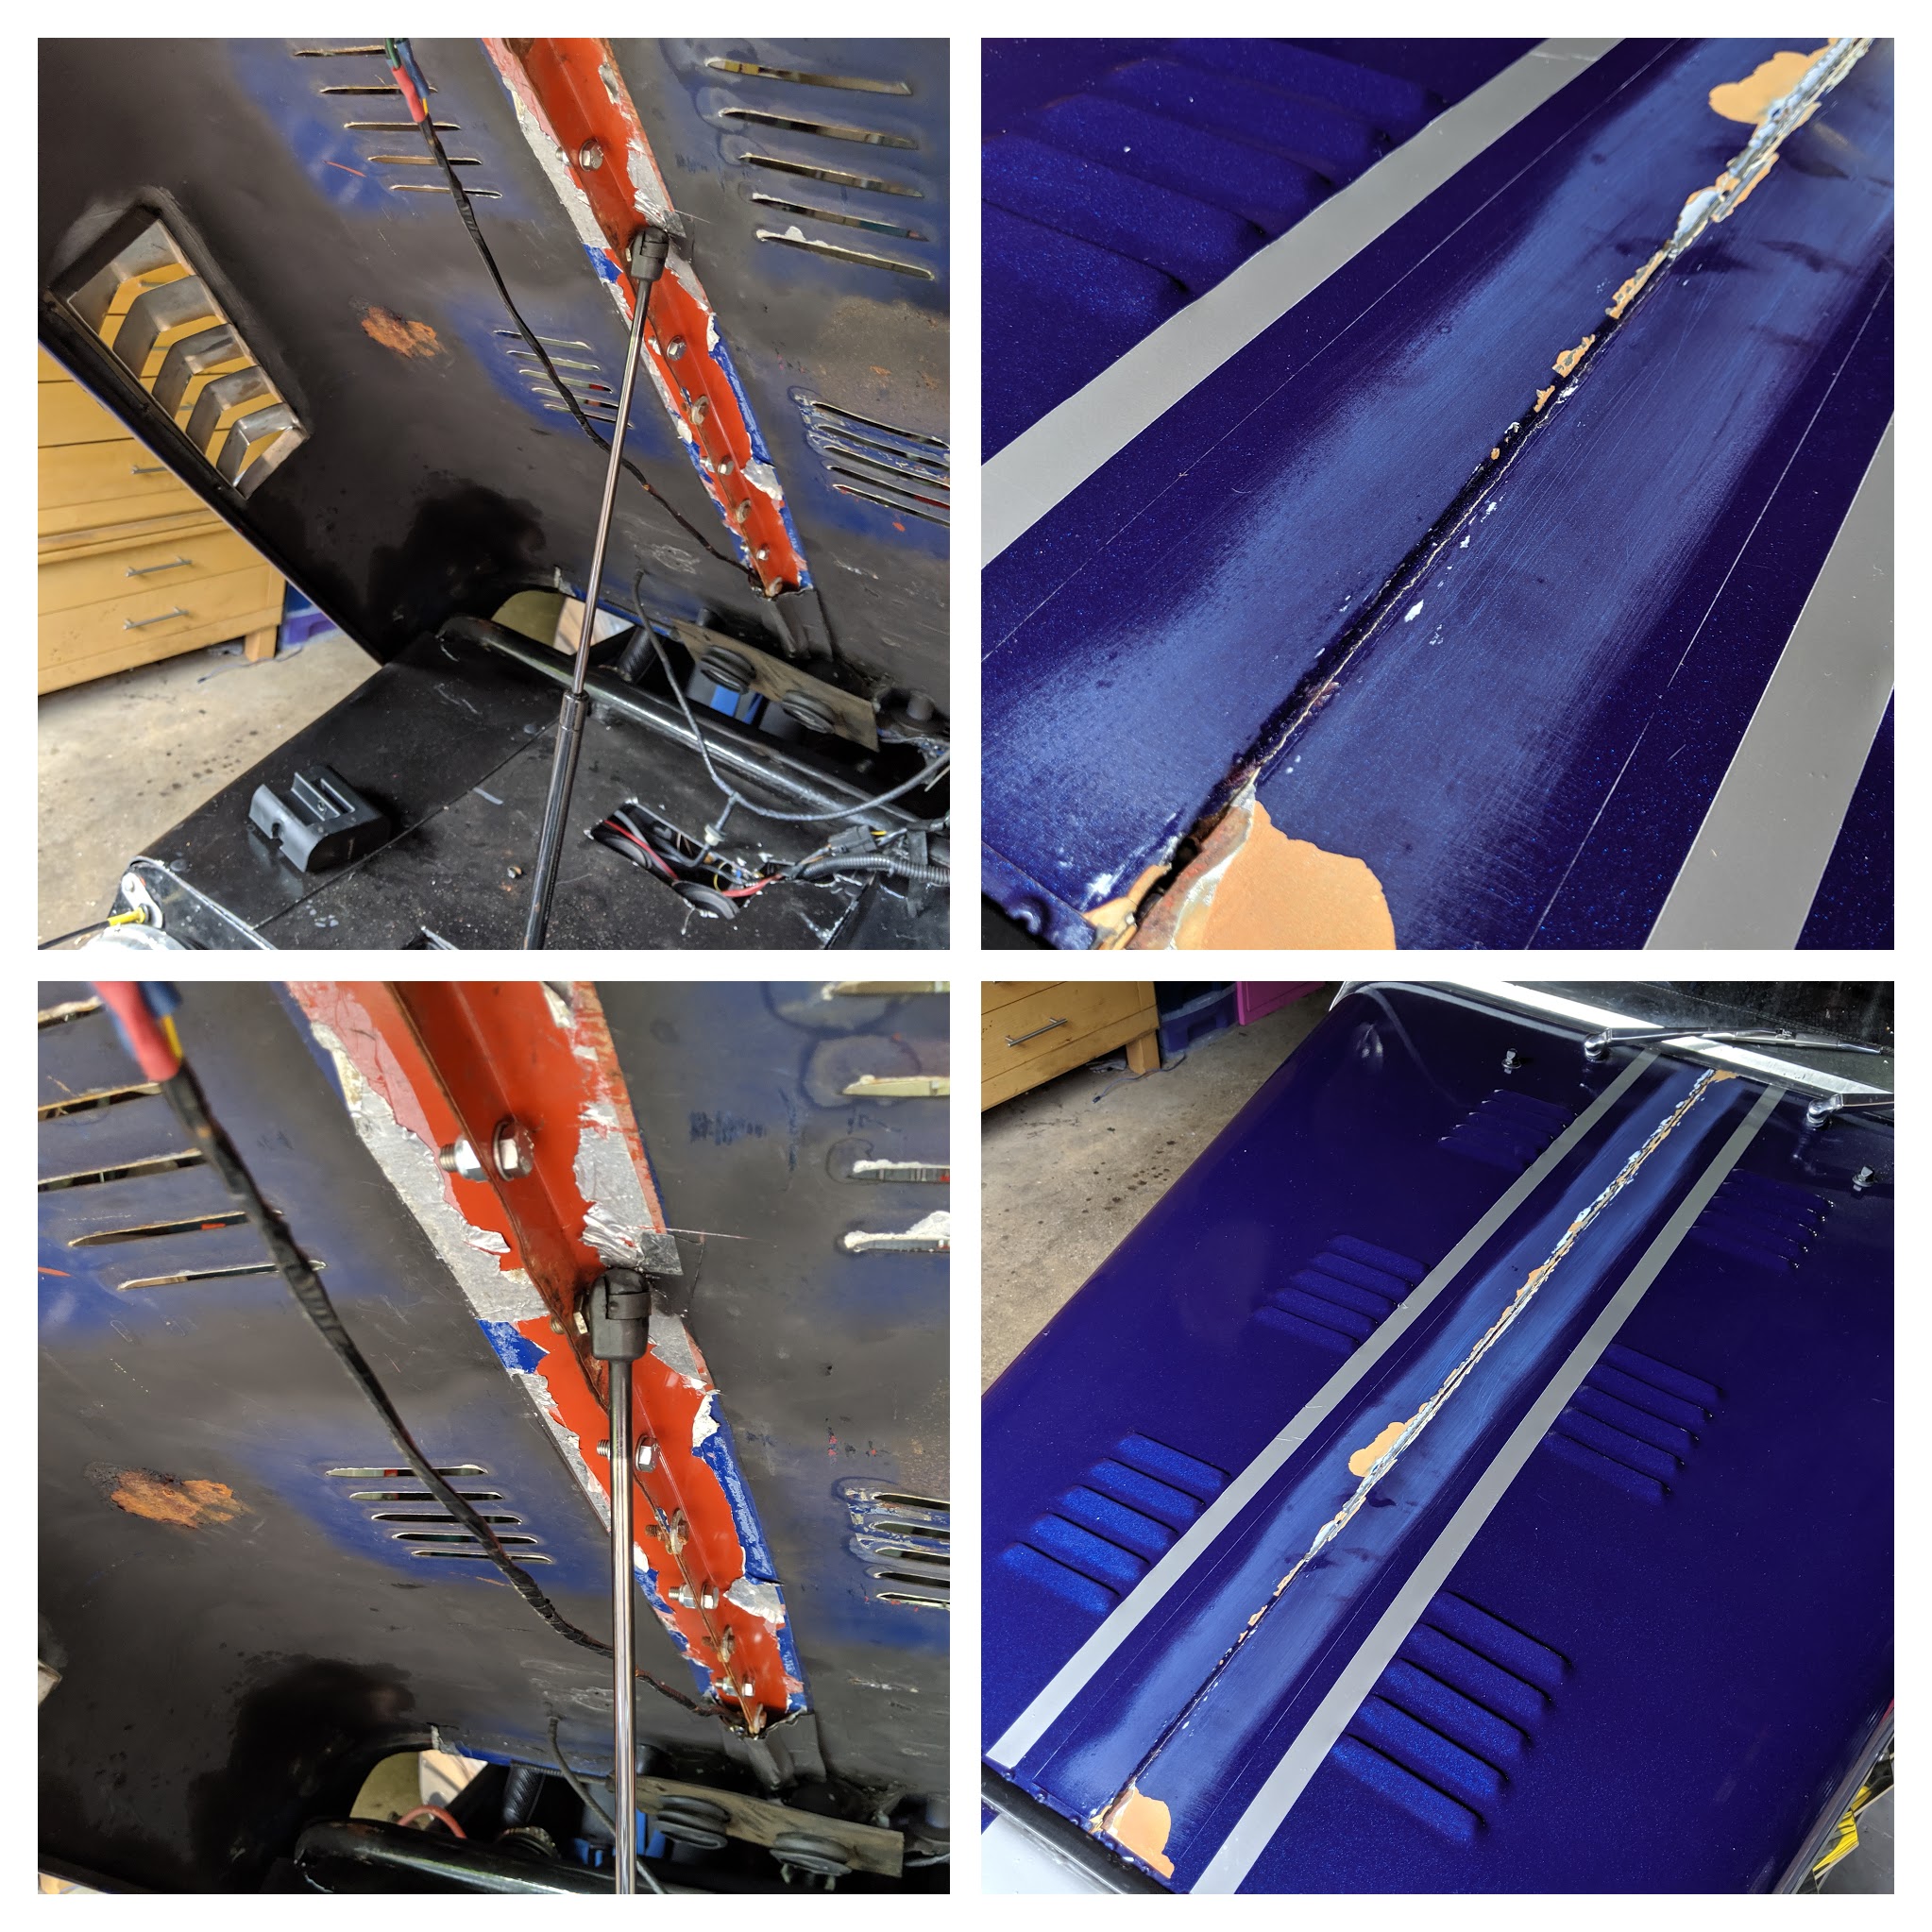
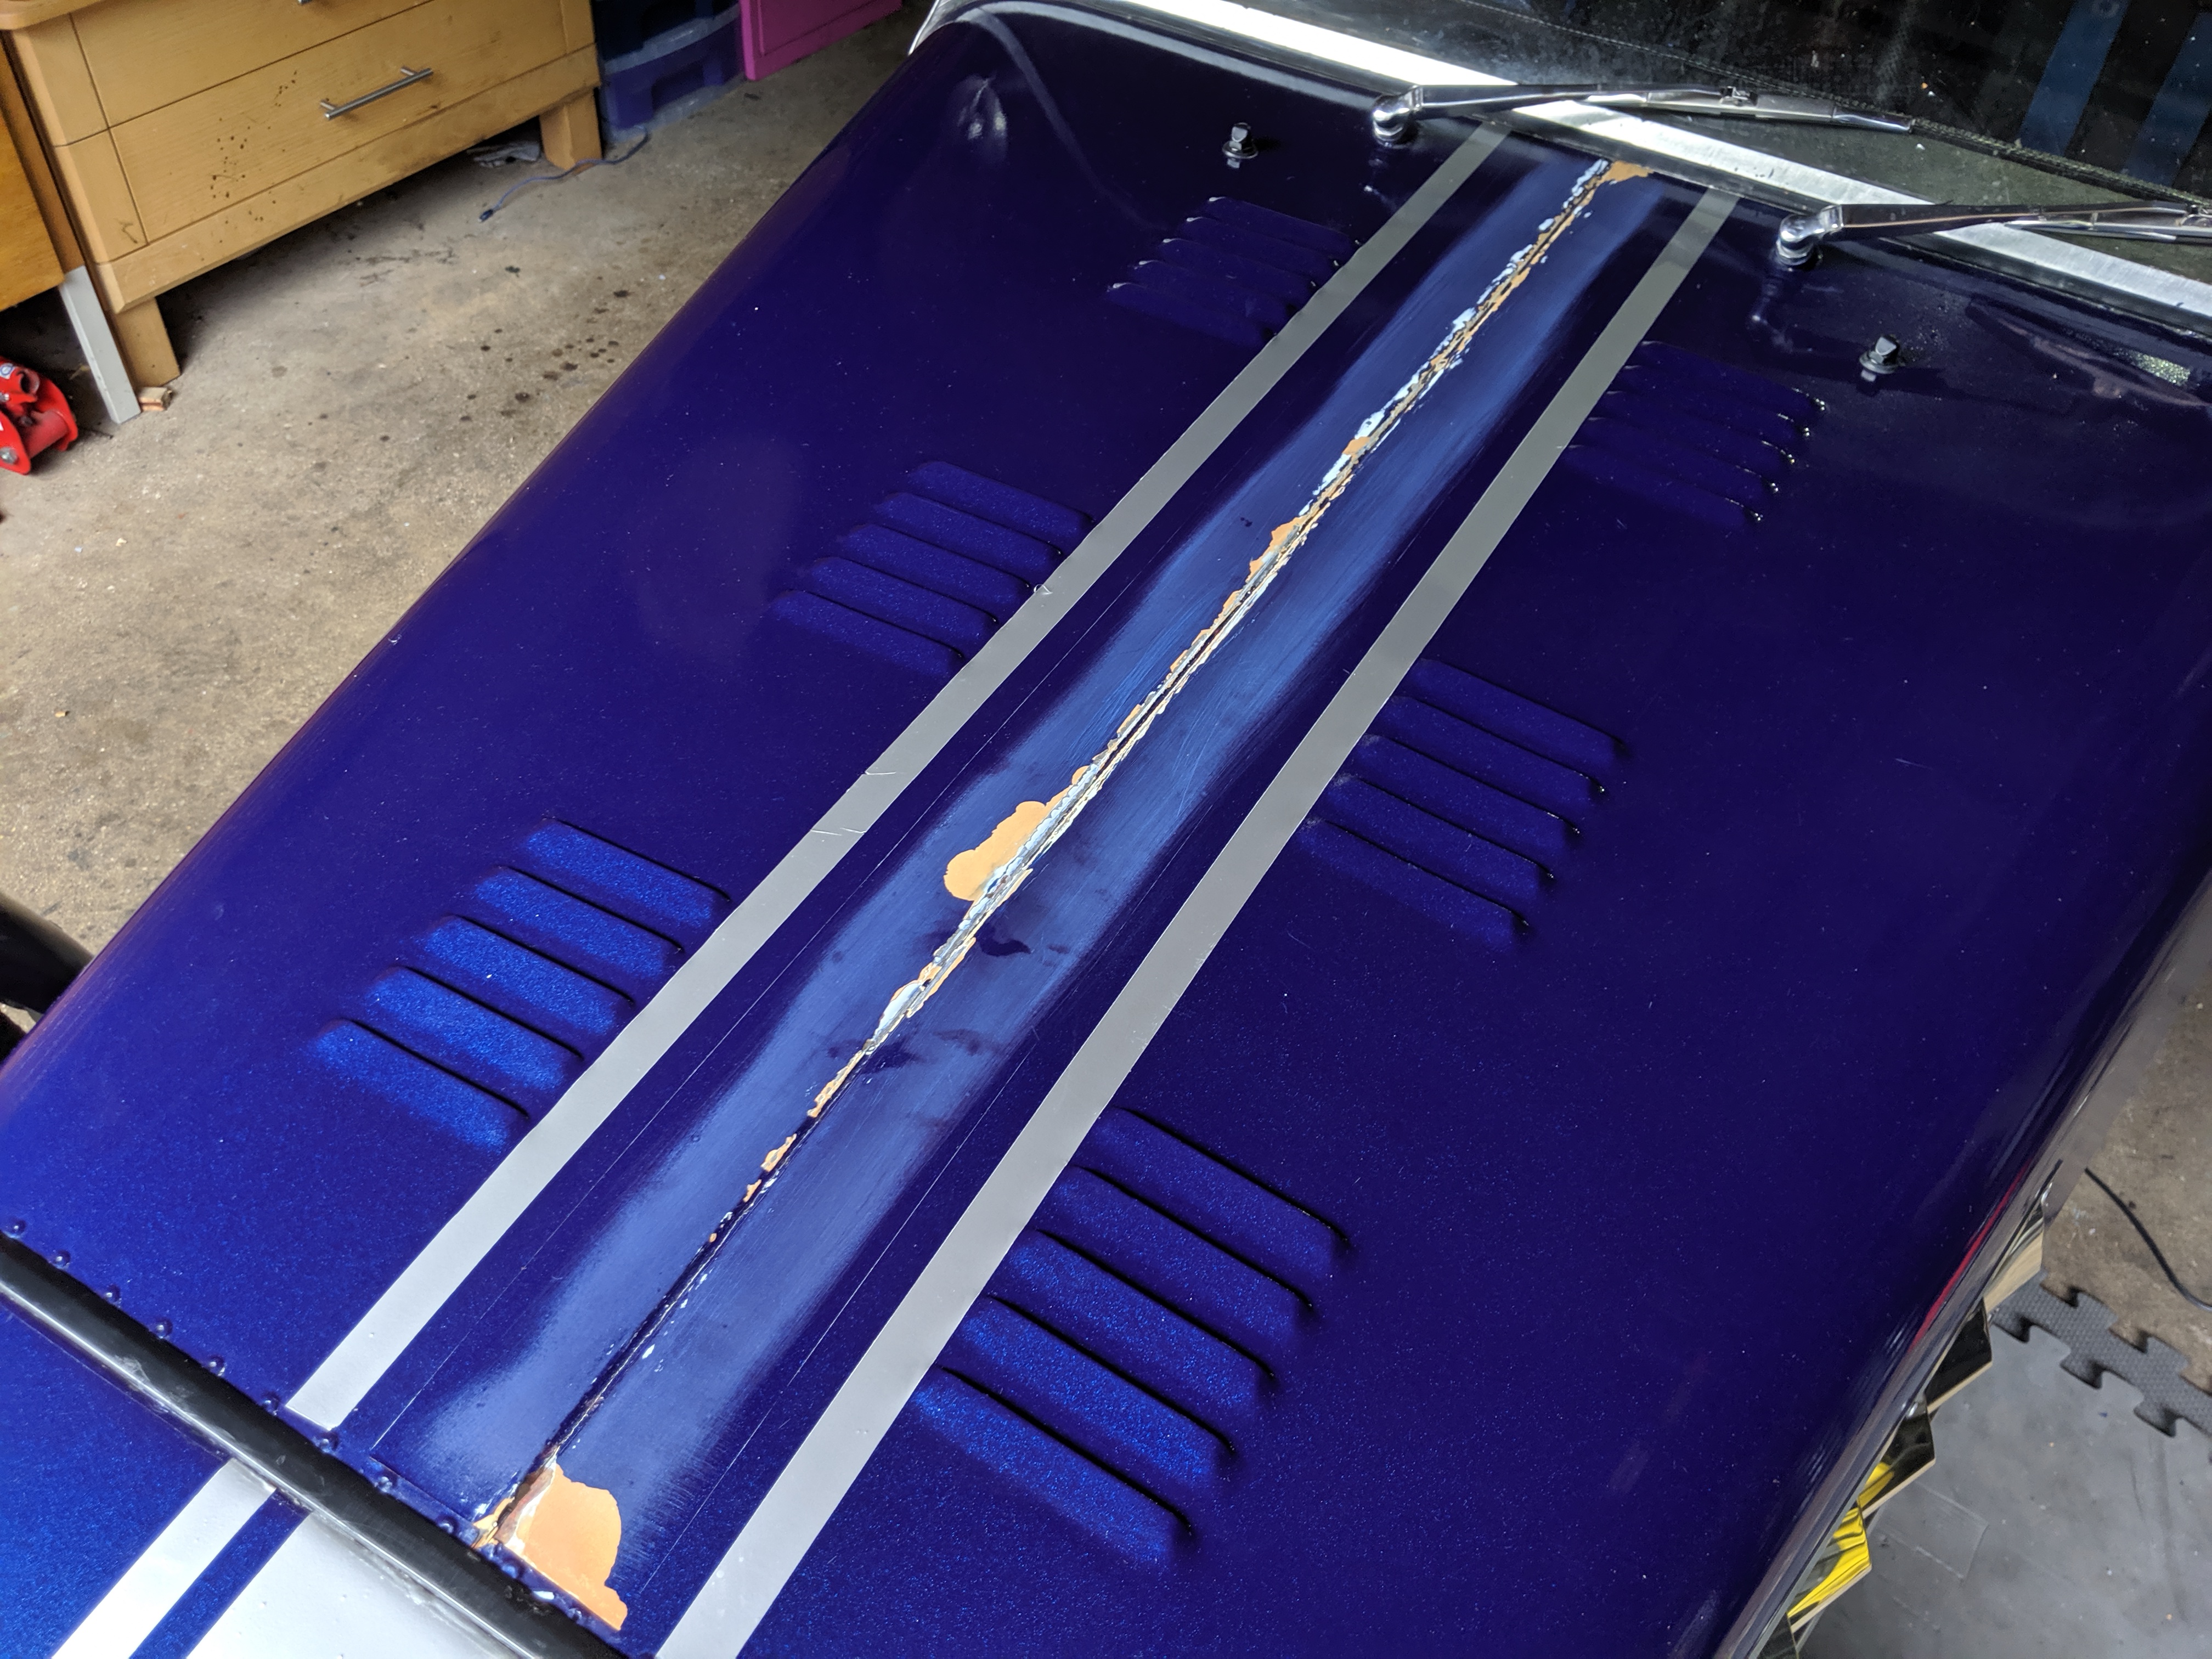
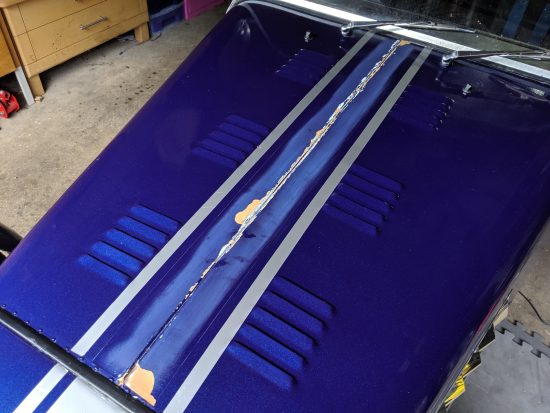
The bonnet on the hoody is metal, in two sections, and was bolted together on a centre flange. This left a seam that was filled with filler and then a vinyl stripe laid over the top.
Now this would have been fine except for the fact that the builder then installed a long pneumatic ram (the type that opens a boot on a hatchback) to hold up the bonnet when you lift it. Great for convenience but done in such a way as to cause a long term issue.
Essentially, as the weight of the bonnet and nose cone were pivoting on an M8 bolt attached to the centre flange (2 x 1mm steel), the flange had twisted, bent and caused the bonnet to deform above. This in turn caused the filler to crack and separate from the bonnet, which then caused the vinyl to crack leaving an unsightly jagged line down the centre of the bonnet.
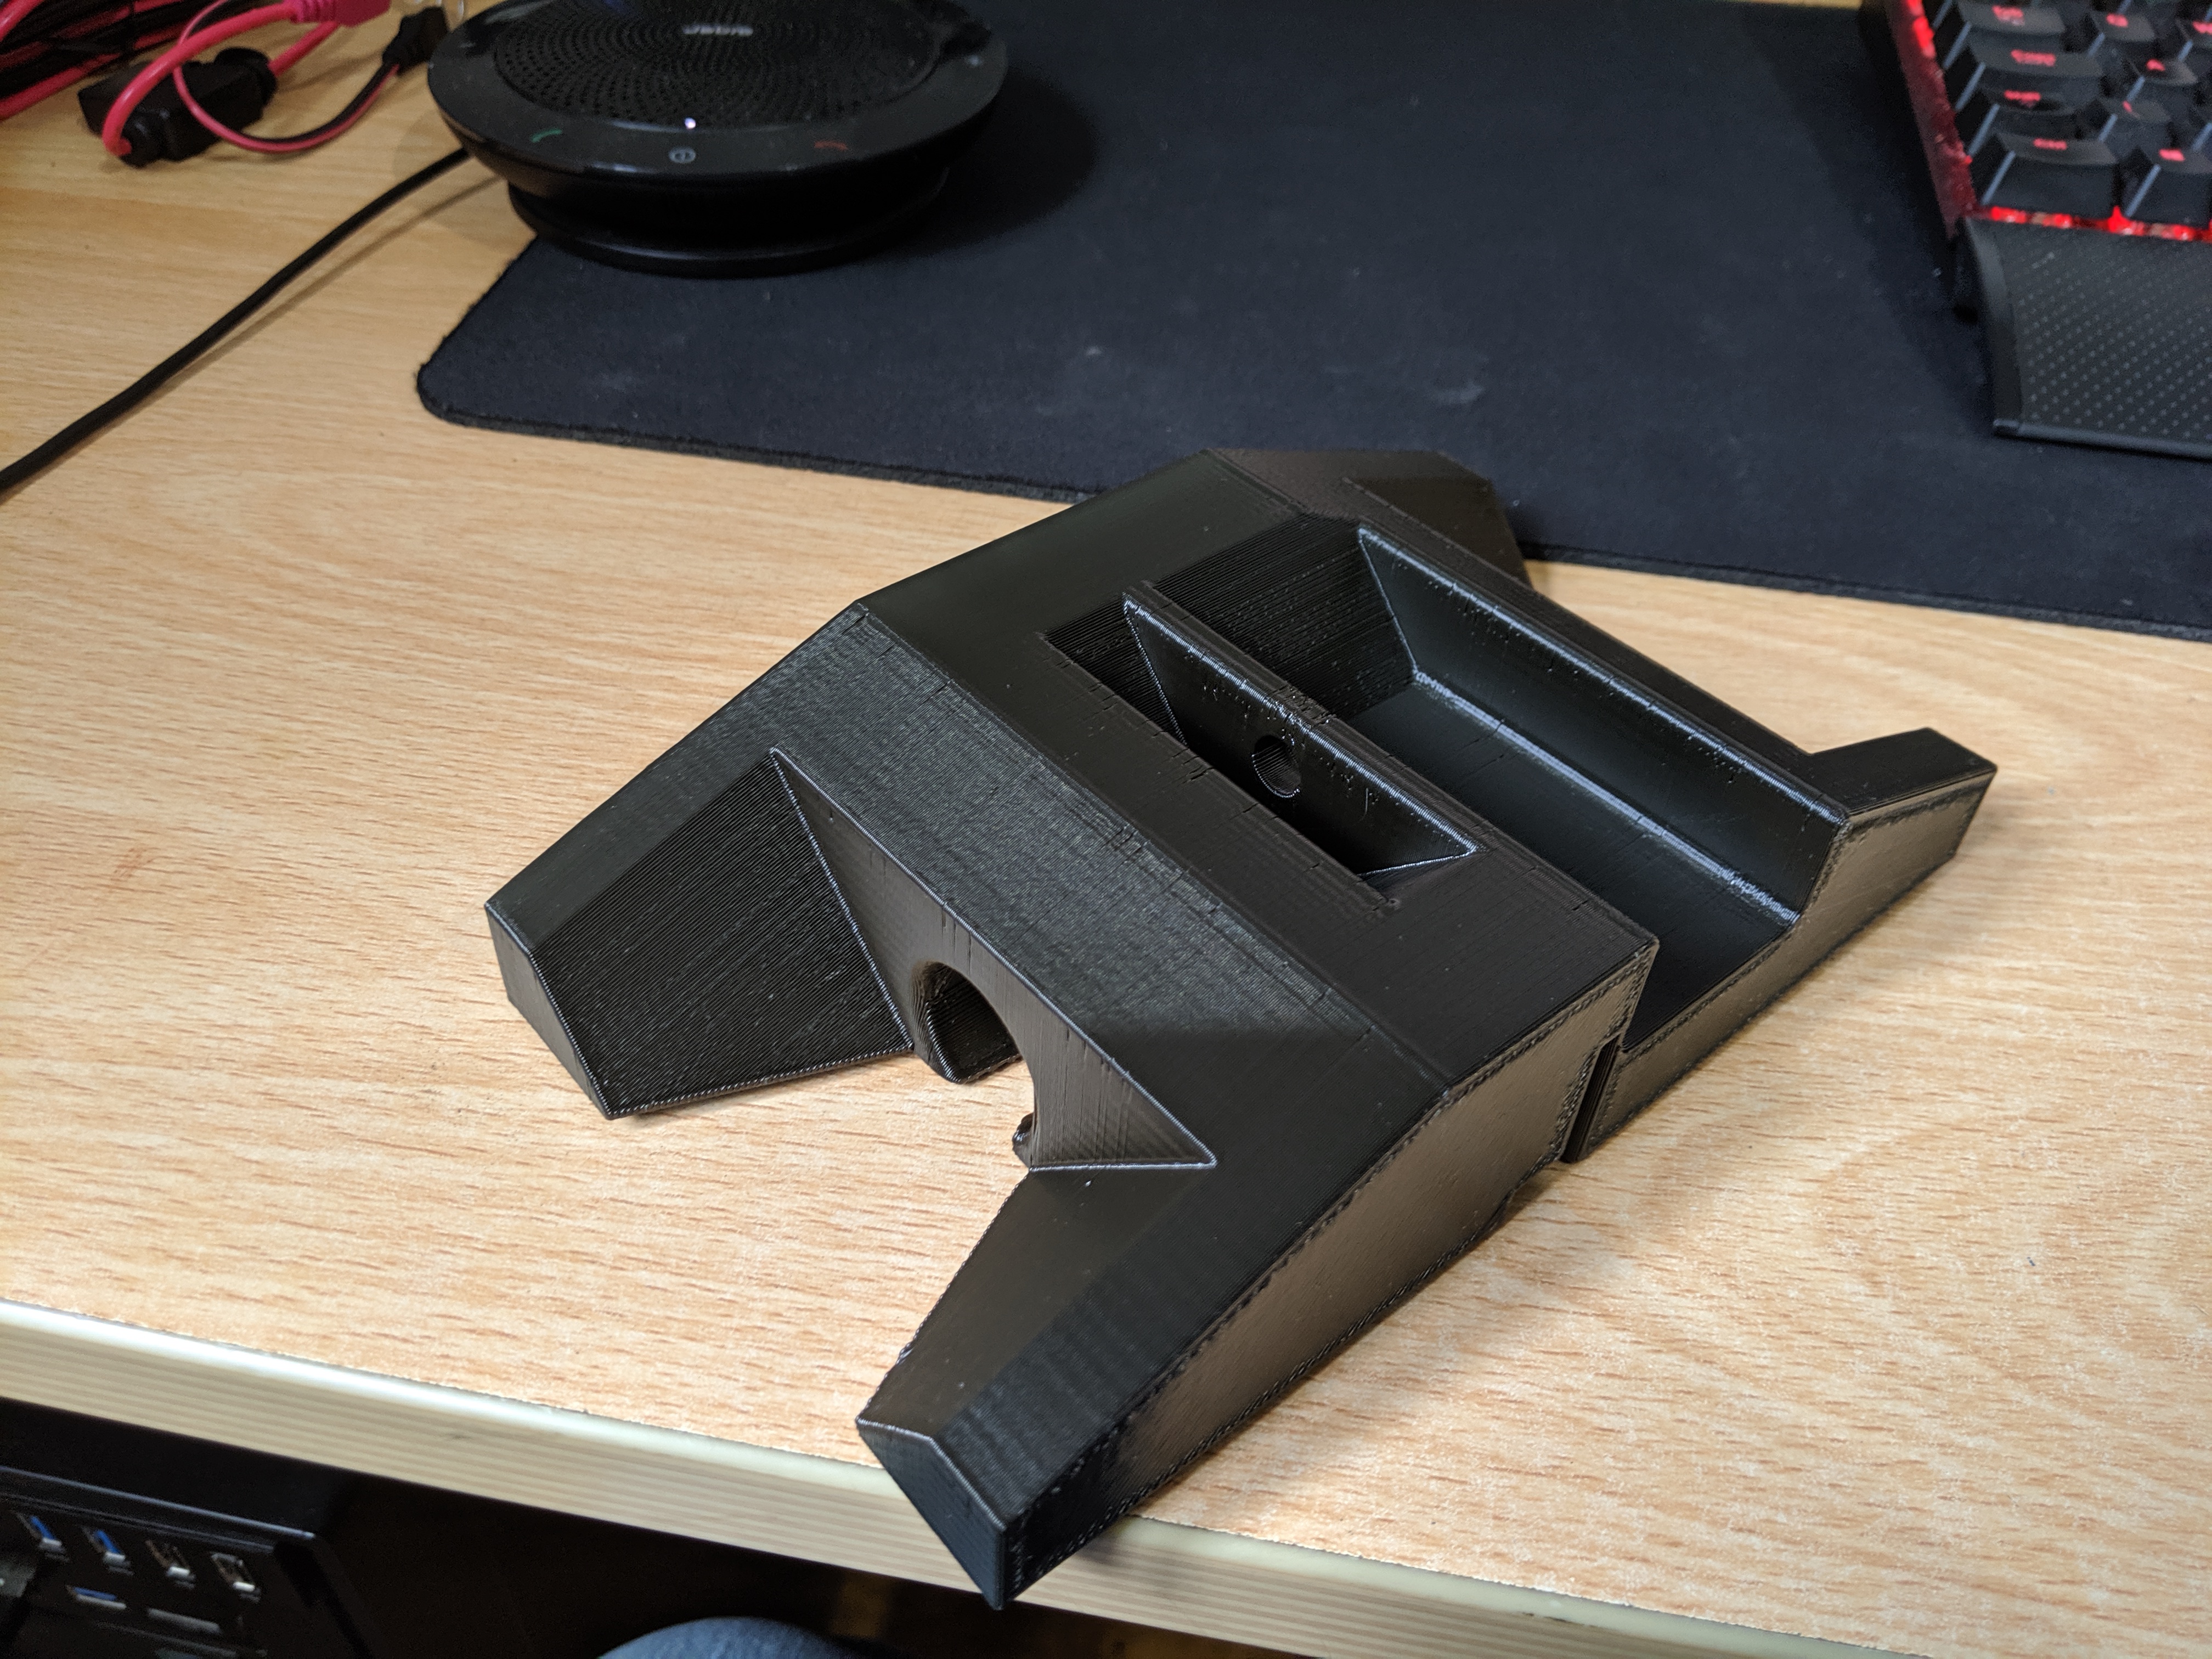
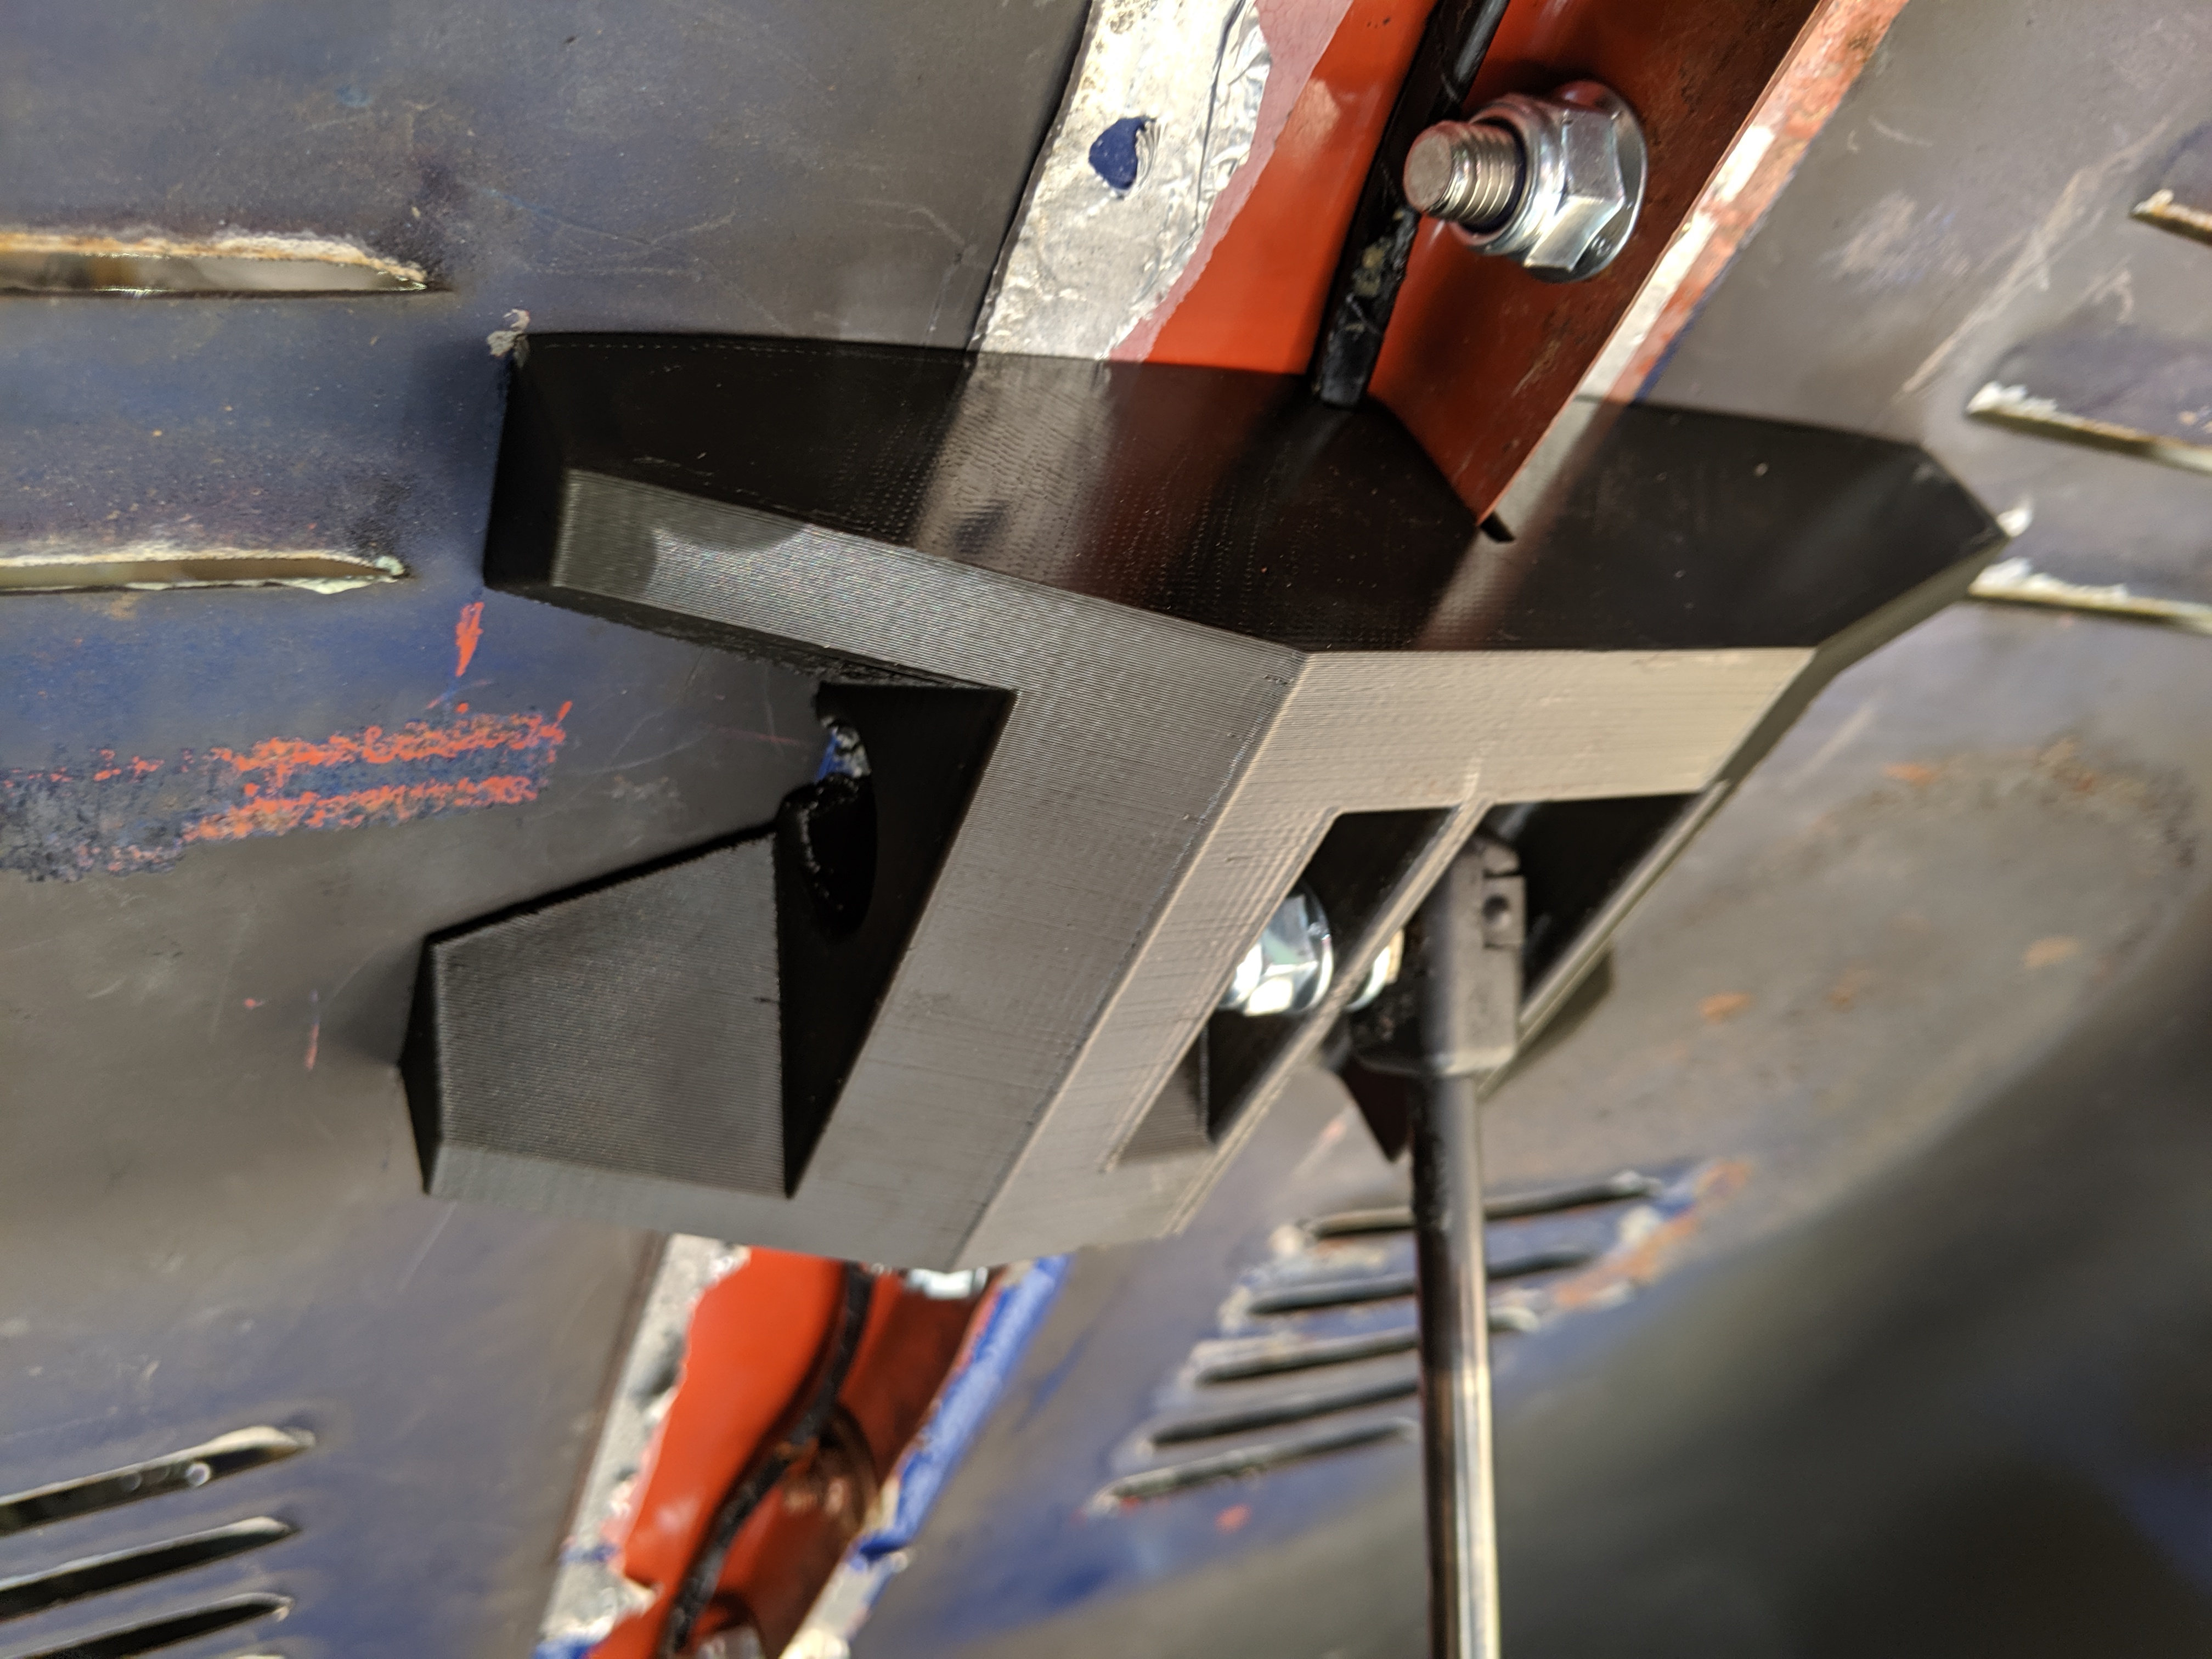
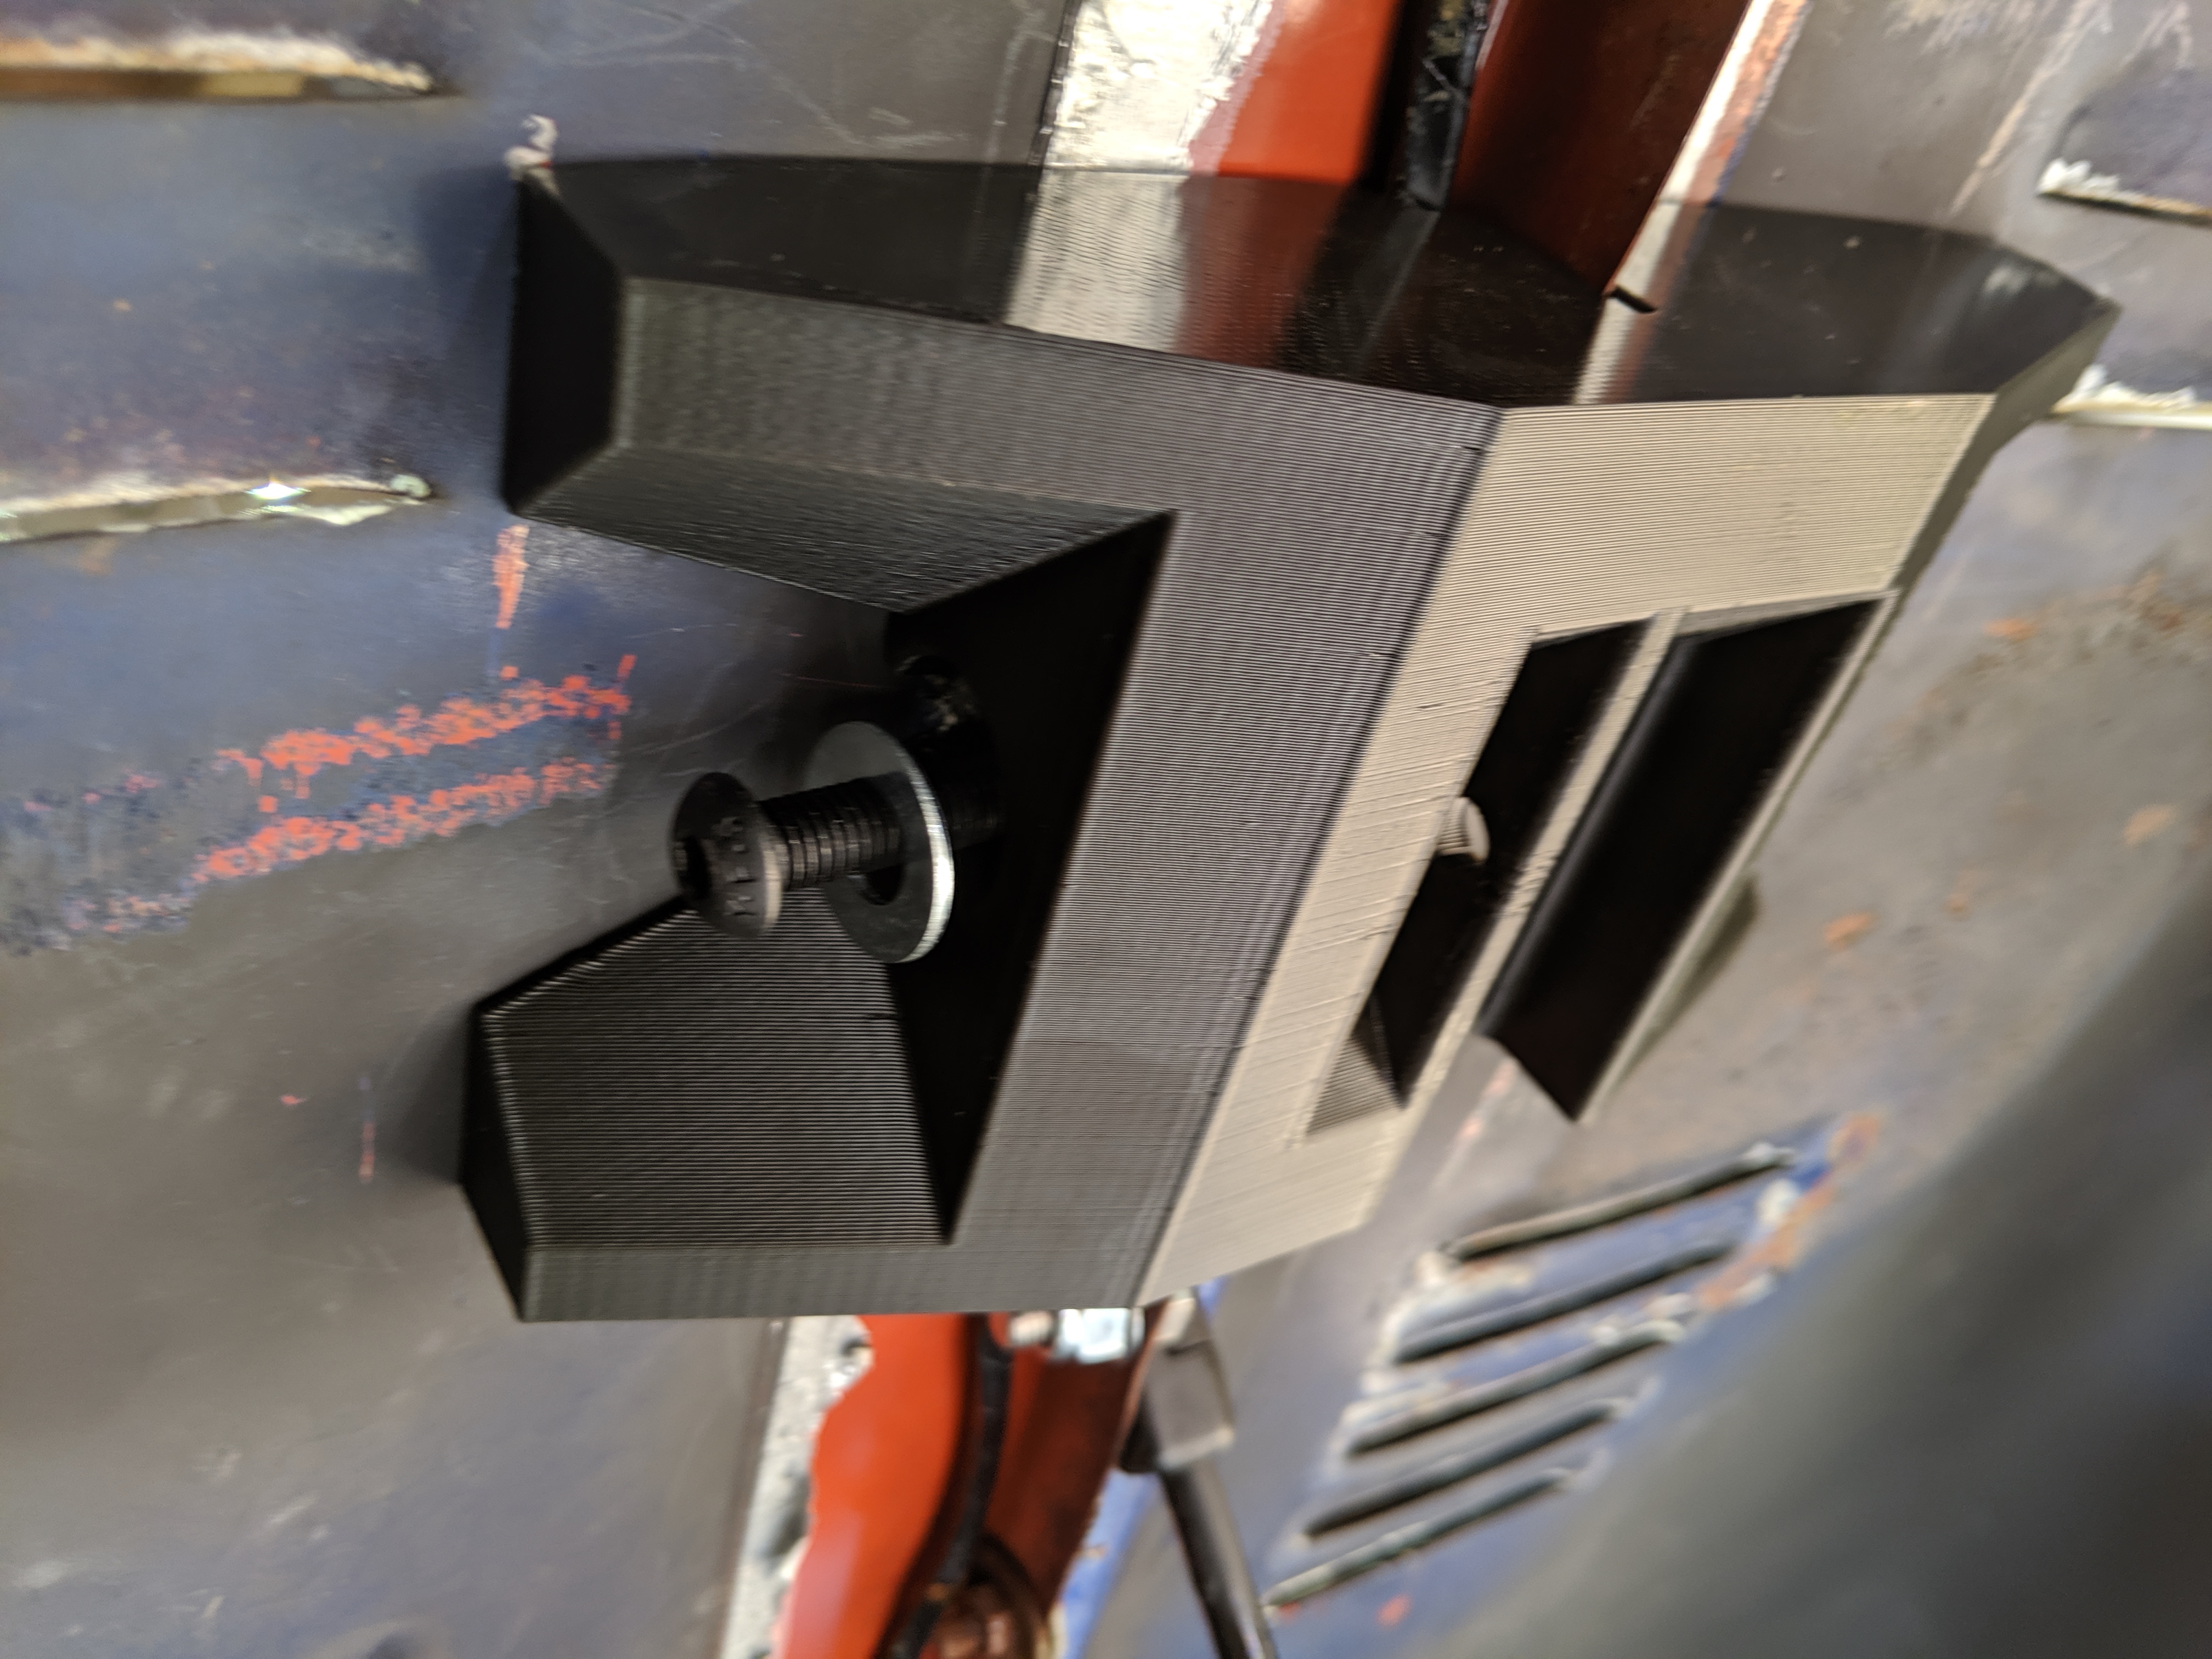
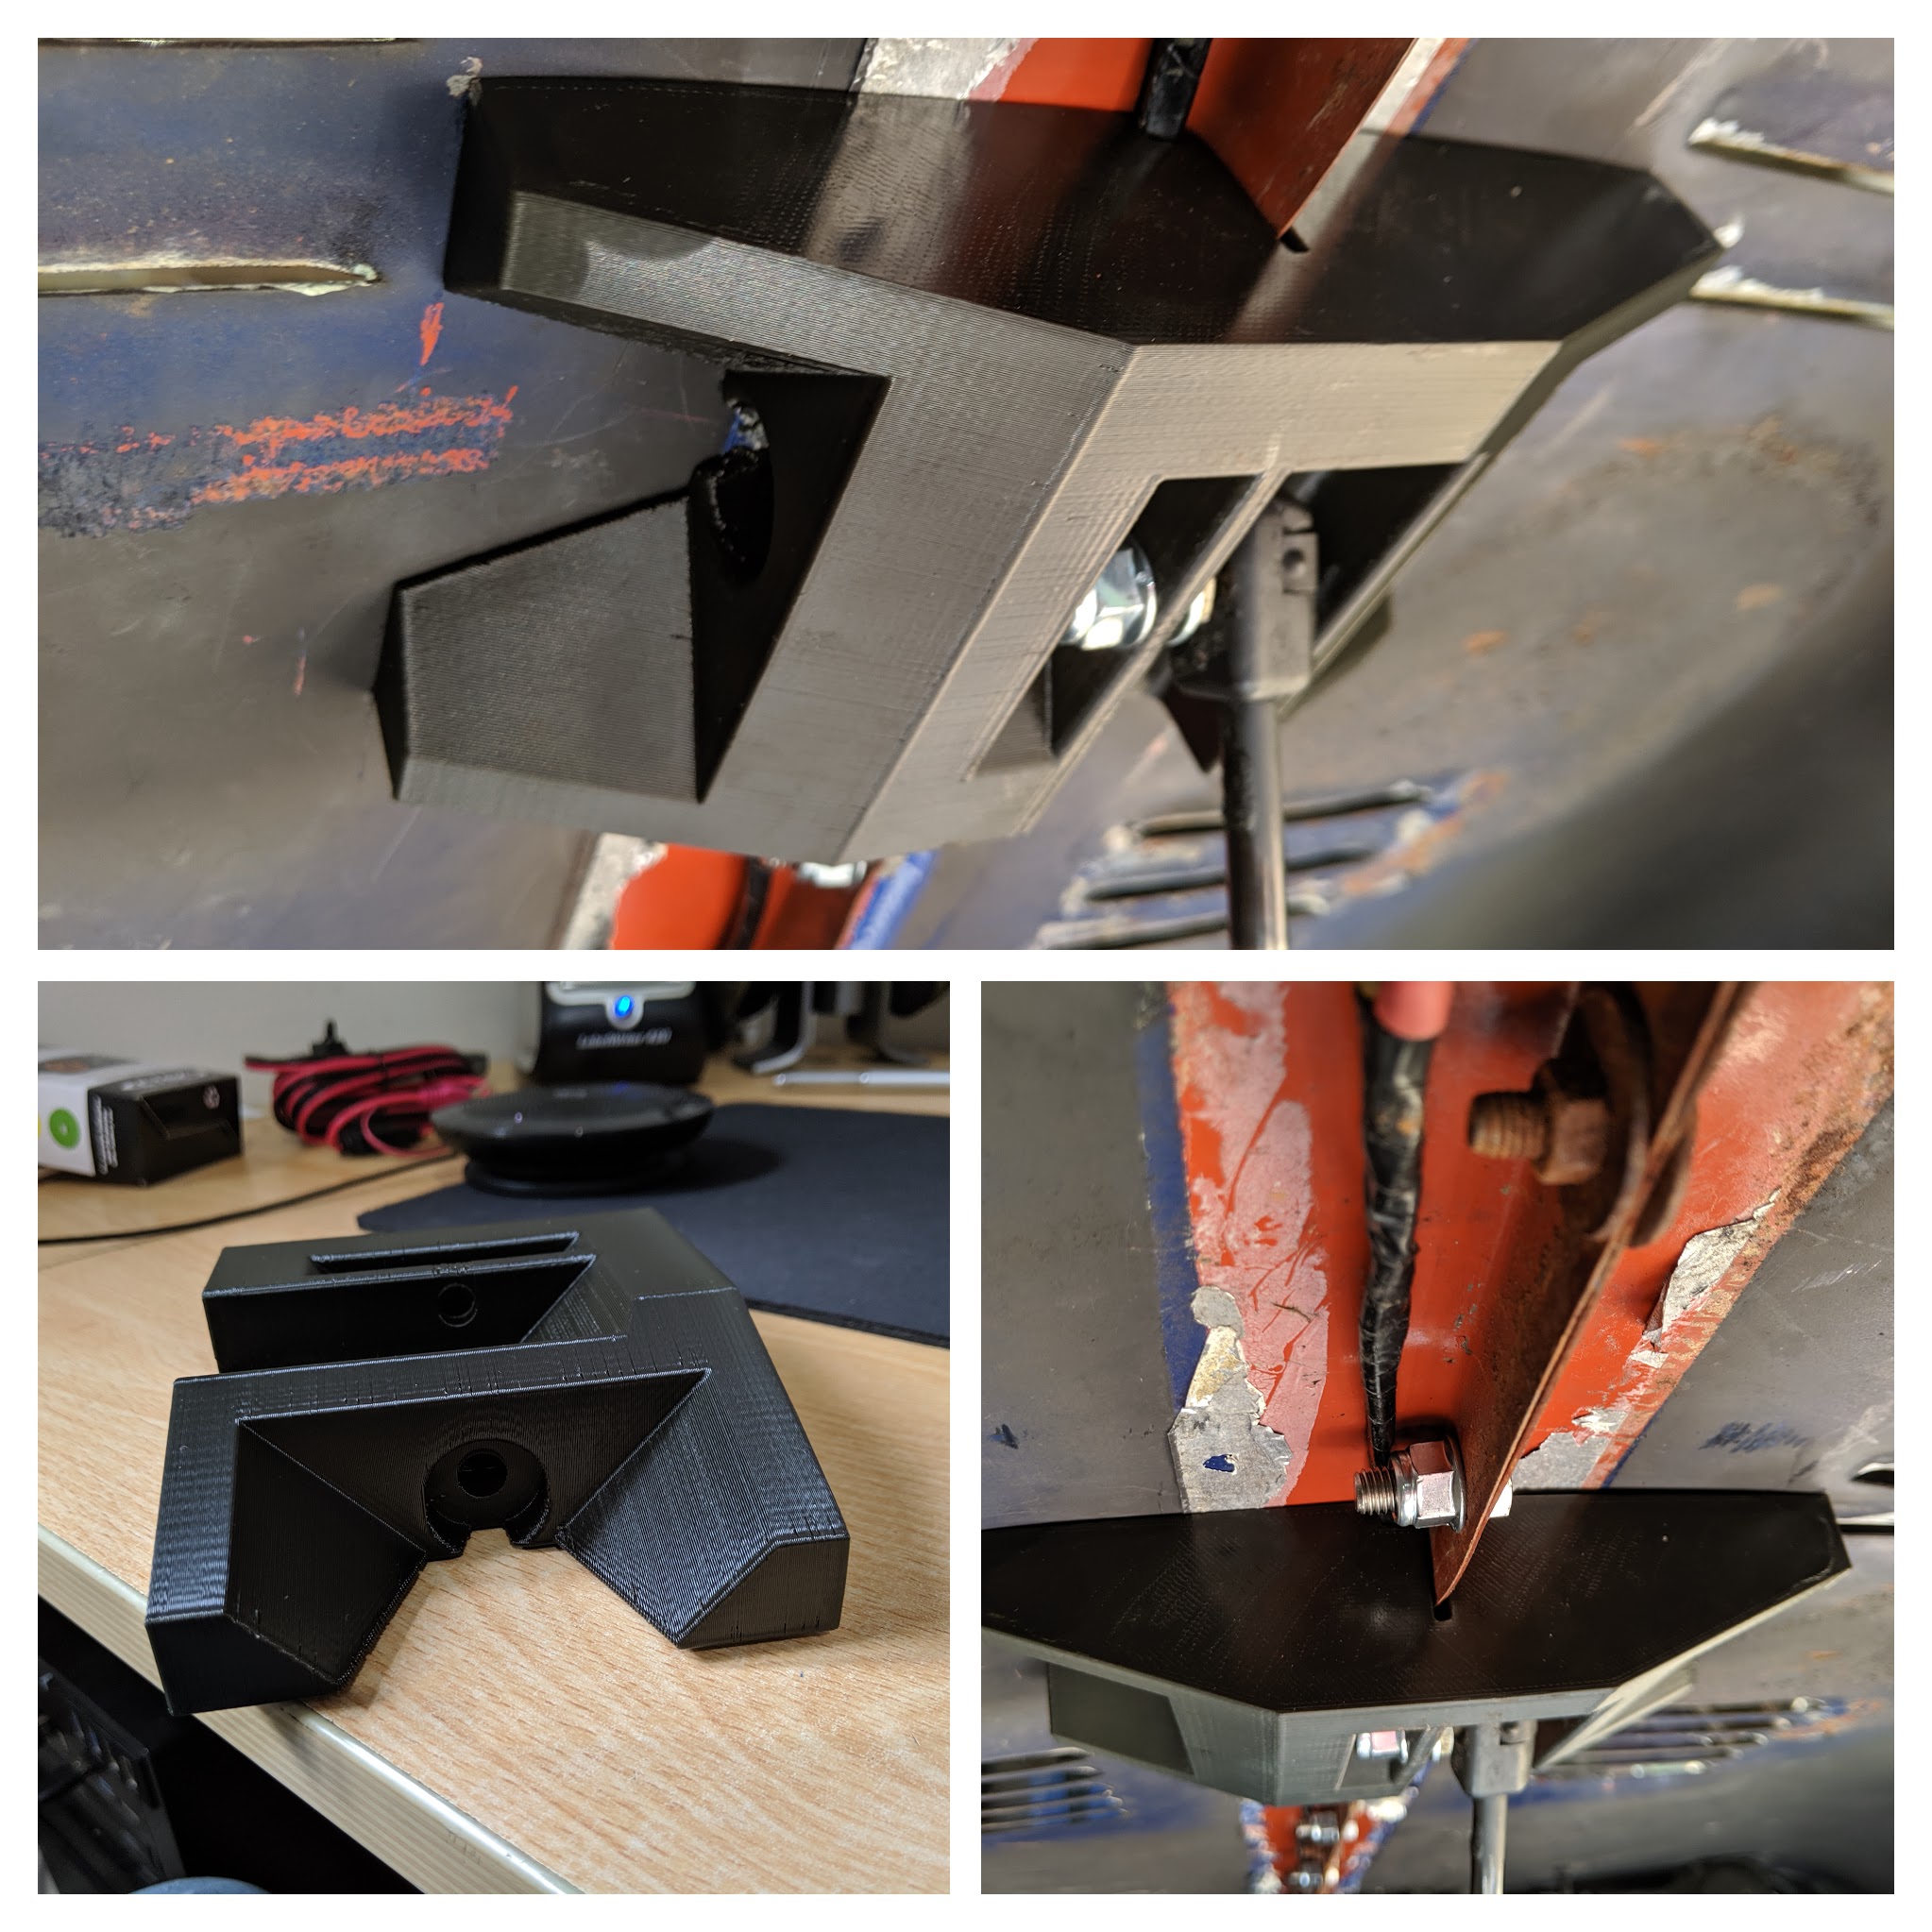
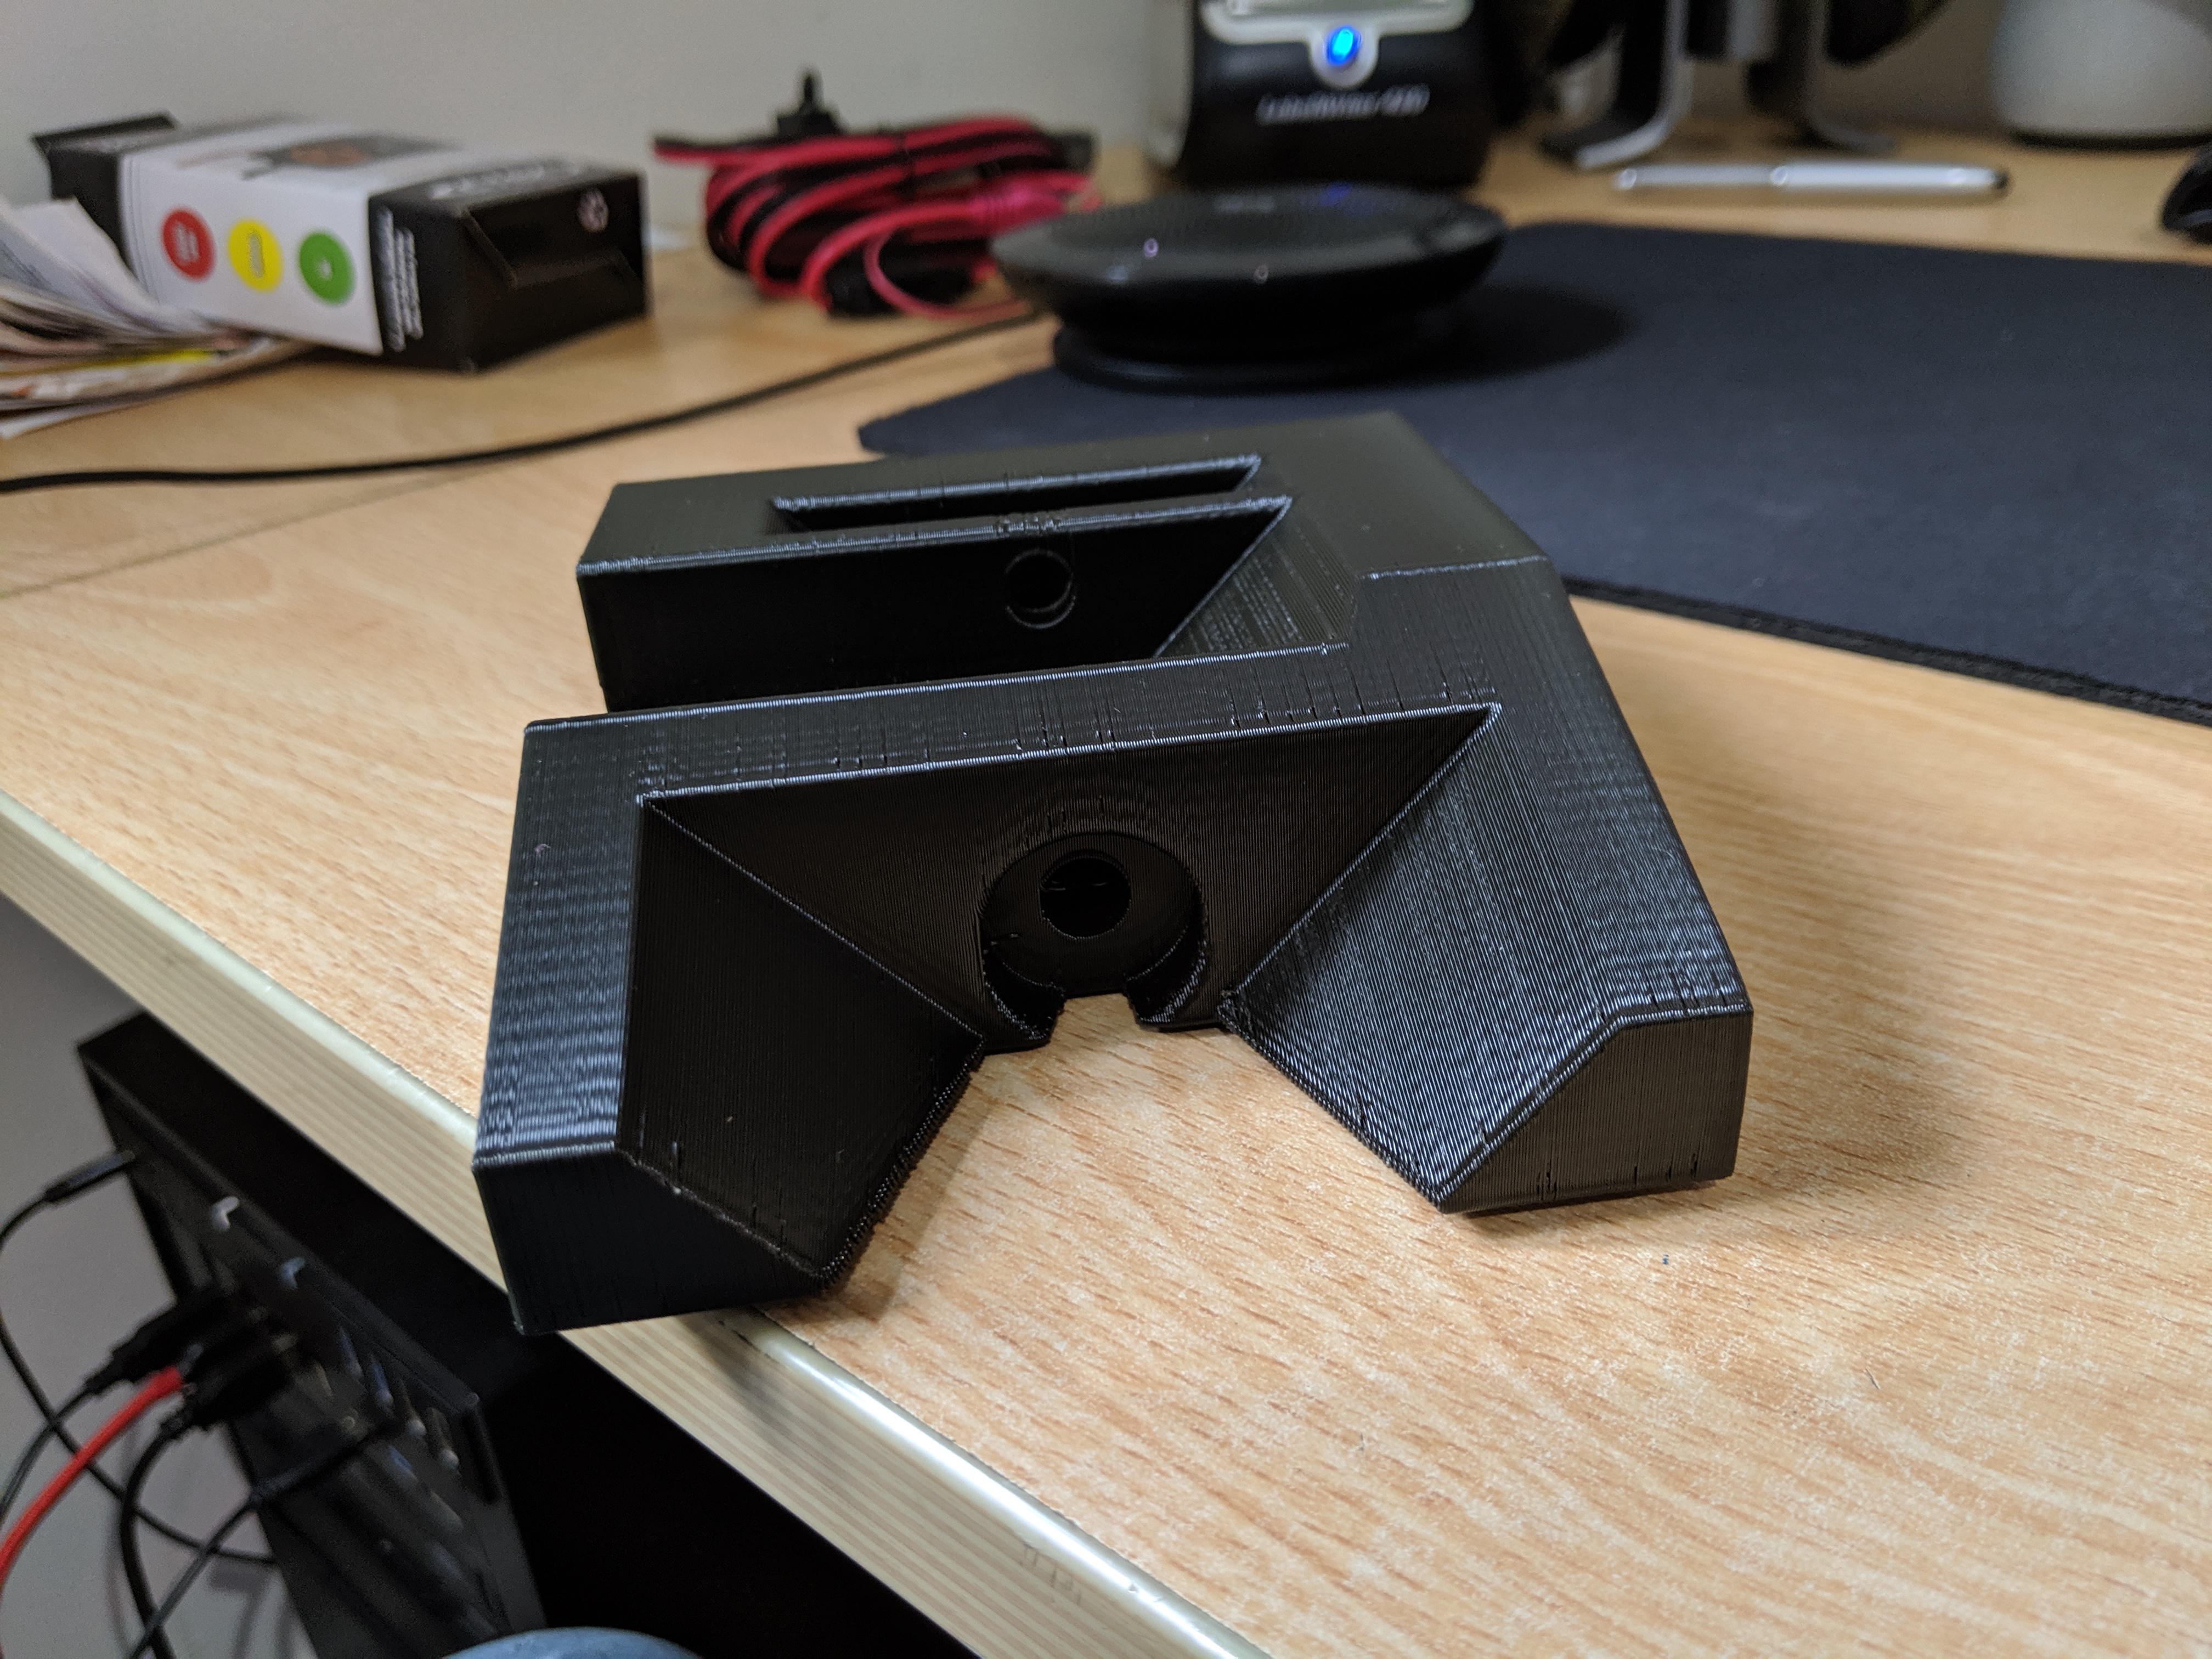
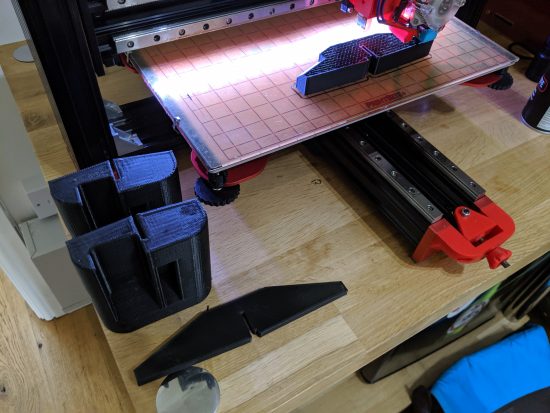
Rather than just filling it and applying another vinyl sticker to it, knowing it would just do the same again, I set about designing and printing a better solution to the mounting of the jack point to the bonnet and also reinforcing the flange with several additional M8 bolts!
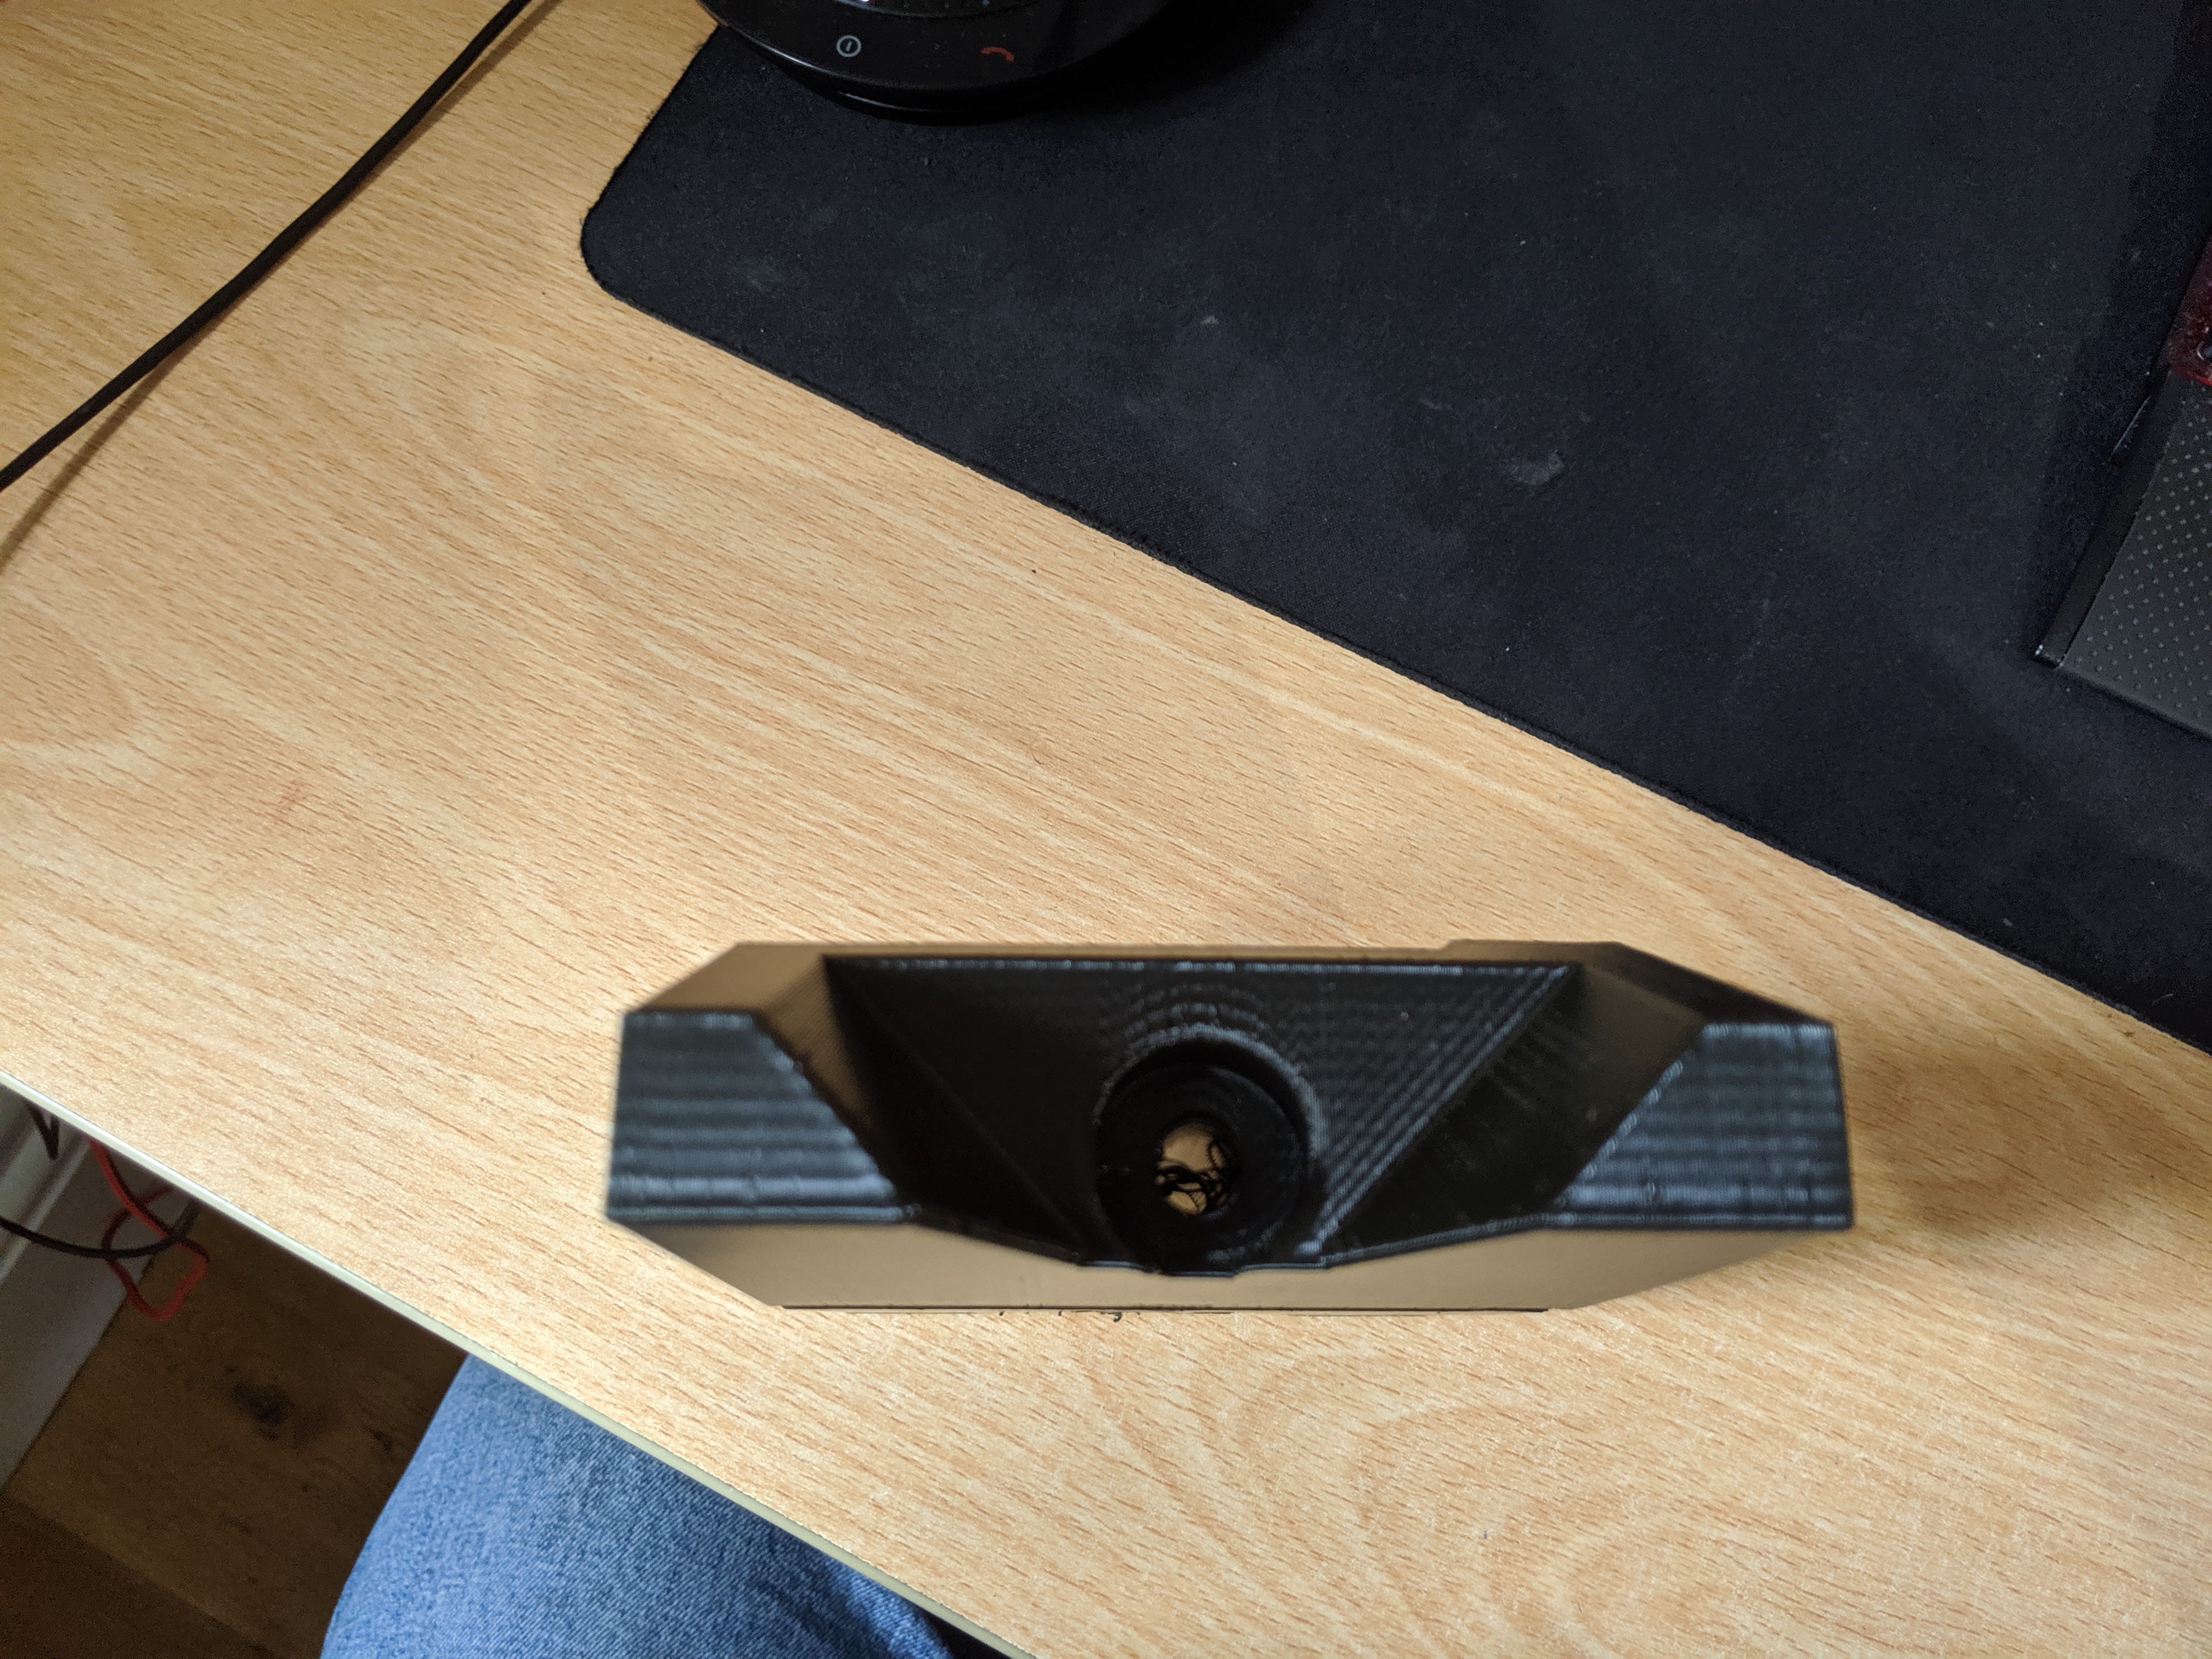
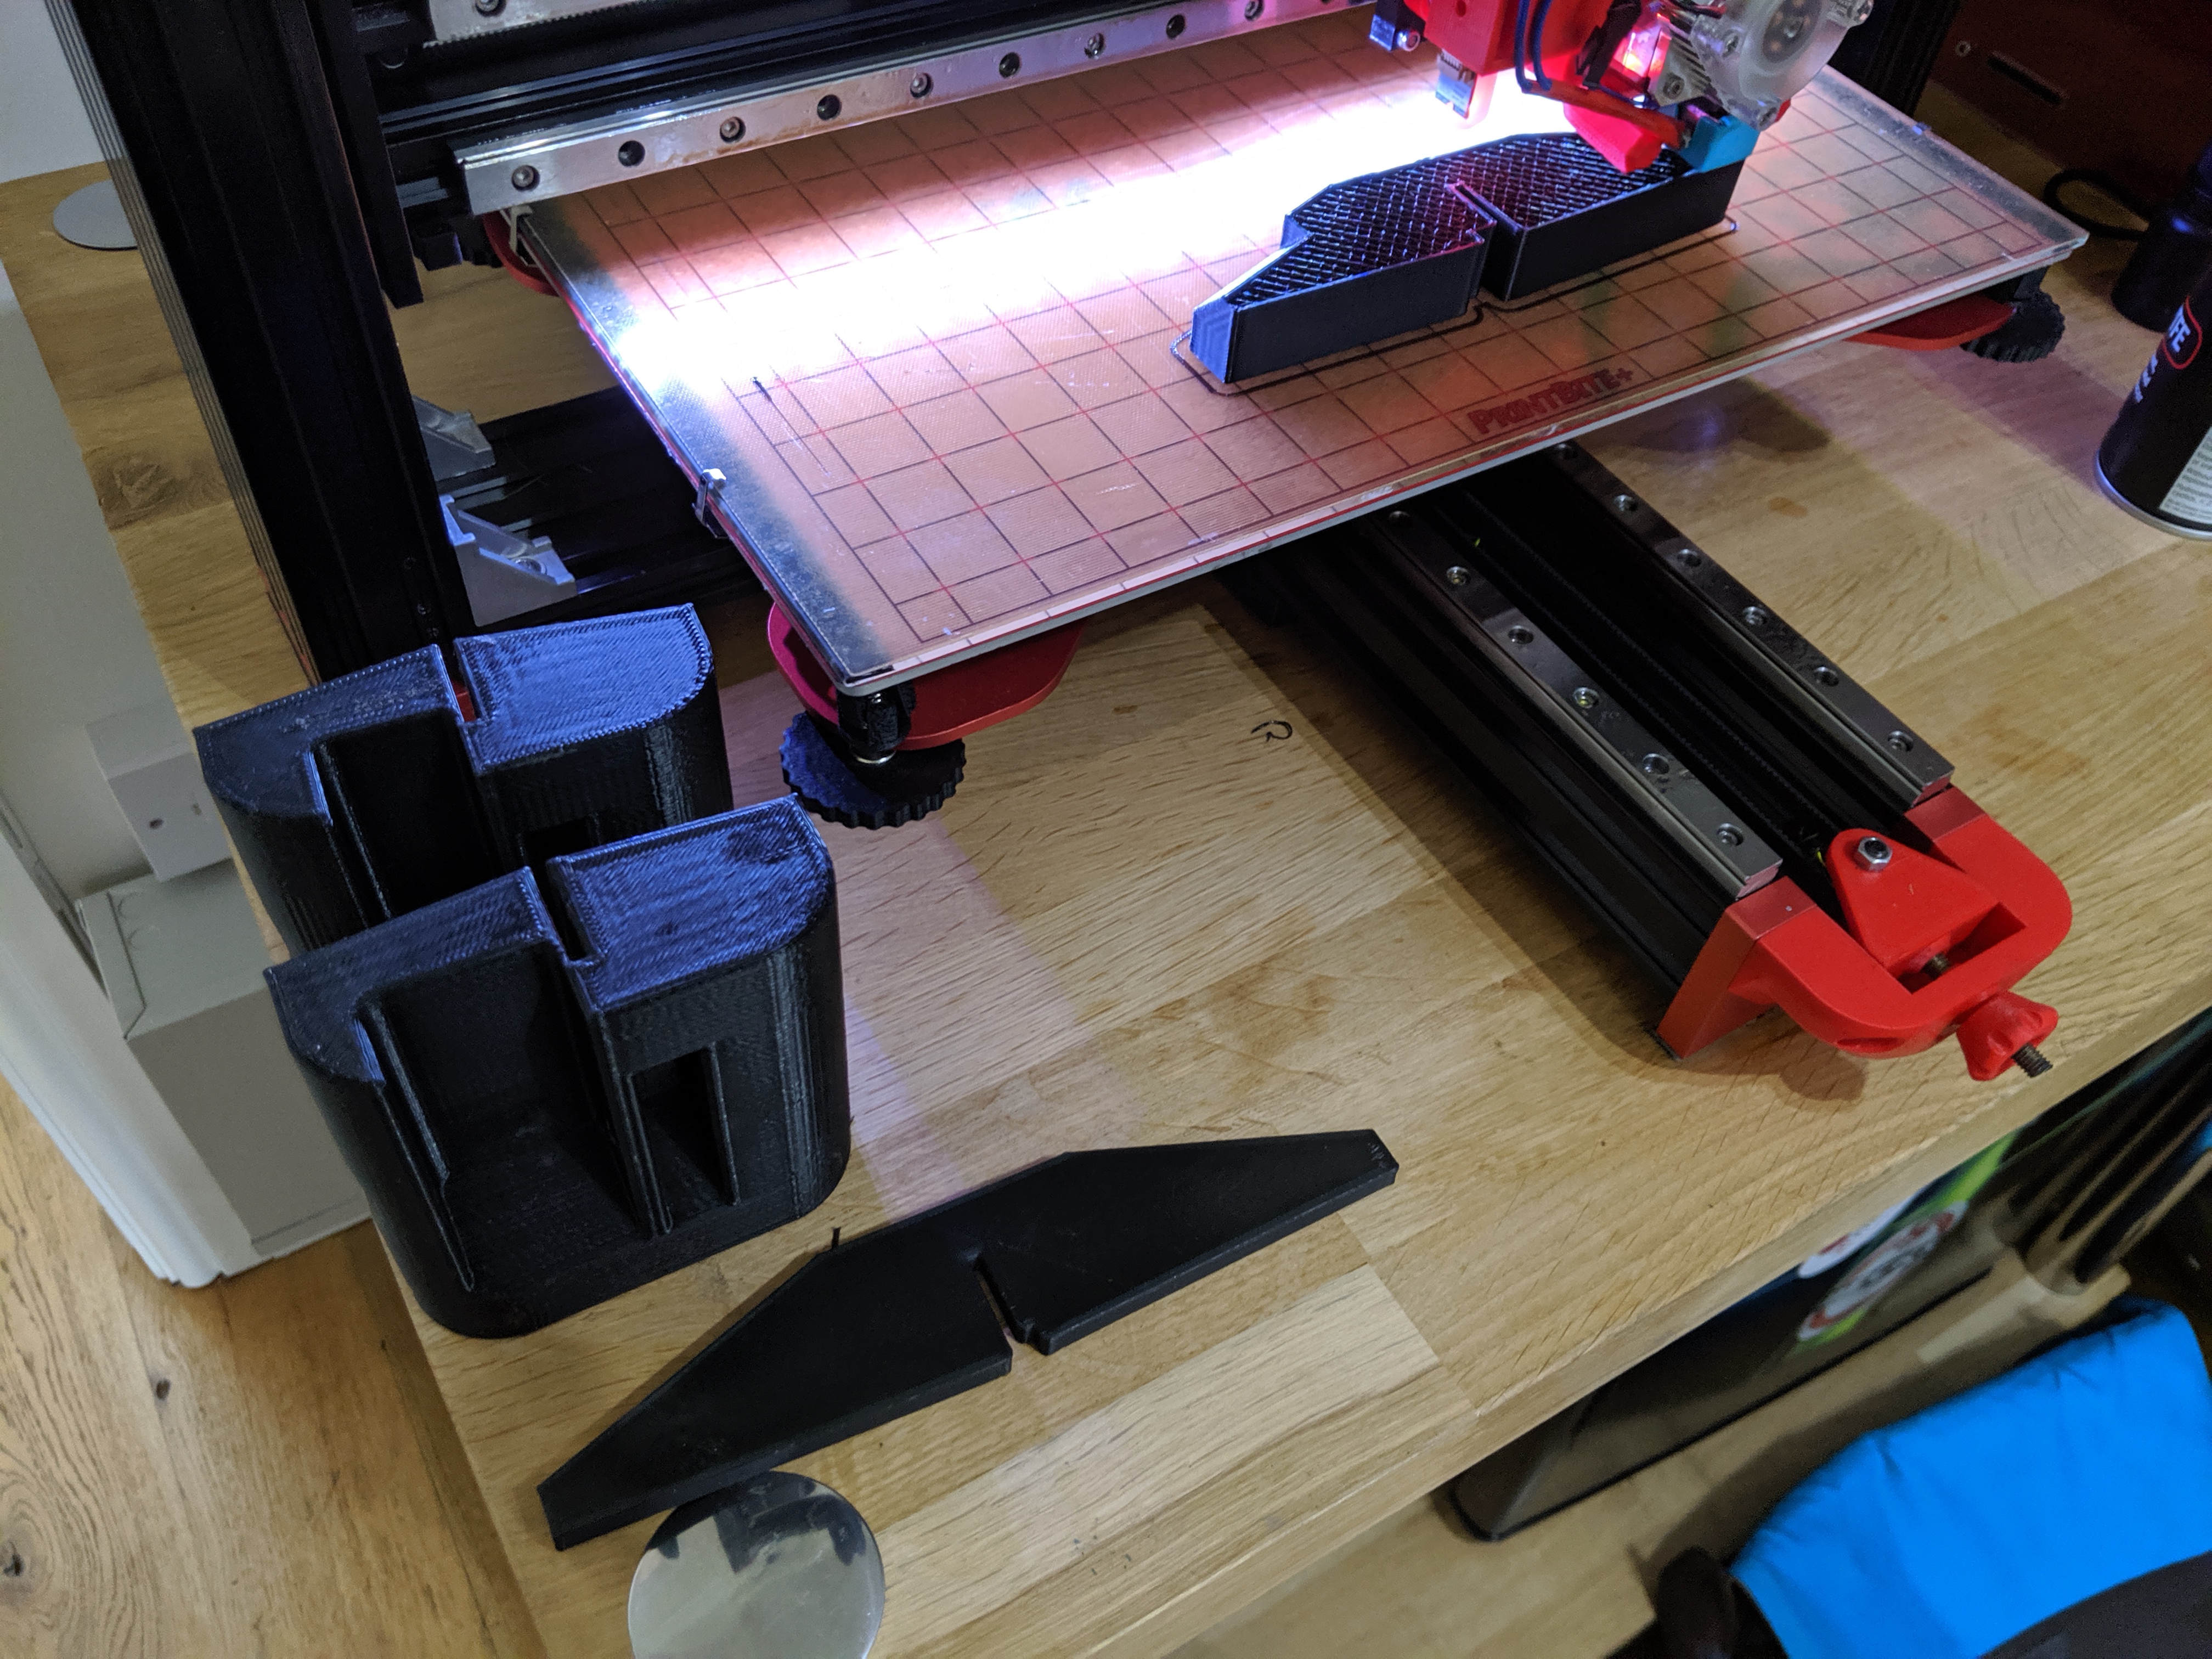
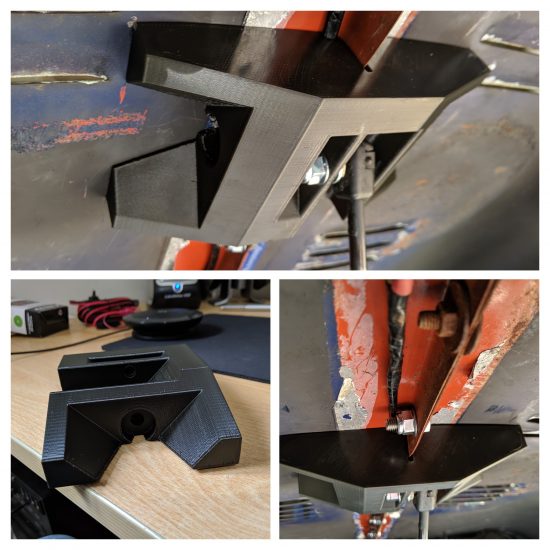
A few iterations in Fusion 360 and 3 test prints in PLA, I had a final design that met the profile of the bonnet, bolted through the flange, spread the load of the bonnet more evenly and provided a solid anchor point for the jack.
The final design is pretty cool. It spreads the load exactly as I wanted and prevents the centre of the bonnet where the filler is being pushed up. It has also added rigidity to the panel as a side effect.
Once the mount was installed all that was left to do was fill the resulting gap with a flexible filler that wont crack and fall out, sand it smooth(sh) and the re-apply the vinyl. What I learned from this experience is something I was already pretty cognizant of. I cannot do bodywork!!! I dont have the patience for it at all!
