For a while now I have been looking into alternative power solutions for the Alfa due to its power hungry nature that is not helped by the many auxiliary systems I have added over time.
For the most part, the stock battery can cope just fine, but I have always wondered about the use of capacitors and what real value they hold. In years gone by, the capacitors you could get hold of were simply not that useful. A 1 Farad 12v capacitor like you would use in an car audio installation was simply too expensive and had far too little power storage.
One reason I had been considering capacitors was not for power storage but for the side effect of cleaning up the overall noise introduced by the power system in the car. This would serve to improve the overall sound quality of the entire system as well as benefit all electrical systems with a cleaner supply. A good explanation and test is here:
https://youtu.be/T9mlvbF0flM
Capacitors have come on a long way though and the new generation of “Super” or “Ultra” Capacitors are starting to become a viable alternative to a battery in a car. Because of this, I thought it only sensible to buy some parts and see what it was all about 🙂
Here is a video of a car replacement battery using 6x 2.7v, 500F super capacitors to show you what I mean:
Obviously starting the car and providing long term, offline power for the systems when its not running are two different things, so if you seriously wanted to replace your traditional battery you would need a hybrid solution that combined batteries with capacitors.
I’ll be looking into that next 😉
Super capacitors come in a few common shapes and sizes but by far the cheapest for the power are the common 2.7v 500 farad units. To hit the target voltage I needed (12-14v) I needed a few wired in series to increase the overall voltage. Fortunately this is a common solution as its a typical voltage used in solar installations.
Wiring the capacitors in serial actually decreases the overall farads of the bank, so 6 x 2.7v = 16.2v but the farads are divided by 6 to give you 83.333F. You could add a number of additional banks in parallel to bring the farads back up, but it starts to get a bit big then and you would be better looking into a different style capacitor. such as the Maxwell Ultra 2.7V 3000F, 6 of which would deliver a 16.2v 500F pack !
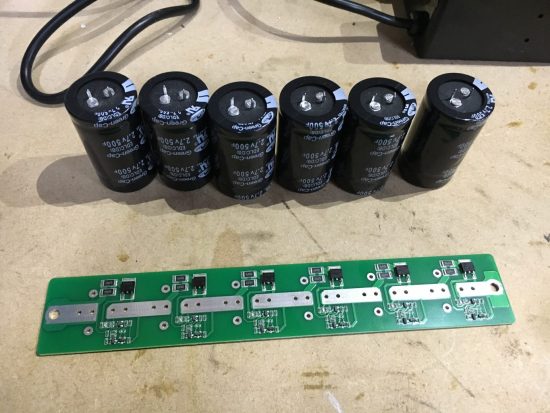
Also, a point of note is that even though the planned bank has a capacity of 16.2v it will only operate at the voltage its charged too, so if the car charges at 13.5v then the bank will be charged to 13.5v. Its also important to balance the load across a serialized bank of capacitors to prevent damage. Fortunately due to the commonality of the target bank design, a balance board was readily available:
The plan was to build a 12v 83 farad bank that would act as a power reserve for the bass amplifier in the boot as this would be a good starting point and bolster the overall power system on easily accessible, existing 4AWG wiring
I first bought a few common, cheap and easily accessible parts off ebay:
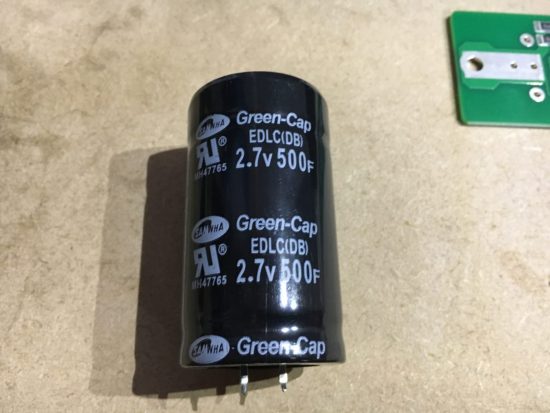
- 6 x Green-Cap (Black) Super Farad Capacitor Parallel Battery 2.7V 500F 35*60MM @ 26.99
- 6 String 2.7V Super Capacitor Protection Balancing Board 100F – 500F 240x40mm @ 8.75
- 10 rubber lined 35mm pipe clamps @ £7.29
- 8 AWG power cable with in line fuse holder and fuse @ 4.99
So for less than £50 I had everything I needed for the experiment. I could have bought a pre-made board with unknown capacitors on for about £26 but I have read a few things about the capacitors being junk so went for a known good brand and DIY.
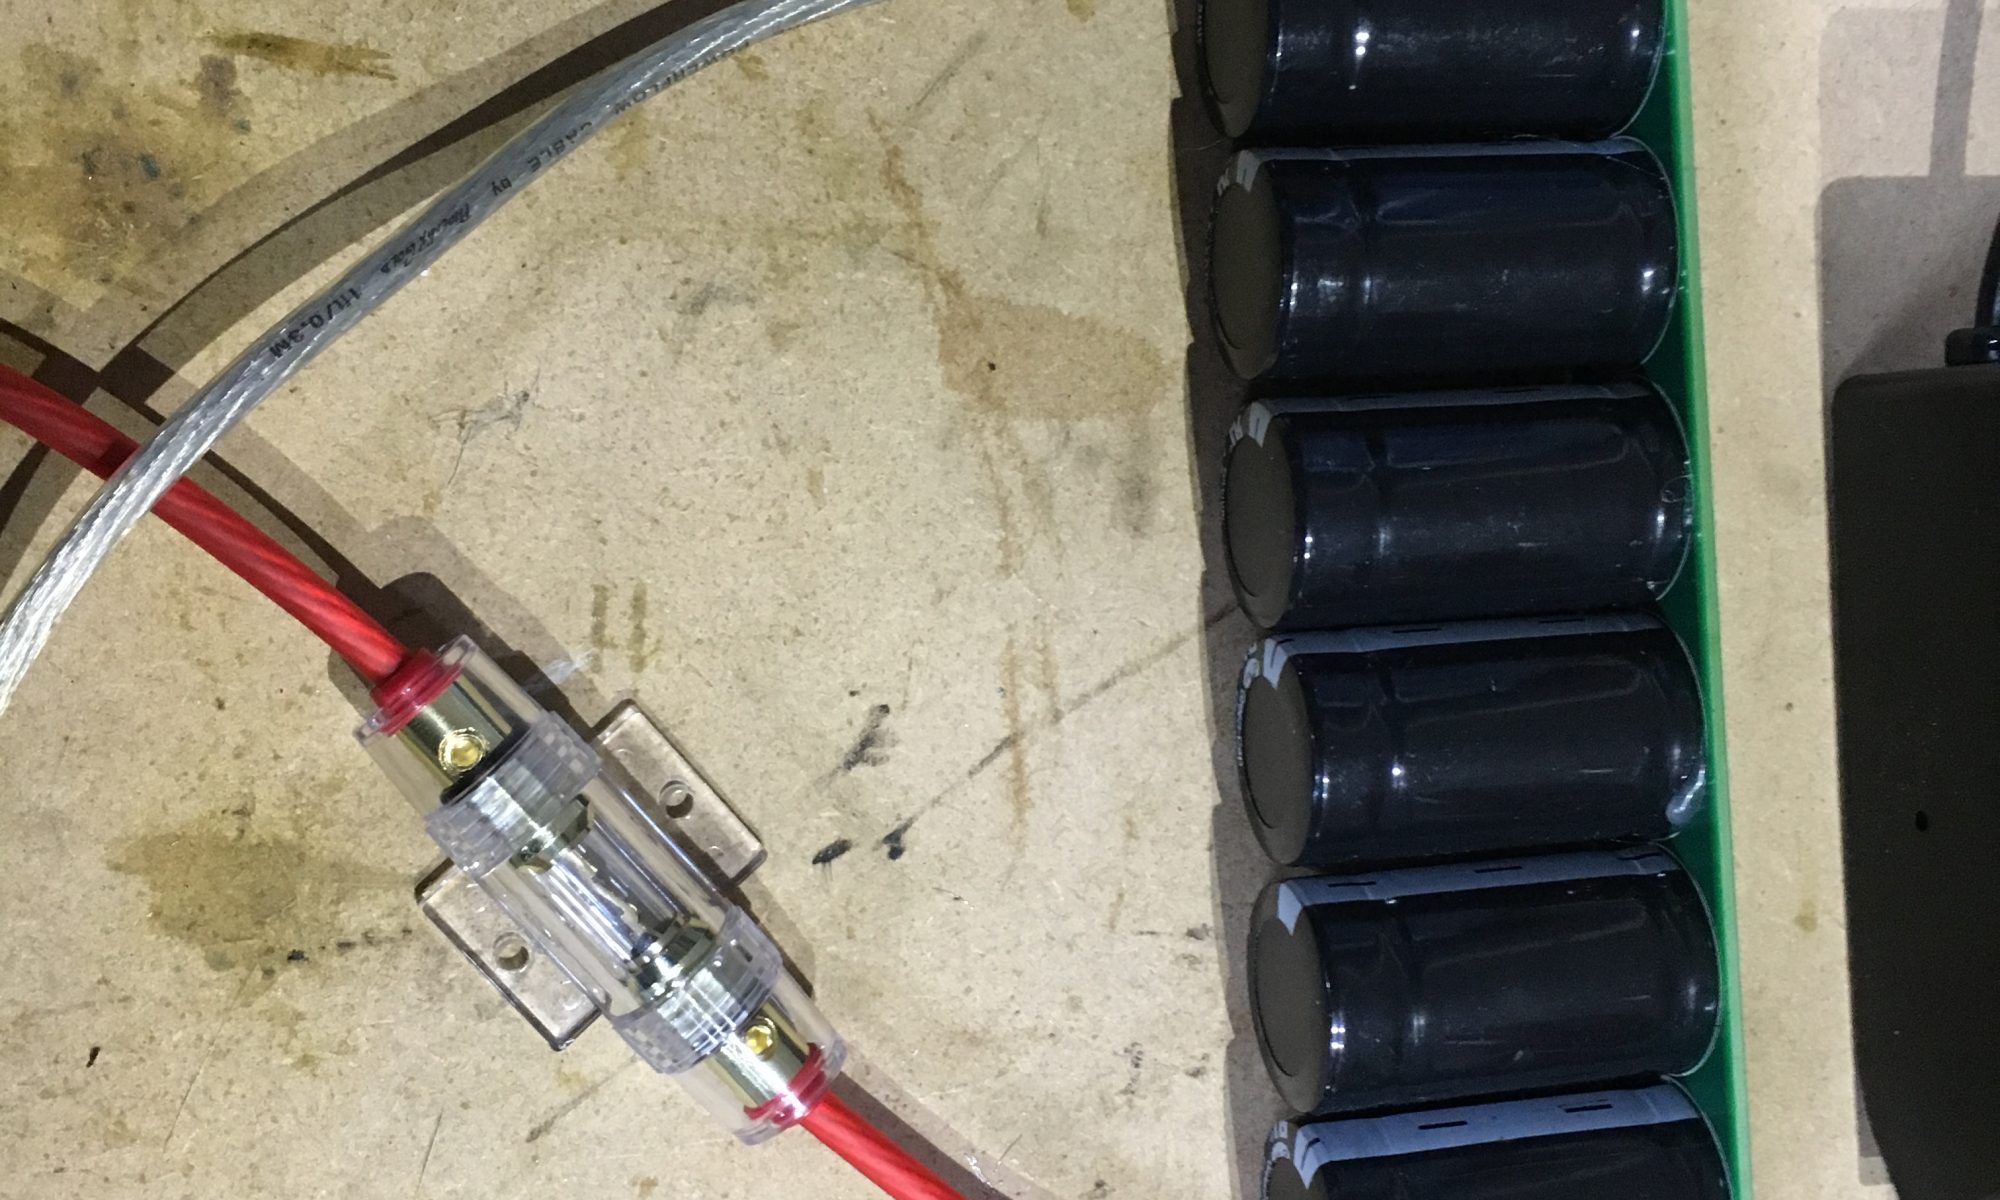
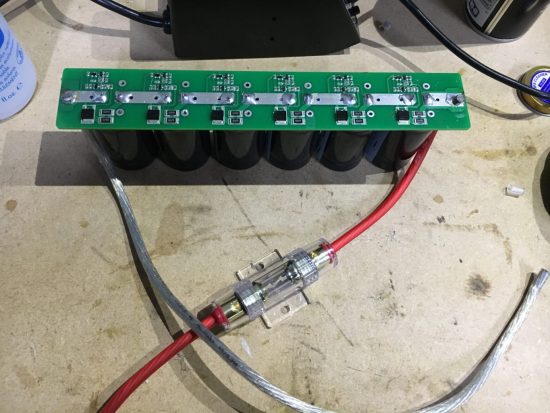
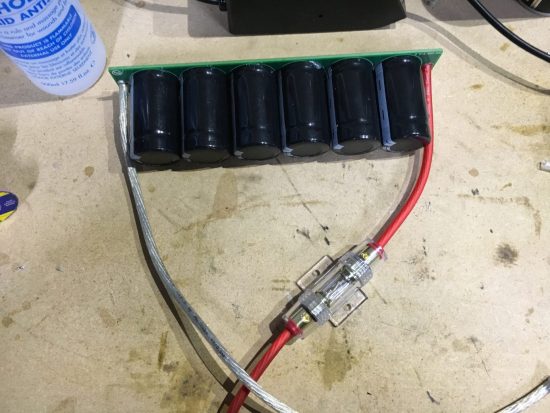
I first assembled the capacitor bank with the balance board to achieve the target solution. Hot gluing the capacitors to the board before soldering them to make sure the finished unit was as solid as possible. It took some real heat on the iron to get the solder flowing, especially soldering in the 8AWG wires.
I soldered the 8AWG cables directly to the board to ensure maximum power transfer:
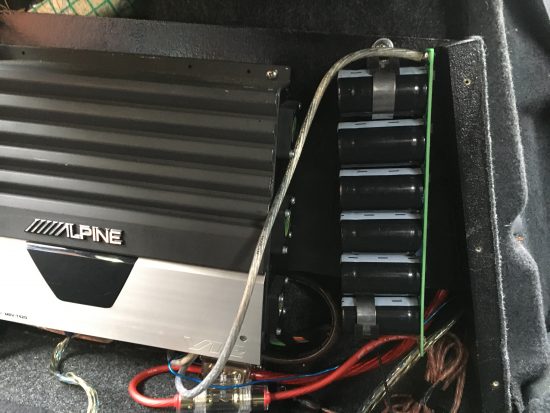
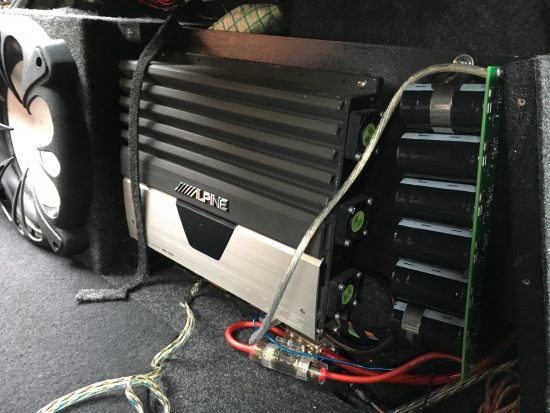
Once the bank was ready I used the pipe clamps to install the unit in a free space within the amp enclosure and connected it to the positive and negative 4AWG distribution blocks I already had in place from the original installation of the enclosure:
I must admit, I was extremely worried when I first connected the fuse that it would just explode in my face, so it was a tentative and careful moment! Some people recommend installing a resistor inline initially to slow charge the capacitors and protect the systems in between, but as I was on a 4AWG connection direct to the battery I was not worried about the charge / discharge issues.
They did make a fizzing sound for a few seconds when they took there initial charge but I was stood by with a fire extinguisher!
Once the fizzing stopped and nothing looked like it wasd going to explode I checked the units for discharge / earth shorts and also for temperature. As everything was ok, I decided to start the car and run the amp.
The car started quicker than normal so clearly the extra high current supply had already made an impact on the overall electrical system. Its actually possible to start and run an normal engine on a bank of capacitors like this and replace the battery with them as can be seen in one of the videos at the top of the page. Although for the Alfa, I would need a larger bank with more capacity as the 2.4 is a bit of a power hungry beast!
I ran a Bass test loop to get the amp hot and push the sub to its limits for 30 minutes. The amp got very hot as expected but the capacitors only got a little warm which is great as if they got very hot that would be a problem.
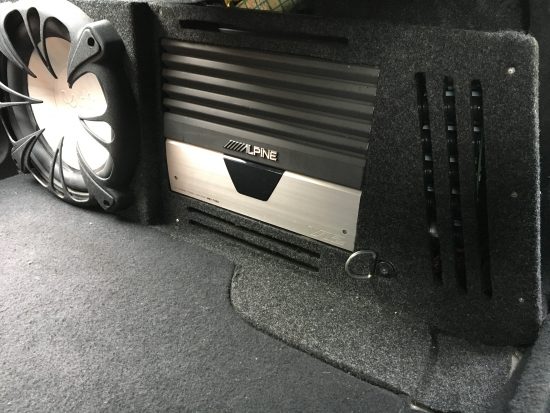
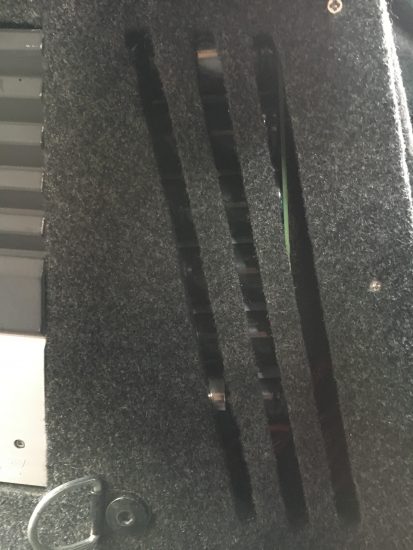
Once it was all back together you could hardly notice the upgrade unless you looked very closely at the vent holes!
All in all this was a great upgrade and I am definitely going to explore more super capacitors in the engine bay in some sort of hybrid battery/capacitor solution next!


