

Introduction
The typical approach to splitting a headlight that is sealed is to simply heat the headlight in an oven (temperatures vary) until the glue that is used to seal it weakens enough to be pried apart.
The Lucas headlights fitted by default the the Alfa Romeo 159/Brera/Spider are glued together with a glue that has a very high melting point. This seems to be compounded by age, i.e the older a set of headlights is and the longer they have been on the car, the less likely the glue is to melt. So far all attempts to split a headlight removed from a vehicle has resulted in the plastic of the headlight melting before the glue!
For this reason, you are strongly urged to buy a set of new headlights to work on as these use a different glue compound and/or the compound has not hardened to the point it cannot be weakened.
Additional References
Before attempting this I suggest you do some research on YouTube into splitting headlights. There are plenty of videos on the subject so become acquainted with the basic approaches and techniques etc before you set about you brand new headlights.
Here are some links to useful videos:
- https://www.youtube.com/watch?v=anN0vYBj6Uo
- https://www.youtube.com/watch?v=QxekiB2Q1os
- https://www.youtube.com/watch?v=M3Rd5lCajBw#aid=P-n7eTW5DWc
- https://www.youtube.com/watch?v=e9bkMqIwF0Q
- https://www.youtube.com/watch?v=SUO9WfcFZb8
- https://www.youtube.com/watch?v=KR6CrzH6n_g
The process
The process of splitting the headlight is quite simple. Heat up the unit, pry it apart, remove old glue material.
Step 1 – Headlight Prep
First off you need to take off some of the excess parts that are on the headlights.
- Start by removing the Access caps from the rear of the headlight (the things you twist to get access to the bulbs) and also the small rubber tubes that acts as ventilation / drains. {Figure 1}
- Now flip the unit over and remove the 6 Torx screws from the face plate. You will need a Torx T-20 bit for this task. {Figure 2}
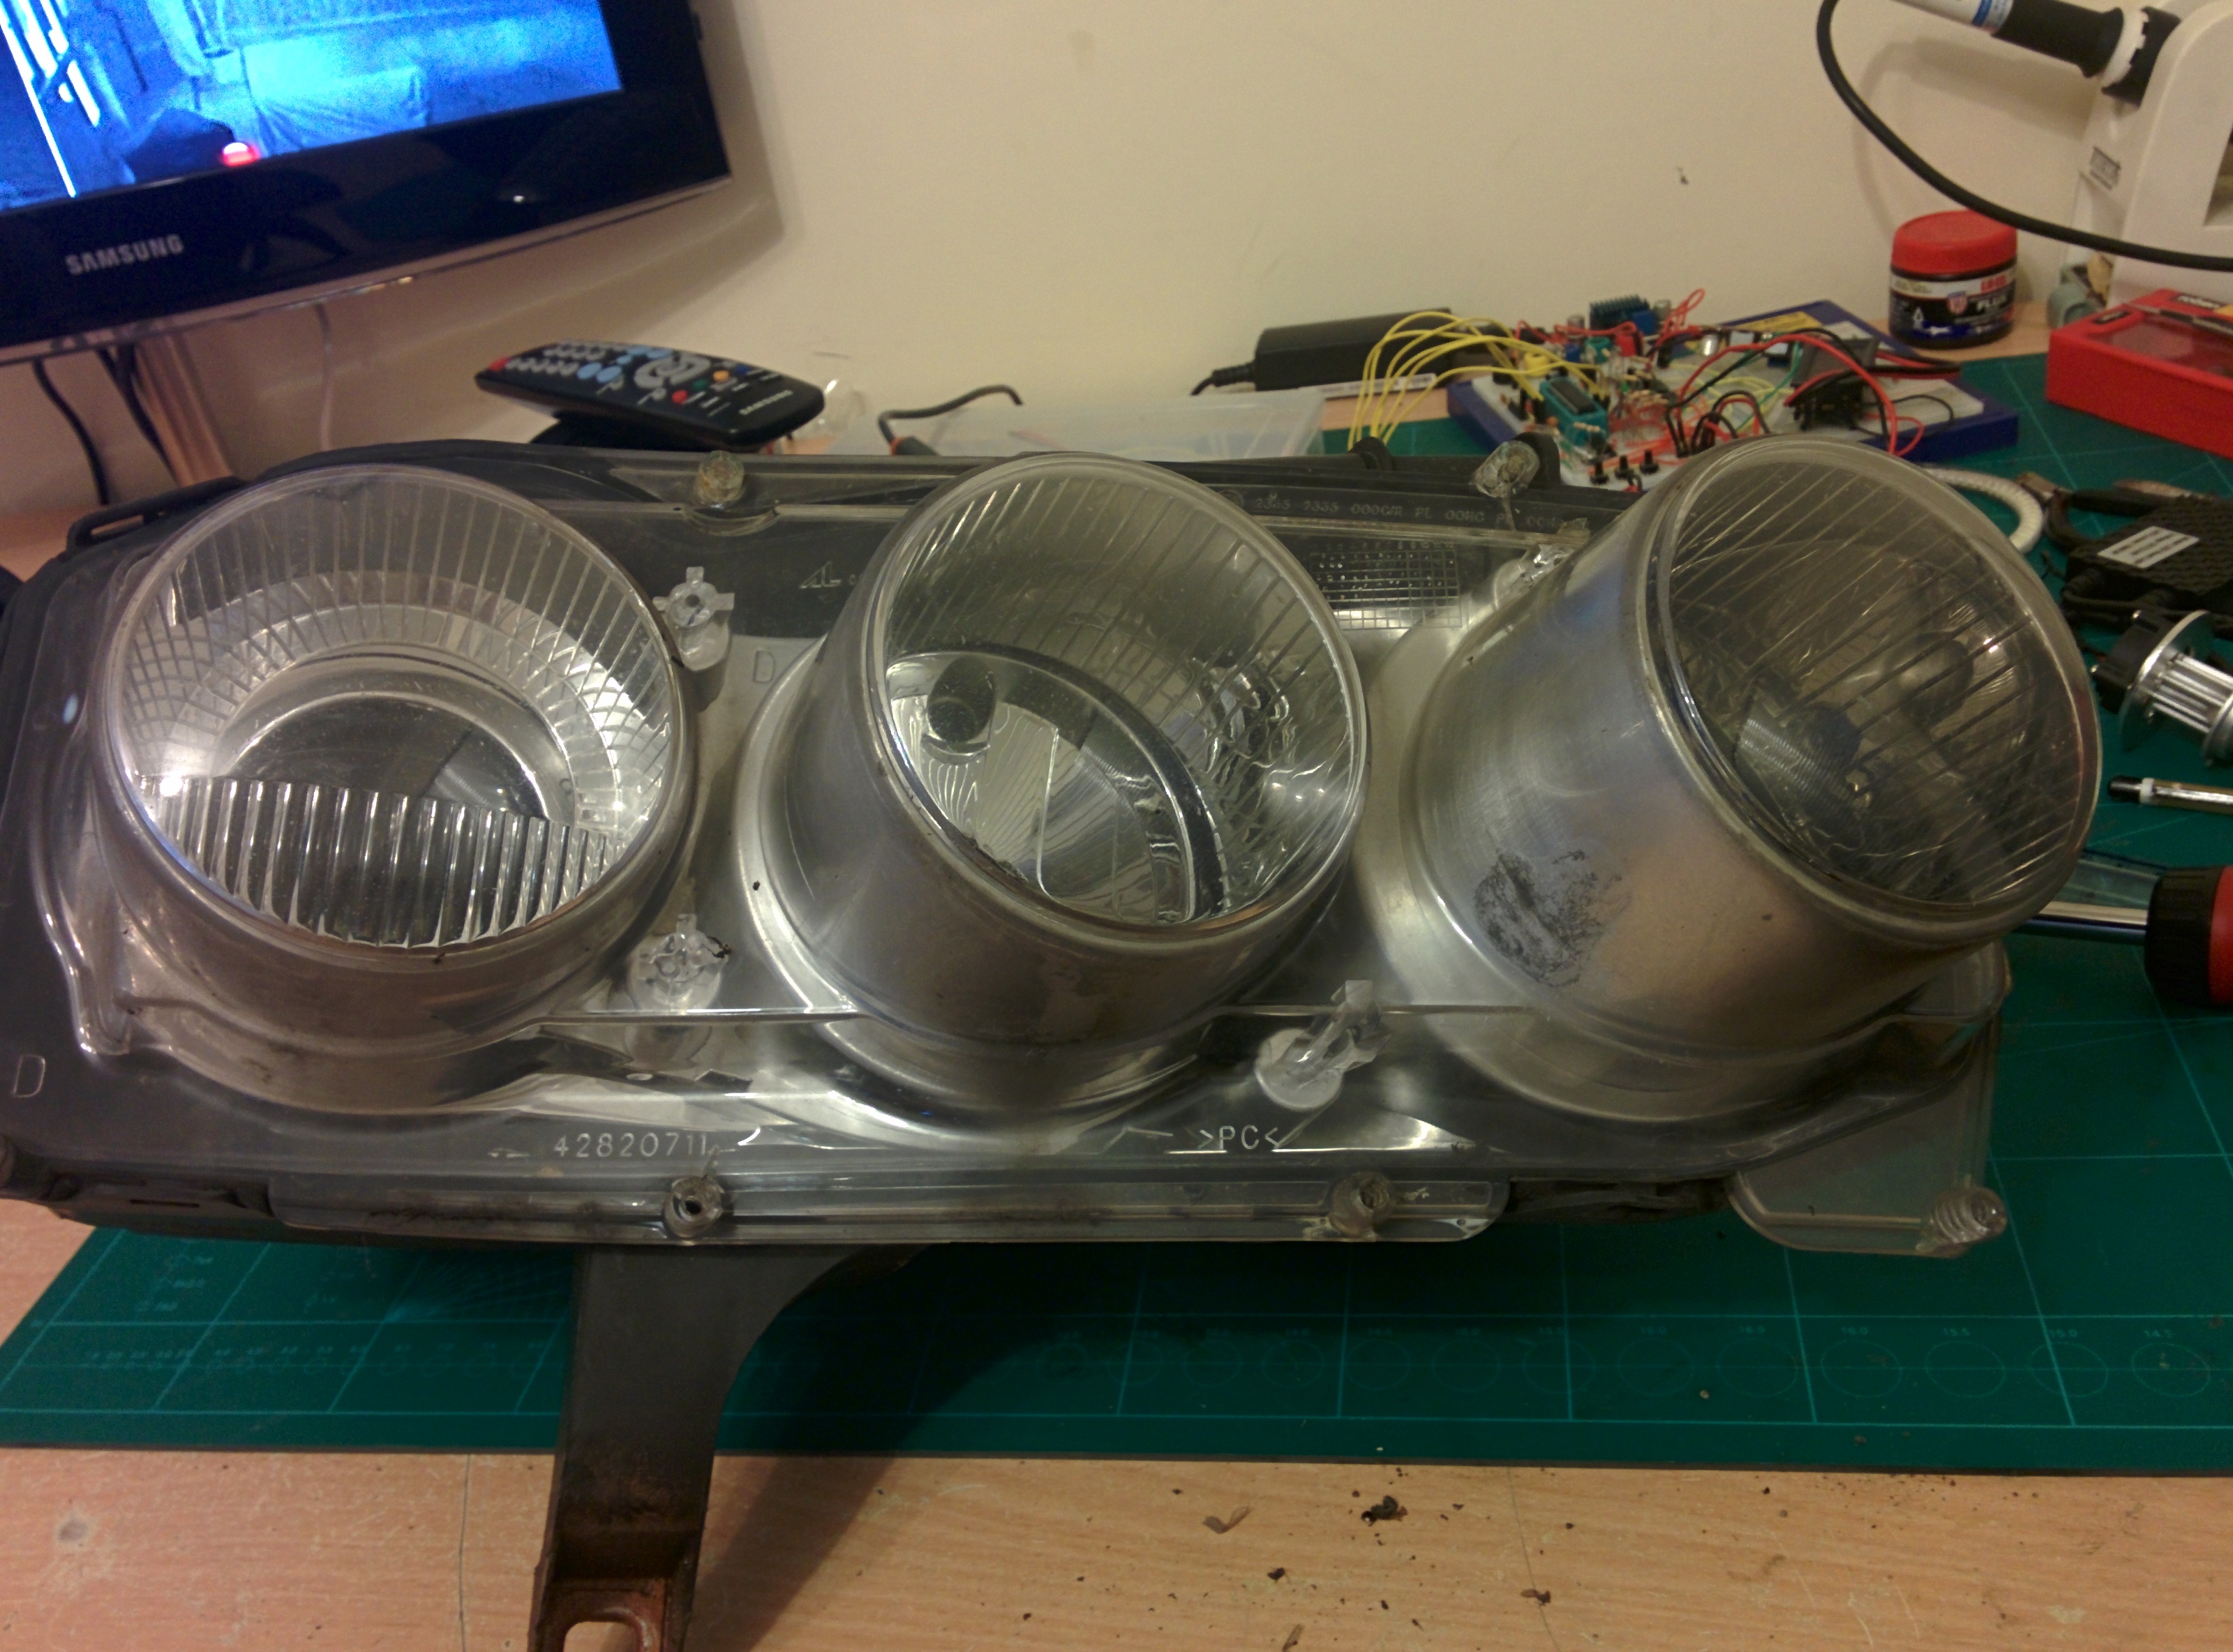
- Once the screws are removed, simply lift off the black plastic cover (Figure3) and then lift off each of the three chrome covers (Figure 3) to reveal the entire lens unit (Figure 4).
Figure 1
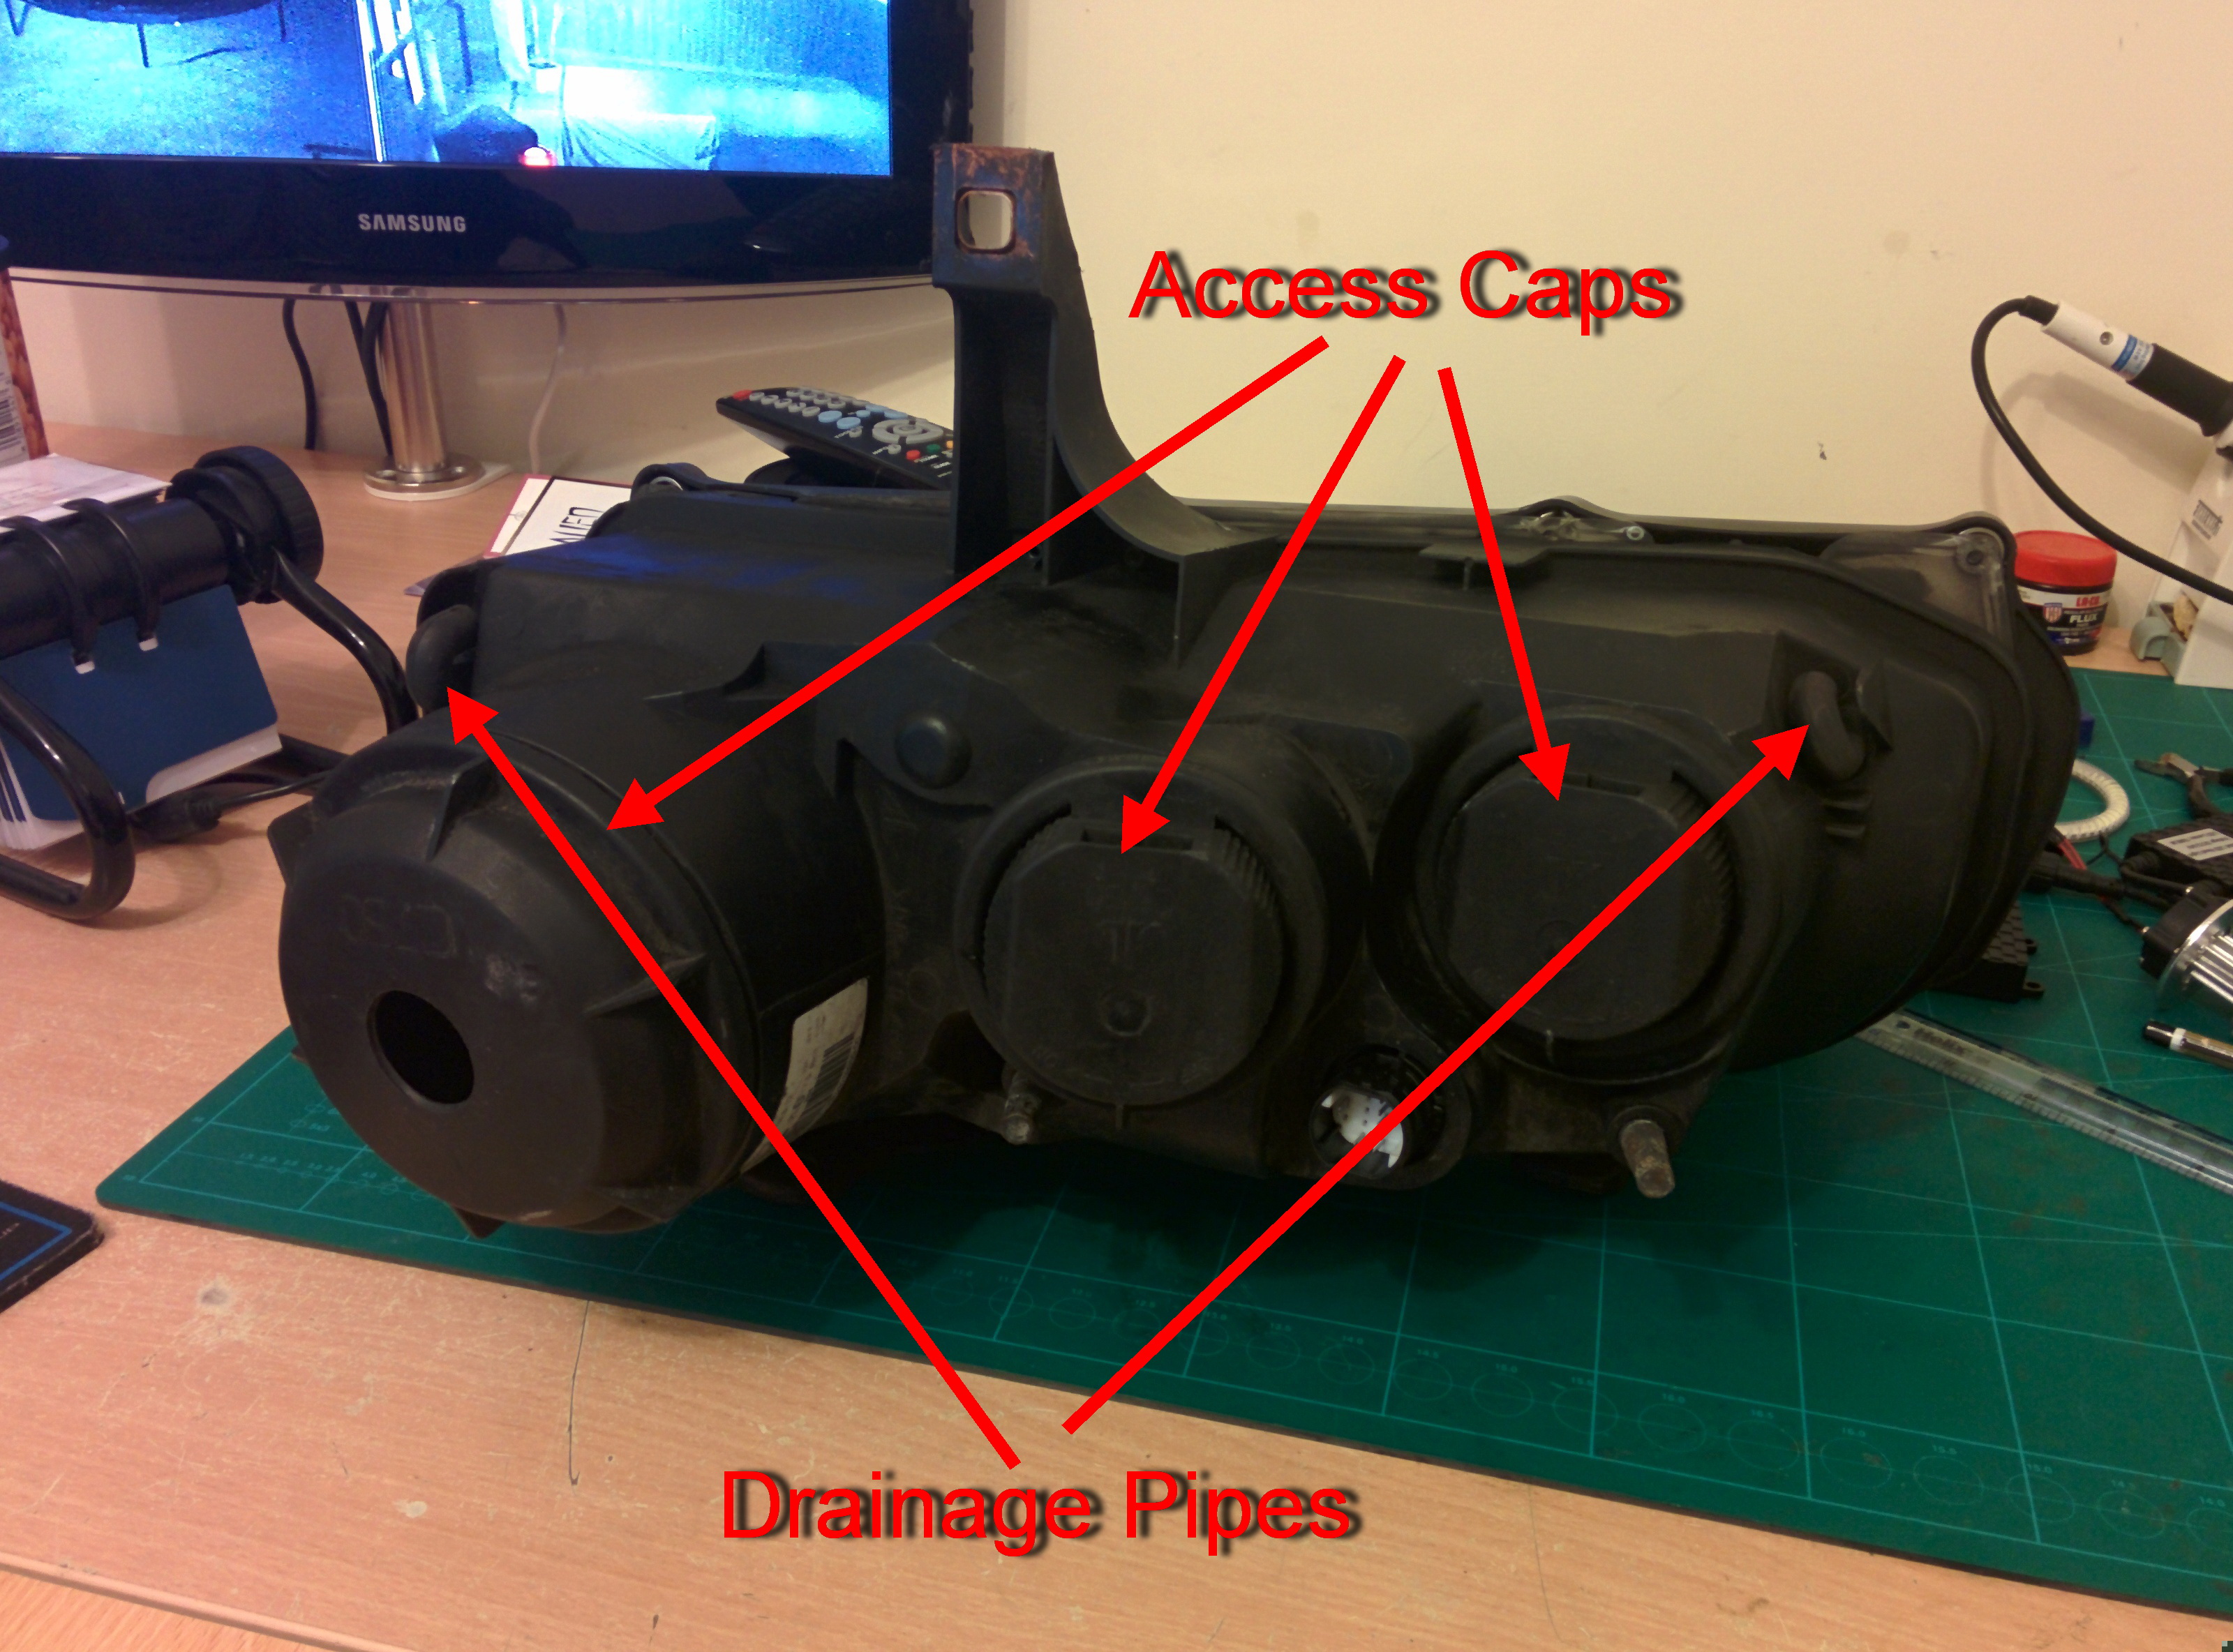
Figure 2
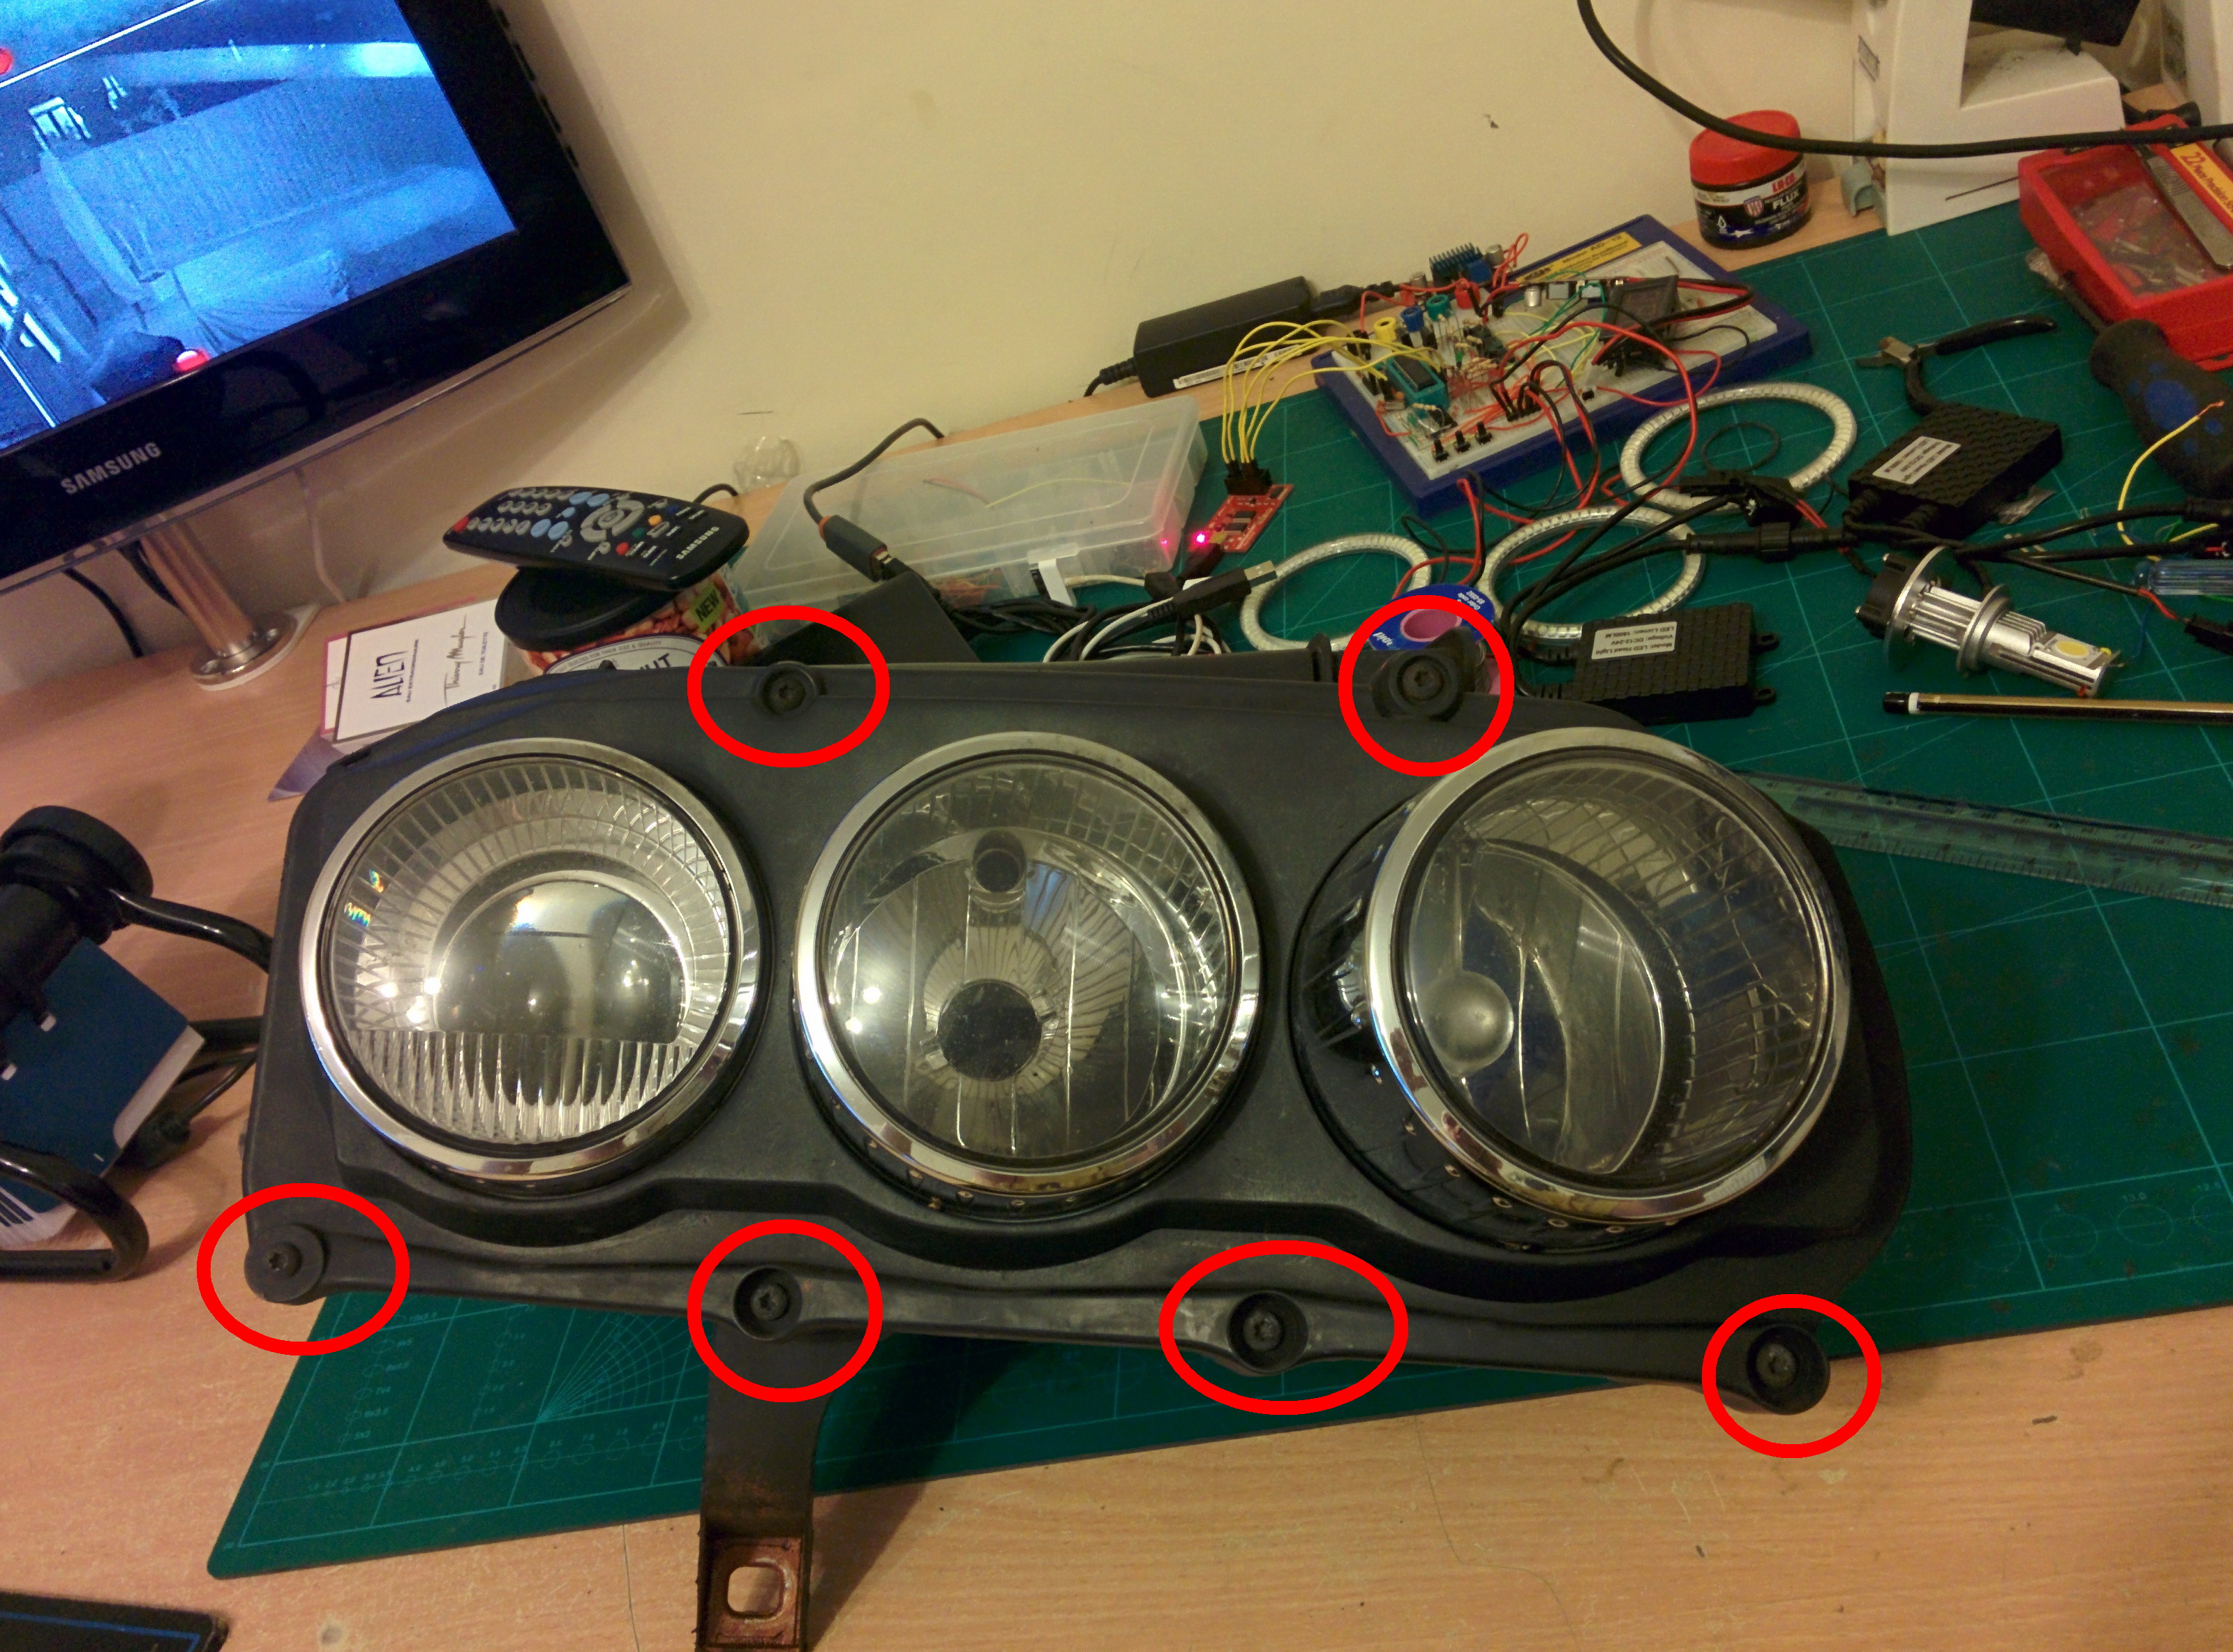
Figure 3

Figure 4
Step 2 – Get Cooking!
No really, get cooking!
This stage is the most critical and most likely to end up in tears, so be very careful!
- Ensure that your better/other half is not around, find a baking tray and place onto it the headlight.
- Turn the oven on and set the temperature to 155-175 Degrees Celsius. Its best to err on the side of caution here.
- Place headlight in the oven for 5-10 minutes
- Remove headlight and attempt to pull apart to see if there is any movement yet
- Repeat until the glue has become plyable
If the oven is too hot, or the headlight is in too long, it will melt or distort the perspex lens on the front which may result in the headlight being no good and having to be thrown away. Take your time, get it right.
An Alternative approach is to use a hot air gun or Blow torch to focus the heat directly onto the area where the glue sits in the channel (Figure 5). This solution is potentially better as it reduces the likelihood of the rest of the headlight being damaged by the heat of the oven, however I have no experience of the effectiveness of the technique on the 159/Brera/Spider headlights
Figure 5
Step 3 – Prise & Pry
As it sounds! Using a combination of tools (bojo bars, picks, screwdrivers, glass removers etc) and good old fashioned brute force, apply as much pressure as you can to break the glue seal while the headlight is warm. Once the seal is broken the unit will easily come apart.
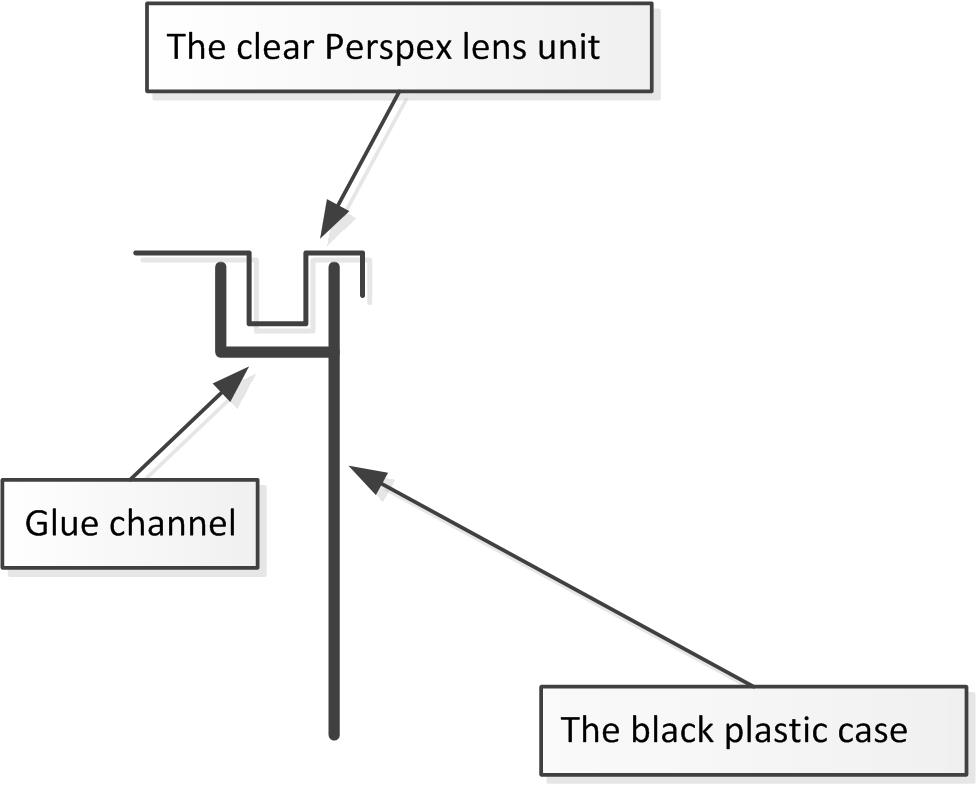
The unit splits along the edge where the clear perspex lens section mates to the rear black plastic housing. The lens section sits in a small trough which is full of glue and protected from direct access by a cunningly designed lip on the lens. See pictures. Also, the lens is held at 4 major clip points, two one top and two underneath. These clips are easy to pry away and bend very well. Its the glue that actually holds the unit together! Images below:
Figure 6
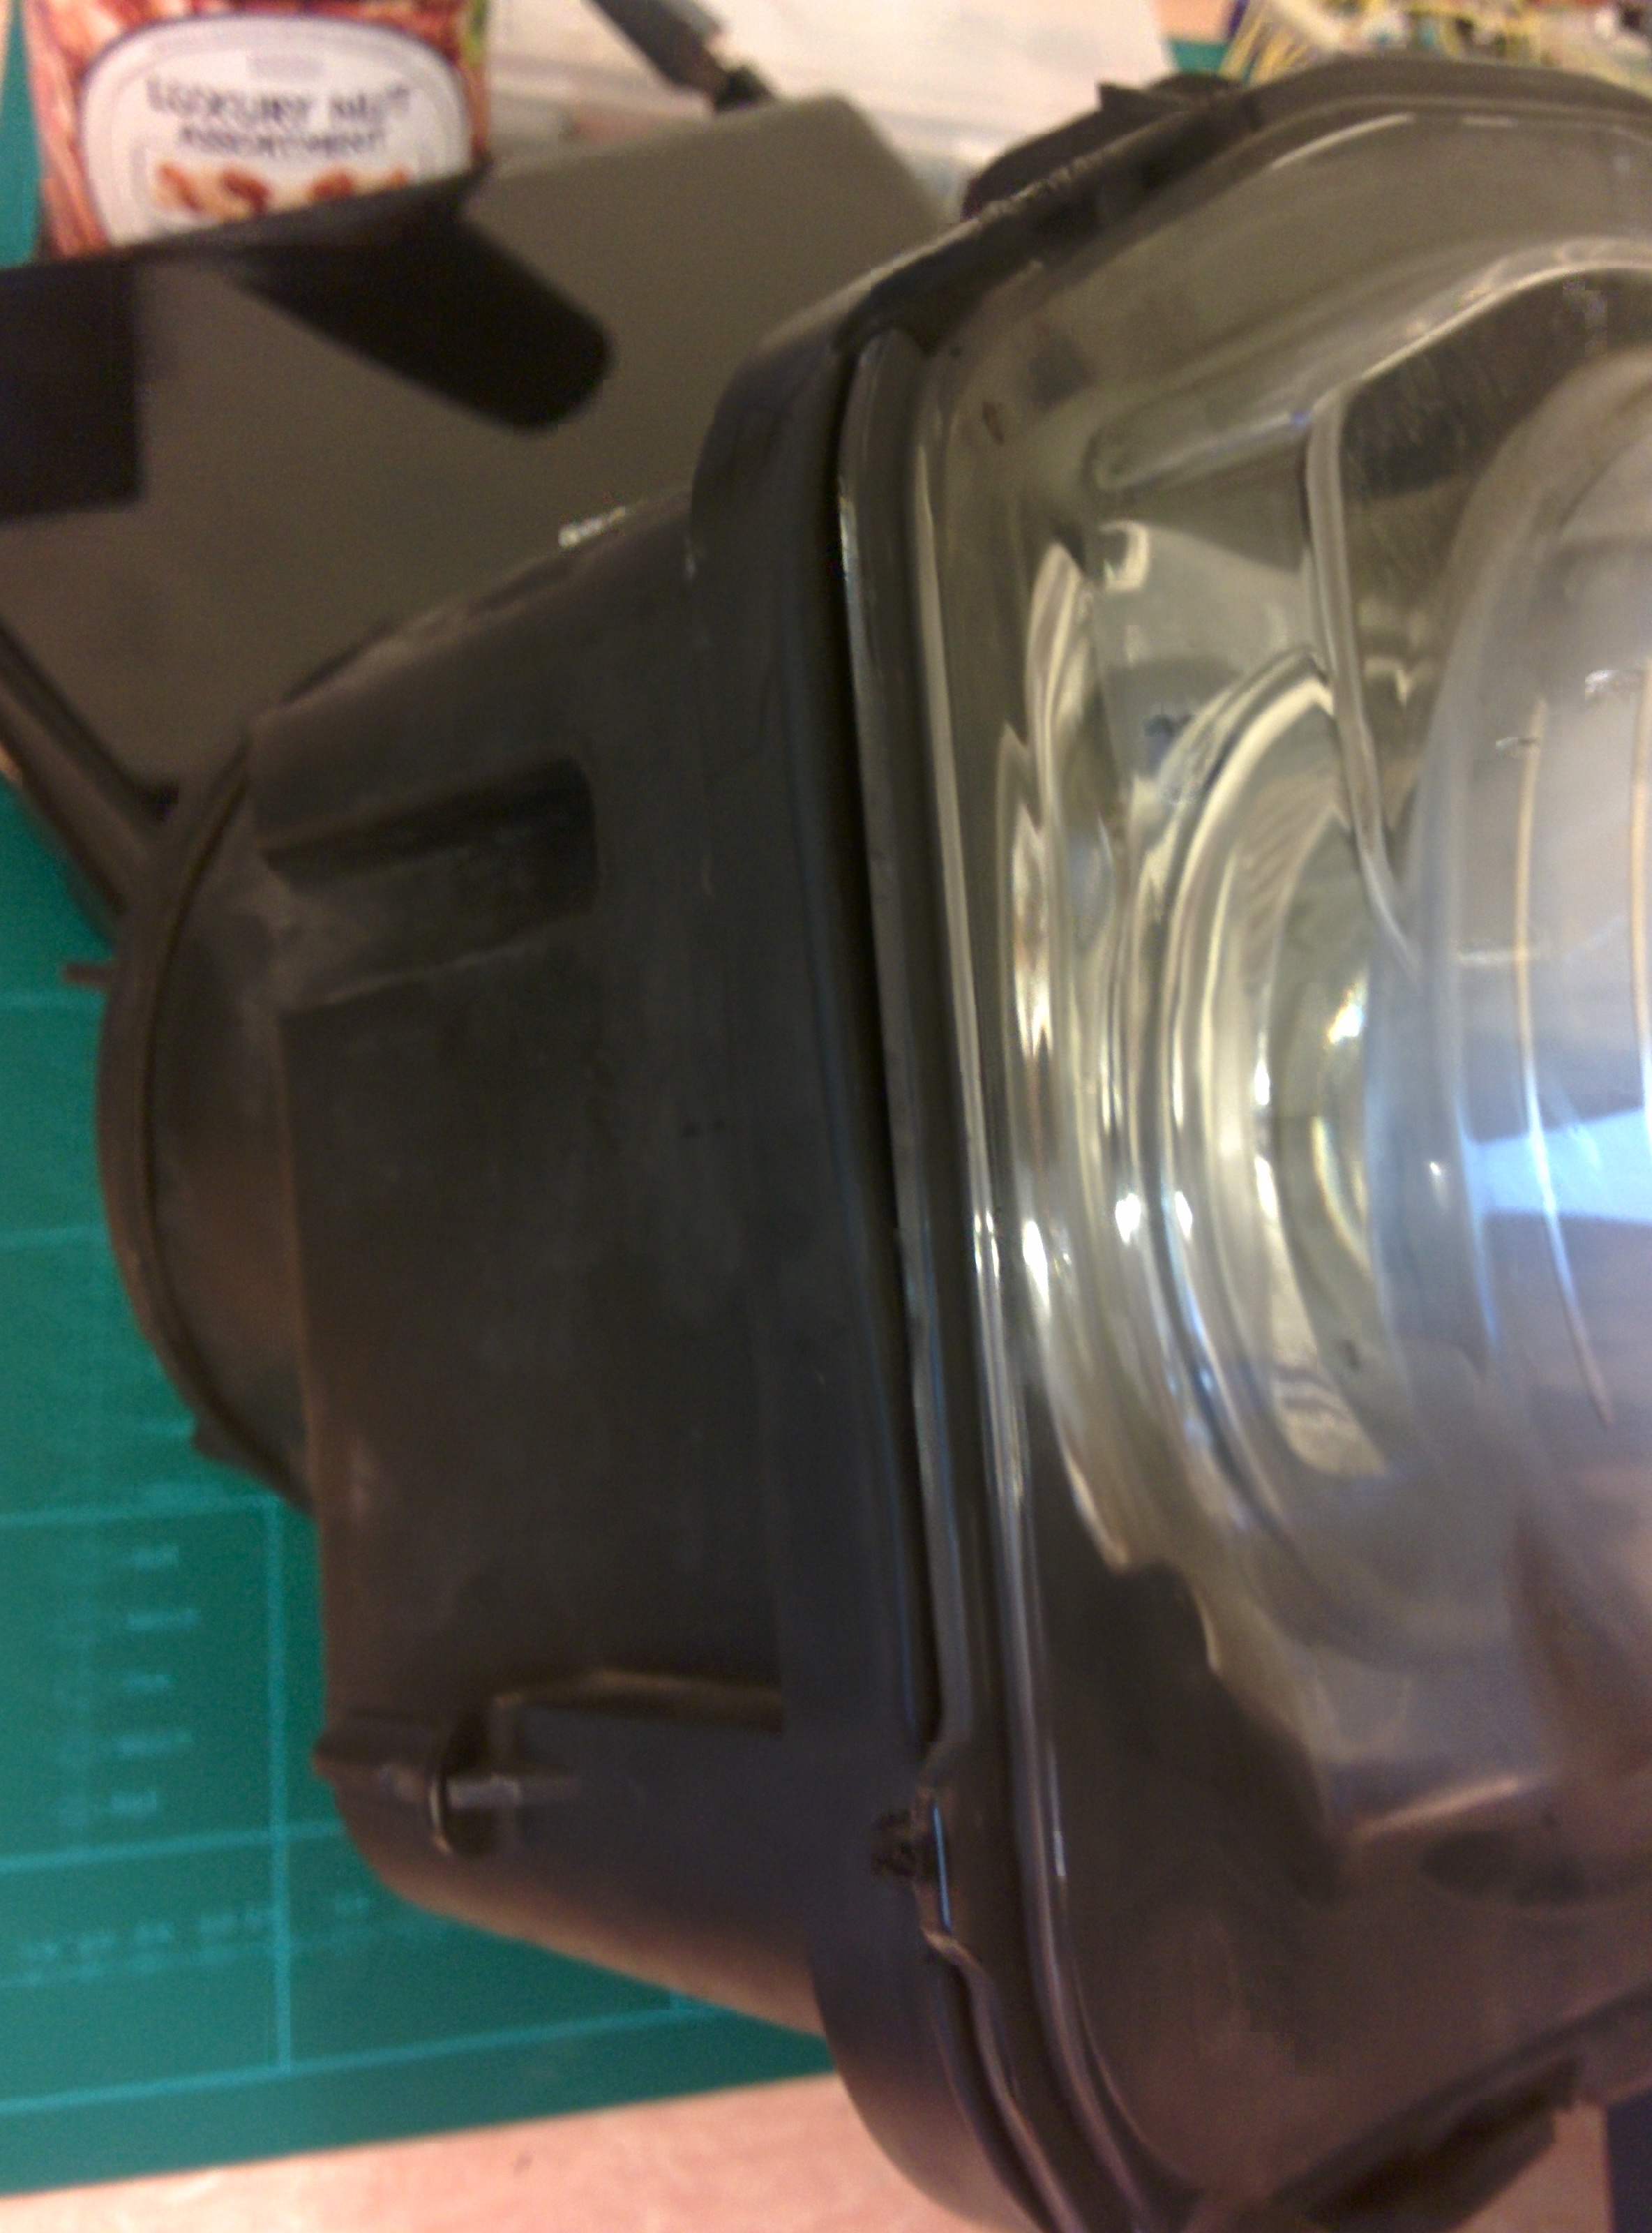
Figure 7
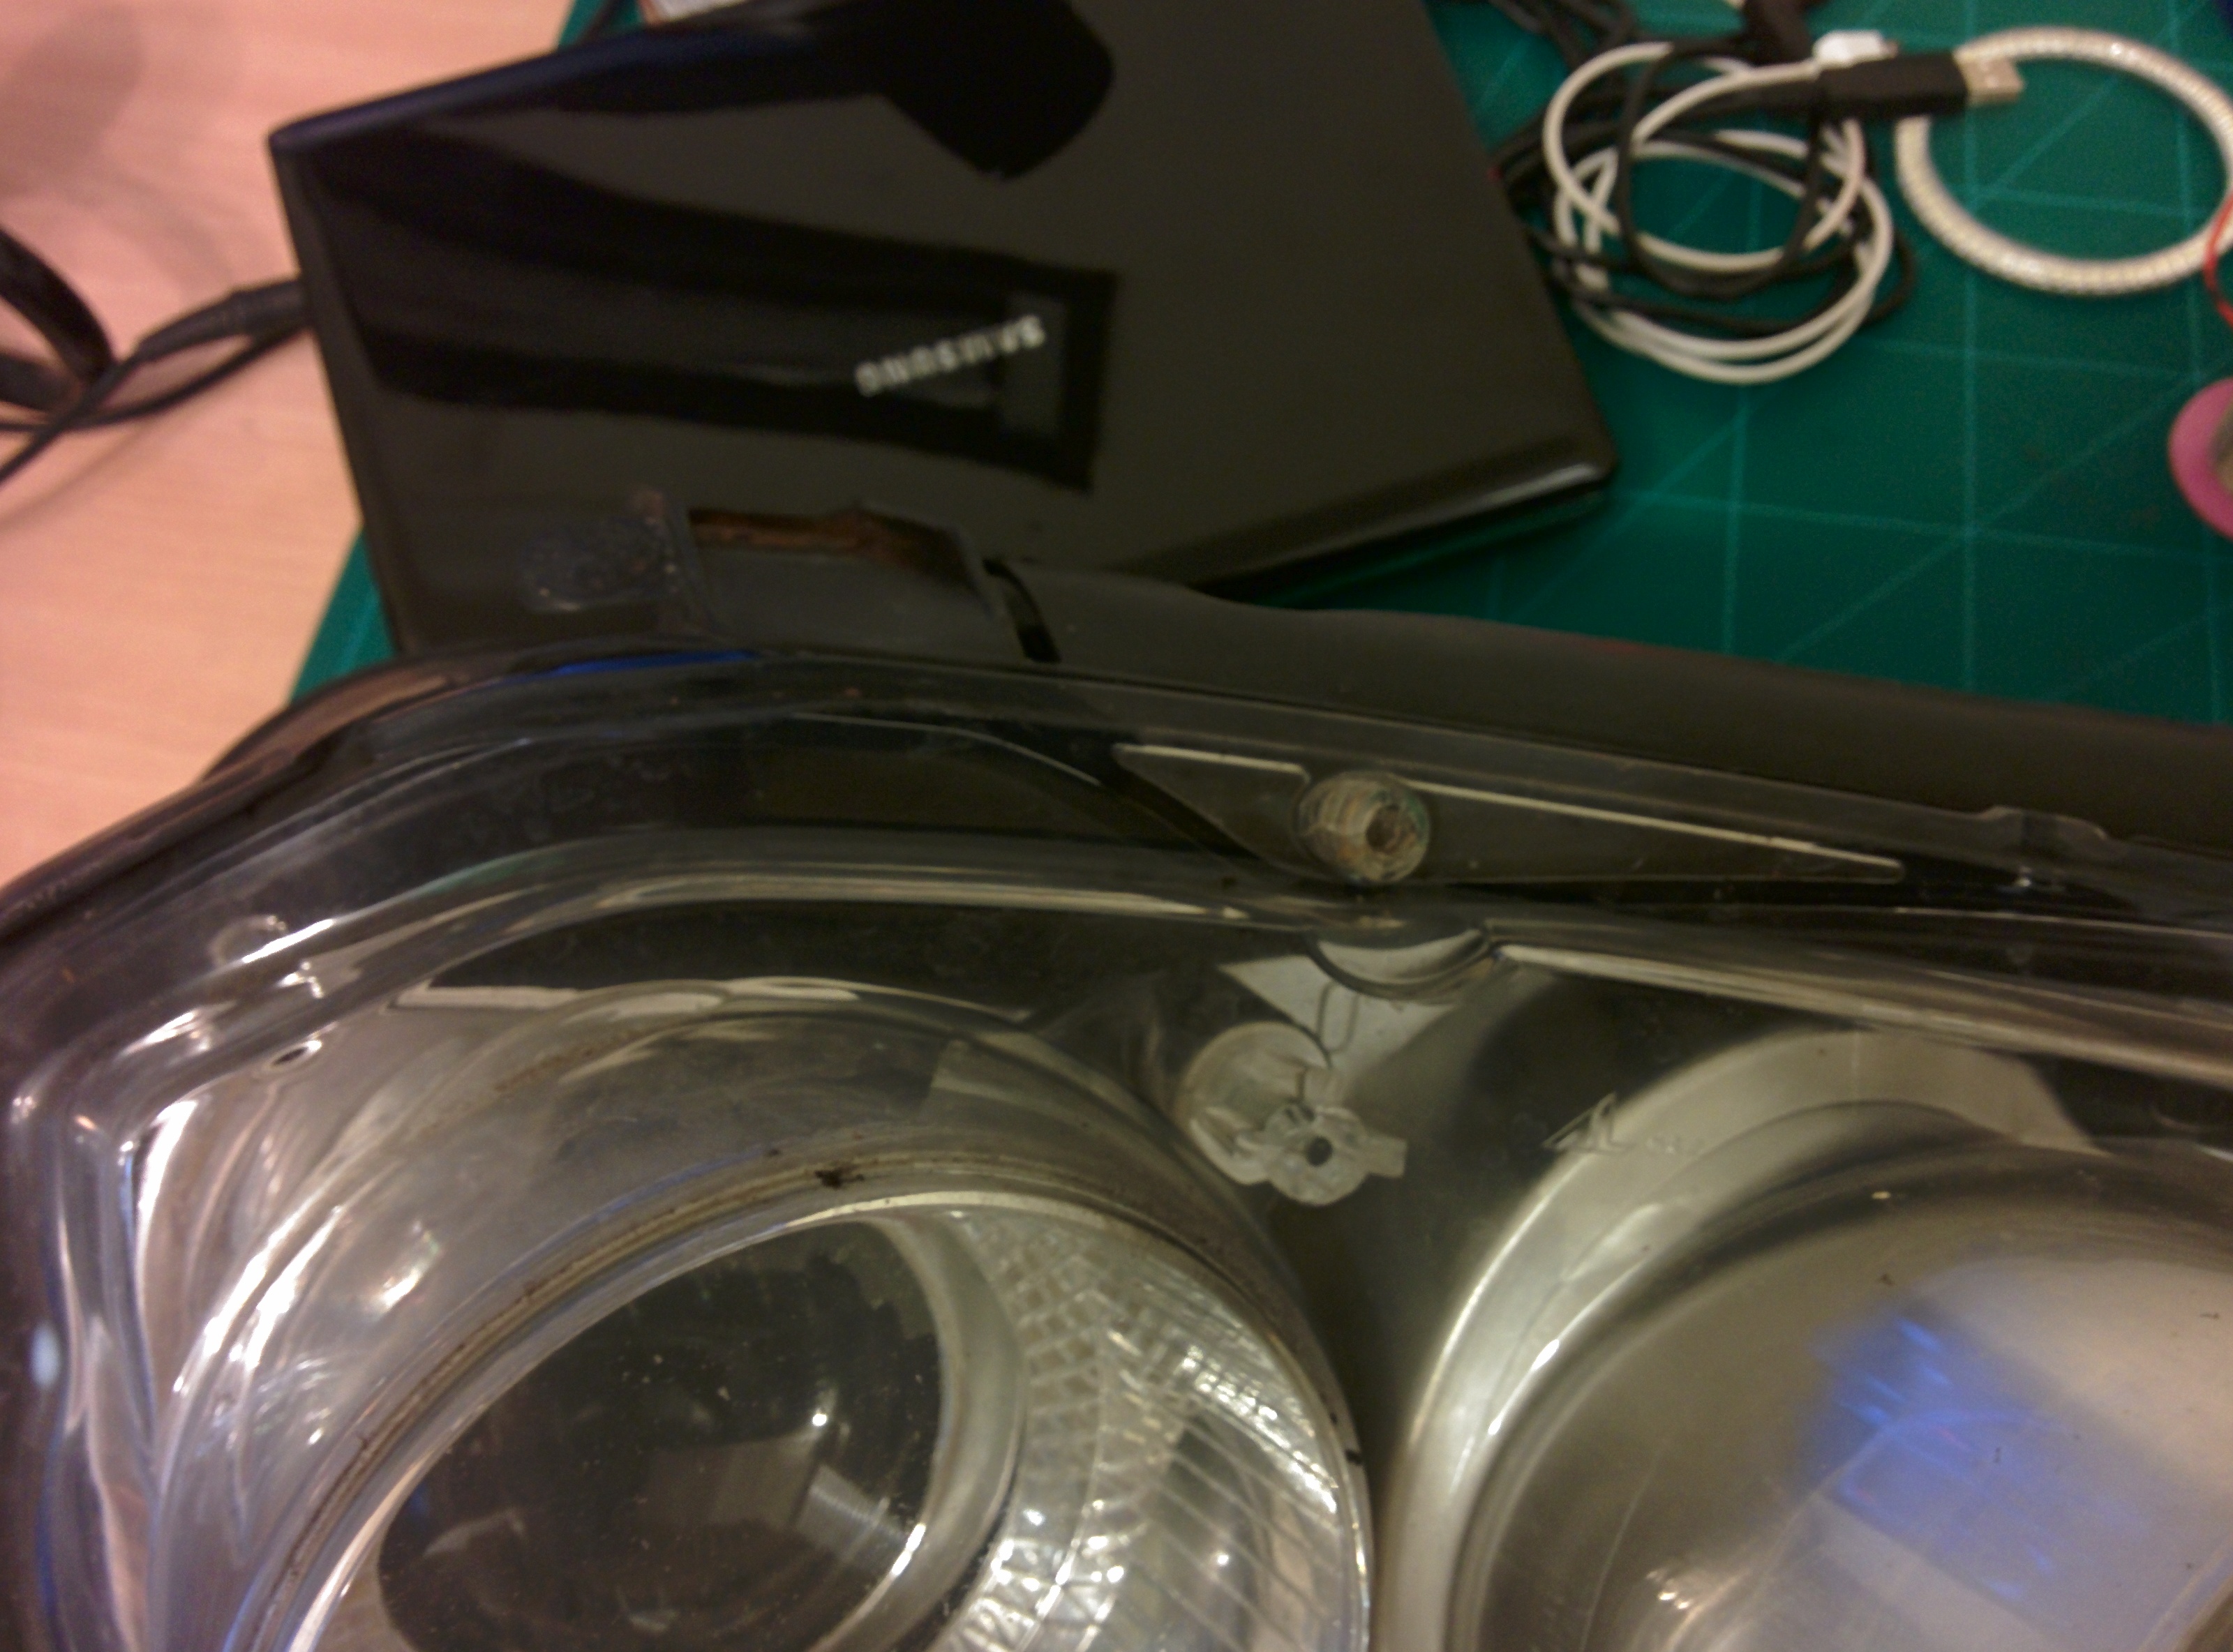
Figure 8
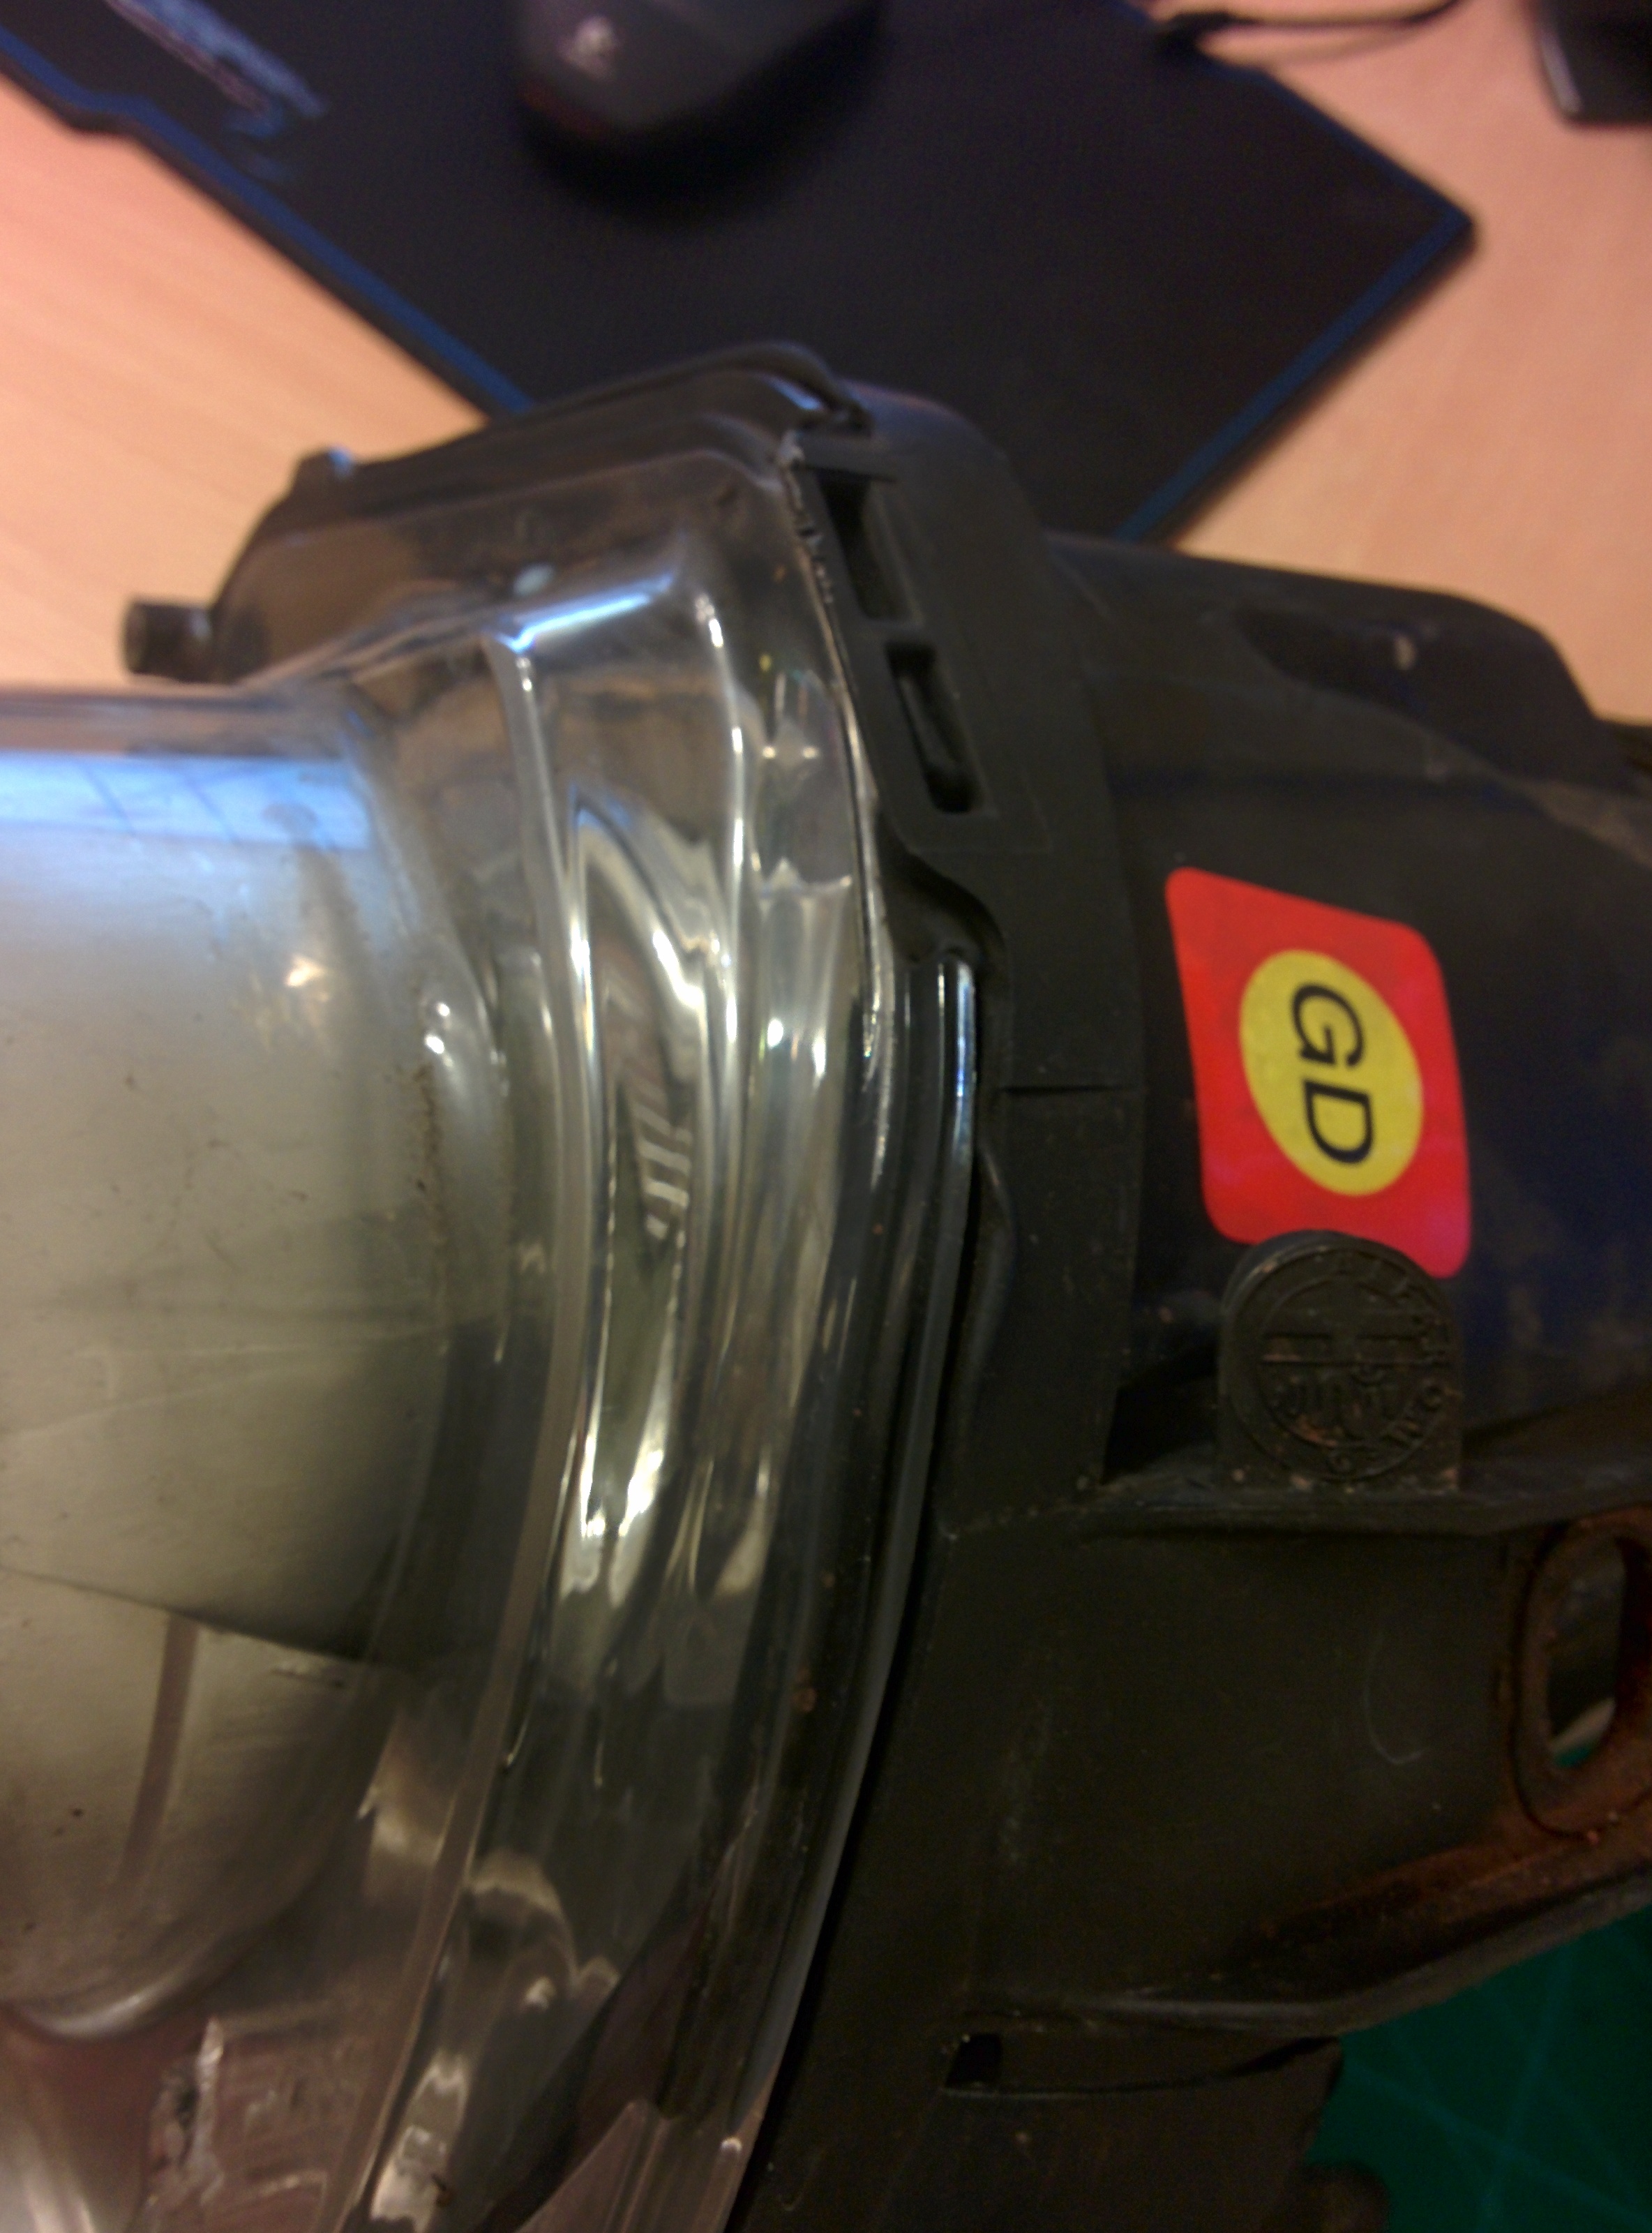
Figure 9
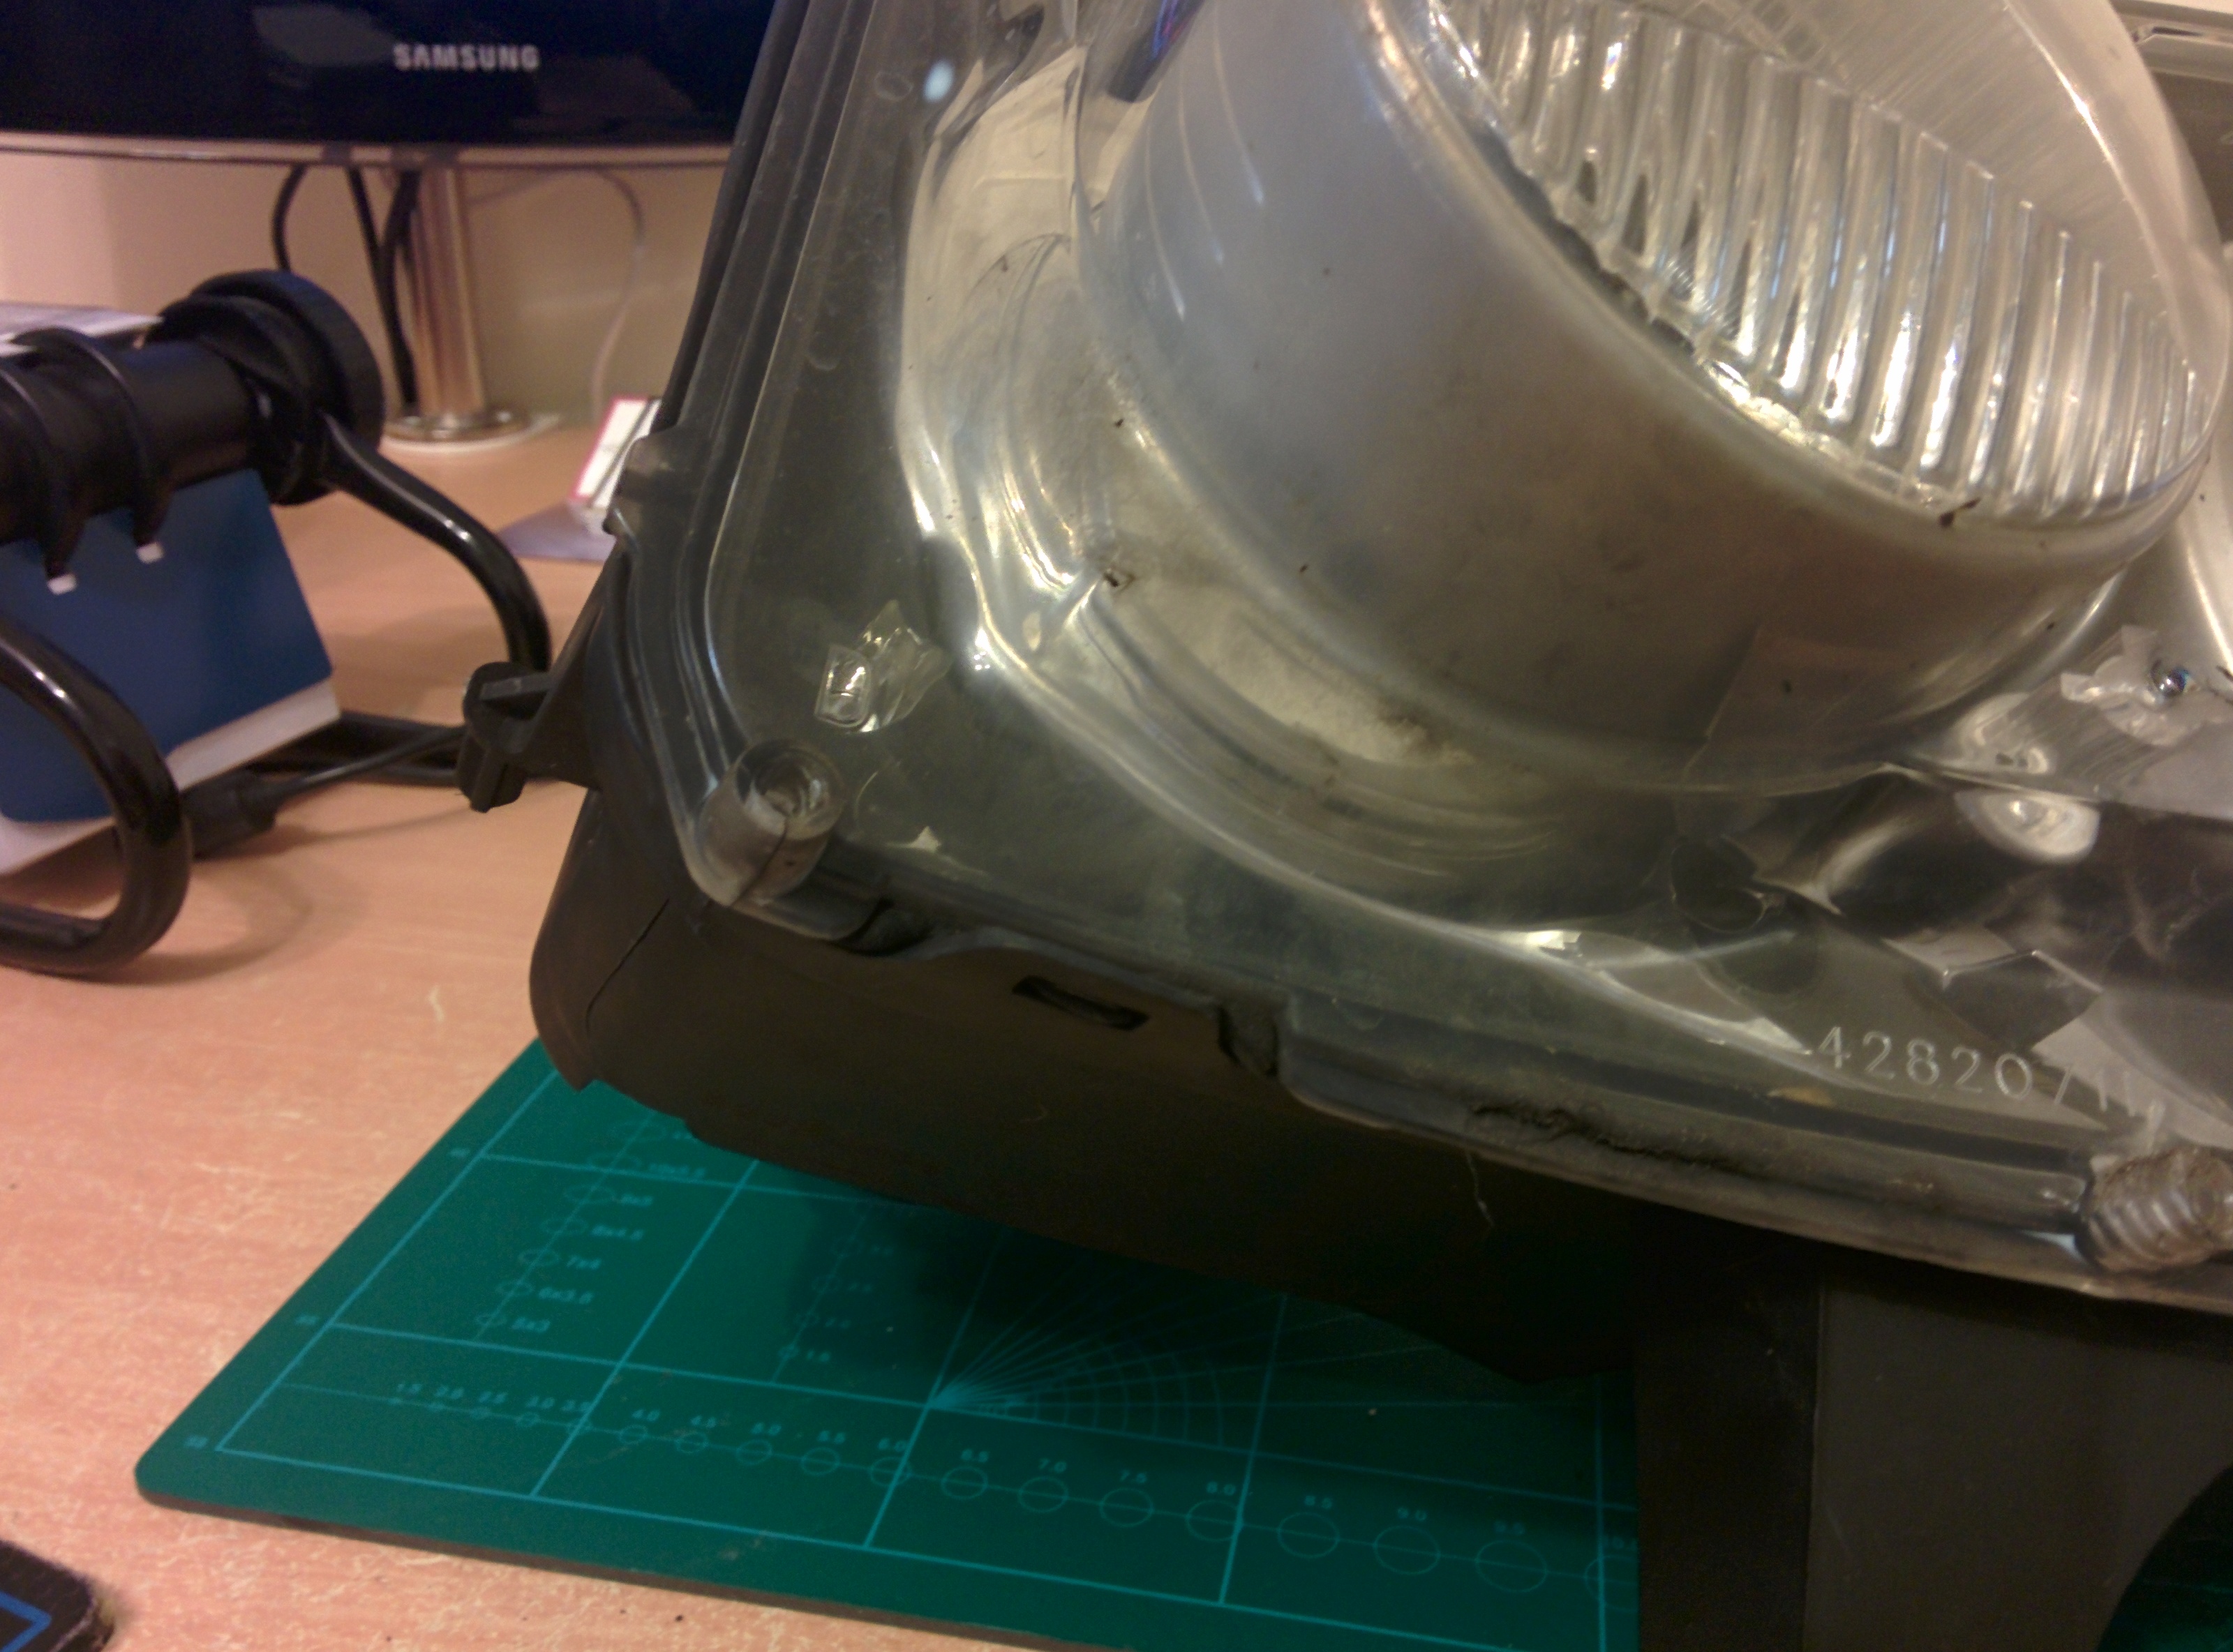
Figure 10

The result
After all of your hard work you will have 2 main sections of the headlight. On the one side you will have the black plastic rear of the unit that has the reflective lens for the bulbs and the electronics, and the other section will be the clear plastic lens section with the internal chrome reflectors
You will also have the other parts you removed in prep, but at this stage you are ready to start installing the Halo’s!